No-Churn Chocolate Ice Cream is one of the easiest homemade desserts you can make without needing an ice cream machine. This rich and creamy frozen treat combines whipped cream, sweetened condensed milk, and chocolate into a smooth dessert that tastes incredibly indulgent while requiring very little effort.
Because this No-Churn Chocolate Ice Cream recipe uses simple ingredients and minimal preparation, it has become a favorite for busy families, summer gatherings, and late-night dessert cravings. Every scoop delivers silky texture, deep chocolate flavor, and the creamy richness people expect from homemade ice cream.
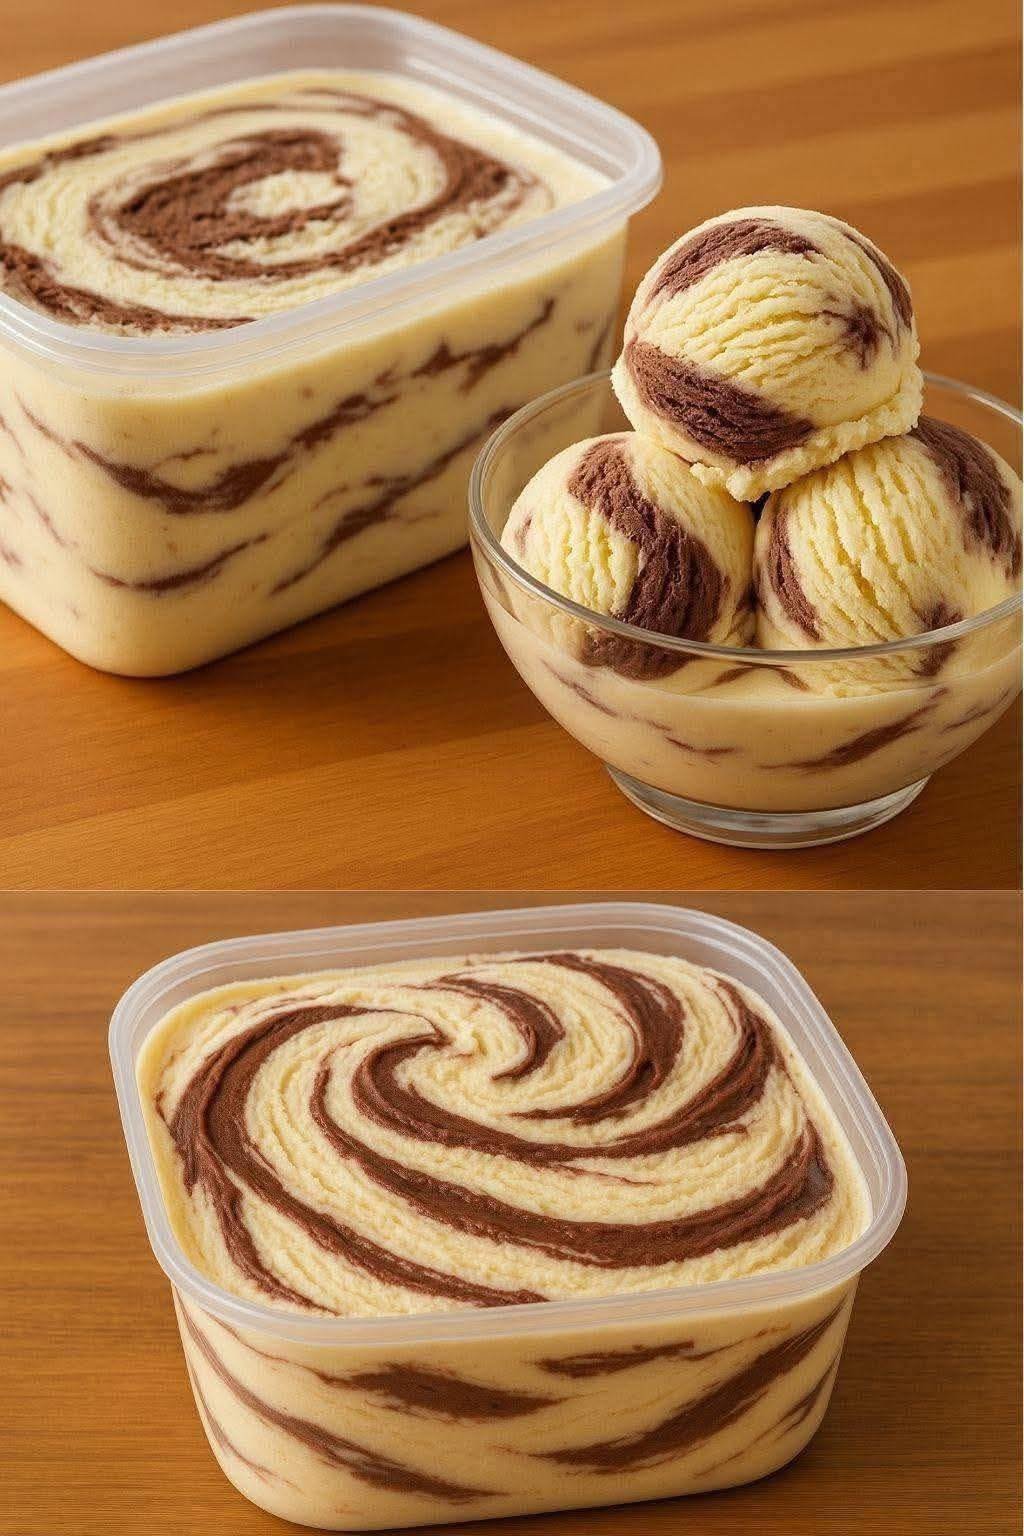
One warm evening, I wanted homemade ice cream but did not own an ice cream maker. I whipped some cream, folded it into sweetened condensed milk and melted chocolate, then froze everything overnight hoping it would work. The next day, the texture turned out unbelievably smooth and creamy with rich chocolate flavor in every bite. Everyone immediately asked for another scoop. Since then, this no-churn recipe has become one of the easiest desserts I make whenever I want something cold, chocolatey, and comforting without much work.
Ingredients
Equipment
Method
- Melt chocolate until smooth and allow it to cool slightly.
- Whip cold heavy cream until stiff peaks form.
- Combine sweetened condensed milk, melted chocolate, and vanilla extract in a bowl.
- Gently fold the whipped cream into the chocolate mixture until fully combined.
- Transfer the mixture into a freezer-safe container and top with chocolate chips if desired.
- Freeze for at least 6 hours or overnight before serving.
Notes
Why No-Churn Chocolate Ice Cream Is So Popular
Creamy Texture Without an Ice Cream Machine
One reason No-Churn Chocolate Ice Cream remains so popular is the incredibly smooth texture achieved without specialized equipment.
Traditional ice cream requires constant churning to prevent large ice crystals from forming. However, whipped cream naturally adds air and softness while sweetened condensed milk helps create a creamy consistency even after freezing.
As a result, the finished dessert stays rich and scoopable without complicated techniques.
Chocolate also blends beautifully into the creamy base, creating a decadent flavor that feels luxurious and satisfying.
Because the recipe freezes directly in a loaf pan or container, preparation becomes much simpler than traditional homemade ice cream methods.
Simple Ingredients and Easy Preparation
Another reason people love No-Churn Chocolate Ice Cream is the short ingredient list.
Most recipes use:
- Heavy whipping cream
- Sweetened condensed milk
- Melted chocolate or cocoa powder
- Vanilla extract
Optional mix-ins such as cookies, caramel, nuts, or chocolate chips make the recipe even more customizable.
Since the recipe requires no cooking beyond melting chocolate, beginners can make it successfully without stress.
Additionally, the preparation takes only minutes before freezing.
Because the dessert stores beautifully in the freezer, it also works perfectly as a make-ahead treat for parties and gatherings.
How to Make No-Churn Chocolate Ice Cream
Preparing the Chocolate Base
Start by melting semi-sweet chocolate gently in the microwave or over a double boiler until smooth.
Allow the chocolate to cool slightly while preparing the whipped cream.
In a large mixing bowl, whip cold heavy cream until stiff peaks form. Properly whipped cream creates the light airy texture that helps make the ice cream creamy instead of icy.
In another bowl, combine sweetened condensed milk, vanilla extract, and melted chocolate.
Stir until smooth and evenly blended.
The chocolate mixture should feel thick, rich, and glossy before combining with the whipped cream.
Folding and Freezing the Ice Cream
Gently fold the whipped cream into the chocolate mixture using a spatula.
Work slowly to preserve as much air as possible because this helps maintain a soft creamy texture after freezing.
Once fully combined, pour the mixture into a loaf pan or freezer-safe container.
Smooth the top evenly and add optional toppings such as chocolate chips, cookie crumbles, caramel swirls, or chopped nuts.
Cover tightly with plastic wrap or a lid and freeze for at least 6 hours or overnight.
When ready to serve, allow the ice cream to sit at room temperature for several minutes before scooping.
Tips for the Best No-Churn Chocolate Ice Cream
Use Cold Heavy Cream
One of the most important parts of successful No-Churn Chocolate Ice Cream is properly whipped cream.
Heavy cream whips best when very cold. Chilling the mixing bowl beforehand can also help create better volume and texture.
Avoid overwhipping because the cream can become grainy or buttery if beaten too long.
Additionally, fold the whipped cream gently into the chocolate mixture to preserve the airy consistency.
Using good-quality chocolate also improves flavor significantly since chocolate becomes the star ingredient.
Flavor Variations and Mix-Ins
One reason No-Churn Chocolate Ice Cream remains so versatile is the endless variety of flavor additions.
Popular mix-ins include:
- Crushed cookies
- Brownie chunks
- Peanut butter swirls
- Caramel sauce
- Chopped nuts
- Chocolate chips
- Marshmallows
For extra chocolate intensity, add cocoa powder directly into the condensed milk mixture.
Meanwhile, espresso powder deepens chocolate flavor beautifully without tasting strongly like coffee.
Fresh berries or cherries also pair wonderfully with rich chocolate ice cream.
Serving Suggestions and Storage Tips
Best Ways to Serve Homemade Ice Cream
No-Churn Chocolate Ice Cream tastes delicious served on its own or paired with simple desserts.
Popular serving ideas include:
- Ice cream cones
- Brownies
- Chocolate sauce
- Fresh berries
- Waffle bowls
- Cookie sandwiches
Because the texture stays rich and creamy, even a small scoop feels satisfying.
For parties, topping the ice cream with whipped cream, sprinkles, or crushed candy creates a fun dessert bar.
This ice cream also works beautifully alongside warm desserts such as brownies or chocolate cake.
How to Store No-Churn Ice Cream
Store No-Churn Chocolate Ice Cream tightly covered in the freezer for up to 2 weeks.
Placing parchment paper or plastic wrap directly against the surface helps reduce ice crystals.
Allow the container to soften slightly before scooping for the best texture.
Because homemade ice cream contains fewer stabilizers than store-bought versions, it tastes best when enjoyed within the first several days.
Frequently Asked Questions
Do I need an ice cream machine?
No. This recipe becomes creamy without churning because whipped cream provides the necessary texture.
How long should it freeze?
Freeze for at least 6 hours, although overnight freezing works best.
Can I use cocoa powder instead of melted chocolate?
Yes. Cocoa powder works well and creates rich chocolate flavor.
Why is my ice cream icy?
Overmixing or insufficiently whipped cream may affect texture.
Can I add cookies or candy?
Absolutely. Mix-ins such as cookies, nuts, caramel, and candy work beautifully.
Conclusion
No-Churn Chocolate Ice Cream combines creamy texture, rich chocolate flavor, and effortless preparation into one of the easiest homemade frozen desserts you can make. With no special equipment required, this recipe delivers indulgent ice cream using only a few simple ingredients.
Because it adapts easily to countless flavors and mix-ins, this no-churn recipe quickly becomes a favorite for summer desserts, parties, and everyday chocolate cravings.
Once you make this No-Churn Chocolate Ice Cream, it will likely become one of your go-to homemade desserts whenever you want something cold, creamy, and deeply satisfying.