Red and White Valentine’s Day Cake with Mini Hearts: A Romantic Delight!
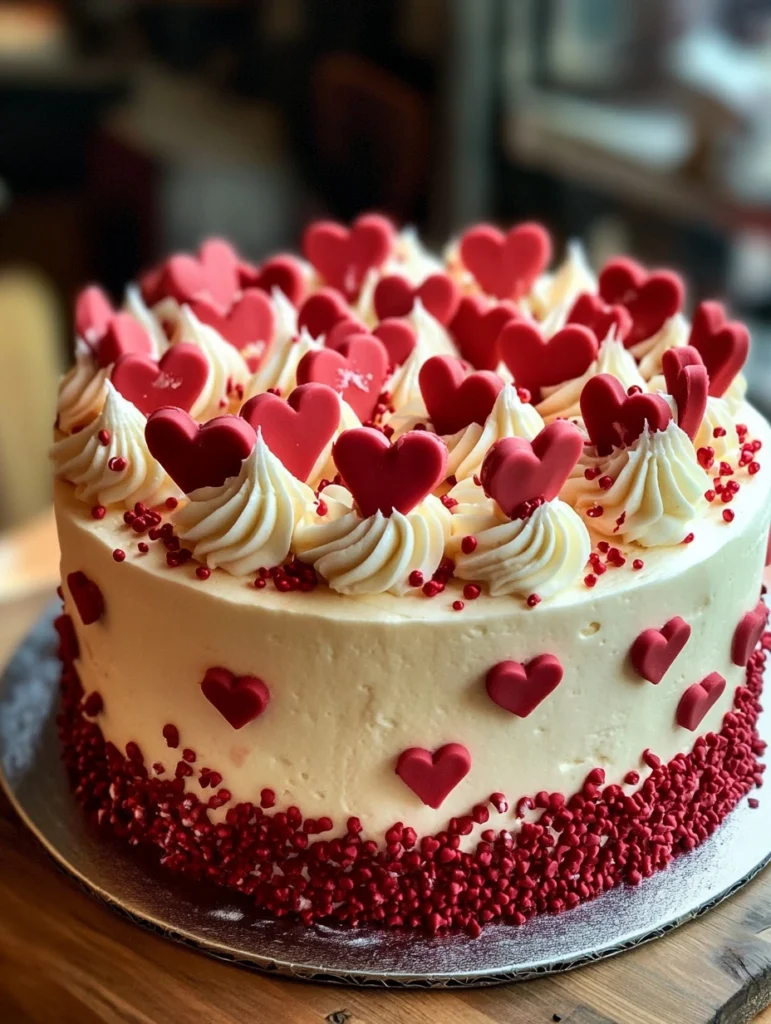
Looking to make Valentine’s Day extra special this year? This red and white Valentine’s Day cake is not only visually stunning but also irresistibly delicious. Featuring layers of fluffy white velvet and red velvet cake, along with a light vanilla buttercream frosting, this cake is topped with adorable red hearts to capture the romantic spirit of the day. Whether you’re baking for a loved one or treating yourself, this cake is truly a labor of love. In addition, it’s a fun and festive way to show how much you care.
Why You’ll Love Valentine’s Day Cake
💖 Eye-Catching Design: The alternating red and white layers create a striking presentation when sliced, perfect for a festive celebration.
🍰 Deliciously Moist: Moreover, both the white and red velvet layers are soft, tender, and full of flavor.
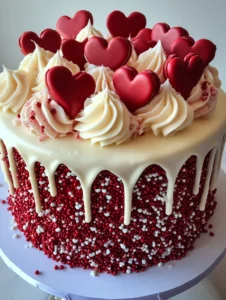
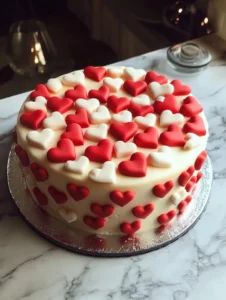
🎨 Customizable Decor: Additionally, whether you pipe red buttercream hearts or use heart-shaped sprinkles, you can easily tailor the look to your style.
🌍 Altitude-Tested: Furthermore, perfect for bakers at any elevation with tips for adjustment.
Ingredients of Valentine’s Day Cake
Cake Layers 🍰
- Flour: 2 ¾ cups all-purpose flour
- Sugar: 2 cups granulated sugar
- Baking Powder: 1 tbsp for leavening
- Baking Soda: ½ tsp for balance
- Salt: ½ tsp
- Butter: 1 cup, unsalted and softened 🧈
- Egg Whites: 6 large eggs, room temperature 🥚
- Buttermilk: 1 ½ cups for moisture
- Vanilla Extract: 1 tbsp for flavor
- Red Gel Food Coloring: A few drops for that deep red hue
- Dutch-Processed Cocoa Powder: 1 tbsp for the red velvet layer
Buttercream Frosting 🍦
- Butter: 2 cups, softened
- Powdered Sugar: 8 cups, sifted
- Vanilla Extract: 2 tsp
- Milk: 2-4 tbsp for consistency
- Red Gel Food Coloring: For piping hearts
Necessary Tools
- Three 8-inch round cake pans
- Stand mixer or hand mixer
- Mixing bowls
- Piping bag and tip #3
- Spatula for frosting
- Wire rack for cooling
Ingredient Swaps and Additions
- Dairy-Free Alternative: Substitute plant-based milk and vegan butter for a dairy-free version.
- Color Variations: Moreover, try pink gel food coloring for a softer look.
- Flavor Boost: Furthermore, add almond or rose extract for a subtle, unique twist.
Step-by-Step Instructions 🧑🍳
1. Prepare the Batter
- Preheat the oven to 350°F (175°C) and grease and line three 8-inch pans with parchment paper.
- Then, in a mixing bowl, cream butter and sugar until light and fluffy, next, egg whites one at a time, beating well after each addition.
- After that, in another bowl, combine flour, baking powder, baking soda, and salt. Then, alternate adding dry ingredients and buttermilk to the butter mixture, starting and ending with dry ingredients.
2. Color and Divide
- Thereafter, divide the batter into two portions: 2/3 for white velvet and 1/3 for red velvet.
- After that, add sifted cocoa powder and red gel food coloring to the smaller portion, mixing until evenly colored.
3. Bake the Layers
- Then, pour batters into the prepared pans. Bake for 25–30 minutes or until a toothpick inserted in the center comes out clean.
4. Make the Buttercream
- Meanwhile, beat butter until creamy. Then, gradually add powdered sugar and vanilla extract and adjust consistency with milk.
5. Assemble the Cake
- Layer the cakes: white, red, then white, spreading buttercream between layers. Then, apply a crumb coat and chill for 30 minutes.
- After that, frost with a final coat, smoothing or swirling as desired.
6. Decorate
- Finally, pipe red hearts or apply sprinkles in a polka-dot pattern. Chill the cake before serving for clean cuts.
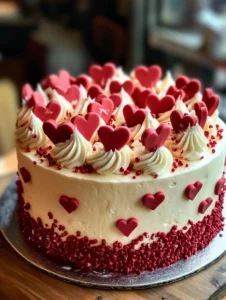
Pro Tips for Success of Valentine’s Day Cake
- Use Room Temperature Ingredients: Ensures even mixing and a better rise.
- Don’t Overmix: Additionally, overmixing can make the cake dense. Mix just until combined.
- Chill Before Frosting: Moreover, chilled layers are easier to frost without crumbs.
And, for more Valentine’s Day inspiration, check out these Easy Valentine Cookies from Kitchen Sanctuary, perfect for adding a sweet touch to your celebration!
Serving Suggestions
- Pair with a glass of rosé champagne for a romantic evening.
- Moreover, serve with a scoop of vanilla or strawberry ice cream for added indulgence.
- Additionally, decorate each slice with a fresh strawberry or edible flower for a stunning presentation.
Storing and Reheating
- Storage: Keep leftovers in an airtight container in the fridge for up to 5 days.
- Reheating: Moreover, bring to room temperature before serving for the best texture.
Nutritional Information of Valentine’s Day Cake
Per slice (1/12 of the cake):
- Calories: 430
- Fat: 18g
- Carbohydrates: 63g
- Protein: 4g
- Sugar: 50g
FAQs
Can I use box cake mix?
Yes, use a white box mix, tint 1/3 red, and bake as directed.
How do I achieve a vibrant red color?
Use gel food coloring and a touch of cocoa powder for depth.
Can I make this ahead of time?
Absolutely! Bake and freeze the layers for up to two months, then frost before serving.
What if I don’t have a piping bag?
Use a zip-top bag with the corner snipped off as a makeshift piping bag.
Can I make this gluten-free?
Substitute gluten-free all-purpose flour for a celiac-friendly version.
Conclusion
To add a fun and creative twist to your Valentine’s Day try out this Valentine Tic Tac Toe Snack from Savory Splash, a delightful activity and snack combo!
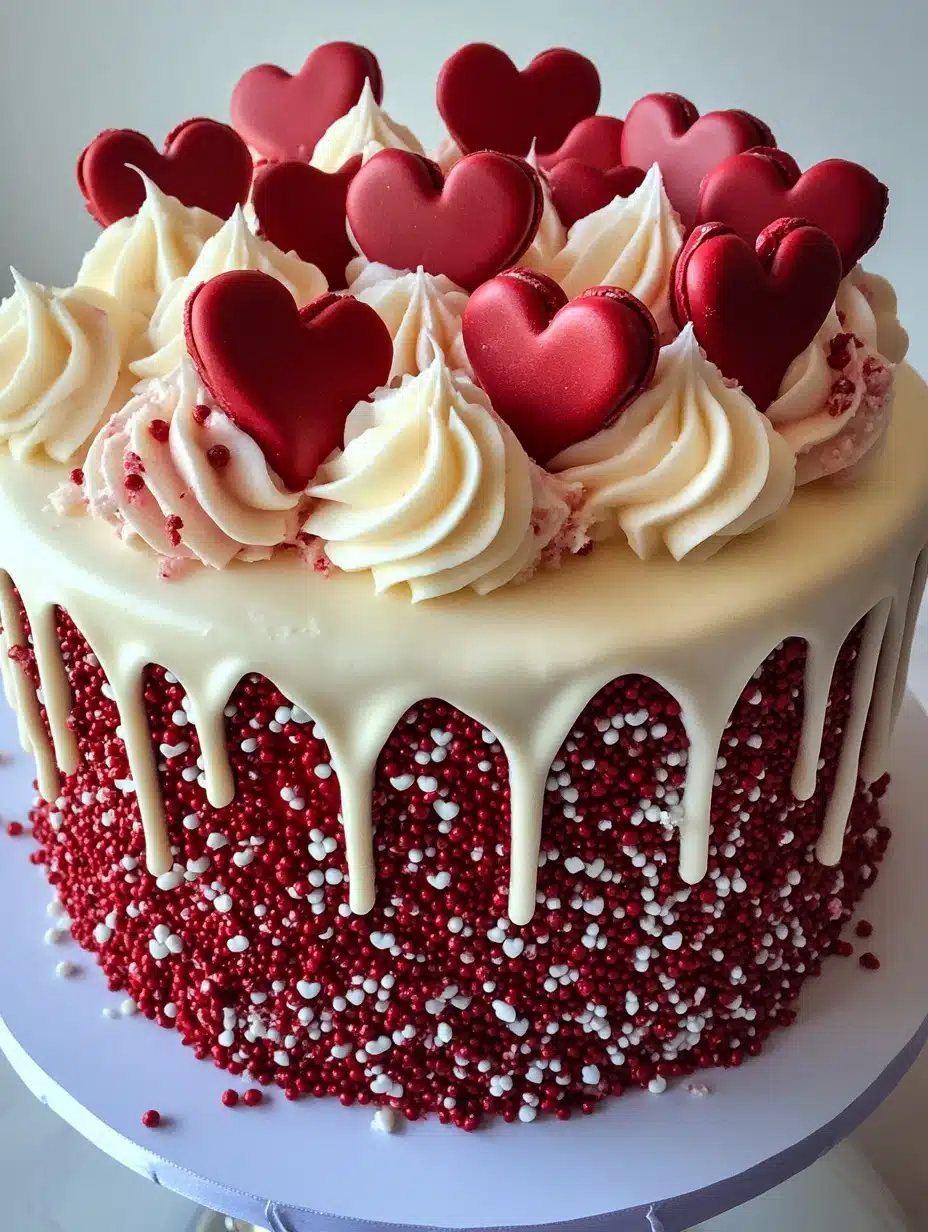
Red and White Valentine’s Day Cake
Ingredients
Equipment
Method
- Prepare the Cake Batter:
- Preheat oven to 350°F (175°C) and grease three 8-inch cake pans.
- Sift together flour, cocoa powder, baking powder, baking soda, and salt. Set aside.
- In a large bowl, cream butter and sugar until fluffy. Add eggs one at a time, followed by vanilla extract.
- Alternate adding dry ingredients and buttermilk, starting and ending with the dry mixture.
- Color and Divide the Batter:
- Divide 2/3 of the batter into two pans for the white layers.
- Add sifted cocoa powder and red gel food coloring to the remaining batter until the desired red shade is achieved. Pour into the third pan.
- Bake the Cakes:
- Bake on the center rack for 25–30 minutes or until a toothpick inserted comes out clean.
- Cool cakes in pans for 10 minutes, then transfer to a wire rack to cool completely.
- Make the Buttercream:
- Beat softened butter until smooth. Gradually add powdered sugar, vanilla extract, and cream until light and fluffy.
- Assemble the Cake:
- Place one white cake layer on a board, frost with buttercream, and stack the red layer. Repeat with the final white layer.
- Apply a crumb coat, chill for 30 minutes, and frost with a smooth or swirled finish.
- Decorate:
- Tint ½ cup of buttercream with red food coloring. Using a piping bag and round tip (#3), pipe red hearts or use heart-shaped sprinkles for decoration.
Notes
For a bright white buttercream, substitute half the butter with shortening.
Store leftovers in an airtight container for up to 3 days at room temperature.

