The Best Homemade White Bread is everything you want in a classic loaf. It’s soft, fluffy, slightly sweet, and sturdy enough for sandwiches while still tender enough to enjoy with just butter. Once you make this bread from scratch, you’ll never look at store-bought loaves the same way again.
This recipe uses simple pantry staples—flour, yeast, sugar, butter, salt, and warm water—yet the results taste bakery-level fresh. Even better, the process stays beginner-friendly. With a little patience and proper kneading, you’ll pull two beautiful golden loaves from your oven.
The first time I baked homemade white bread, I worried I would mess it up. I expected complicated steps and tricky timing. Instead, I found the process calming. As the dough rose on my kitchen counter, the anticipation built. When the loaves came out golden and fragrant, I sliced into one while it was still warm. Steam escaped, and the crumb looked pillowy and soft. That first bite with melted butter made me realize how satisfying homemade bread truly is. Since then, this recipe has become a weekly staple in my kitchen.
Now let’s walk through how to make it perfectly every time.
Why The Best Homemade White Bread Turns Out So Soft
The texture of The Best Homemade White Bread comes from proper hydration, kneading, and rising. Each step builds structure and softness at the same time.
The Role of Yeast and Sugar
Yeast acts as the engine behind this bread. When you combine warm water and sugar, you create the perfect environment for yeast to activate. Within 5–10 minutes, the mixture turns foamy. That foam signals that the yeast is alive and ready to work.
As the dough rises, yeast produces carbon dioxide. Those tiny air pockets expand, which gives the bread its light and fluffy structure. Meanwhile, sugar feeds the yeast and adds subtle sweetness.
Because proper activation matters, always use warm water—not hot. Water that feels comfortably warm to the touch works best.
Butter and Flour Balance
Butter adds tenderness and flavor. When you rub softened butter into the flour, you coat some of the flour particles with fat. As a result, the bread becomes softer and less dense.
All-purpose flour provides enough protein to create structure while still keeping the loaf tender. Since this dough feels slightly sticky during kneading, resist the urge to add extra flour. That stickiness ensures softness later.
When you trust the process, the texture rewards you.

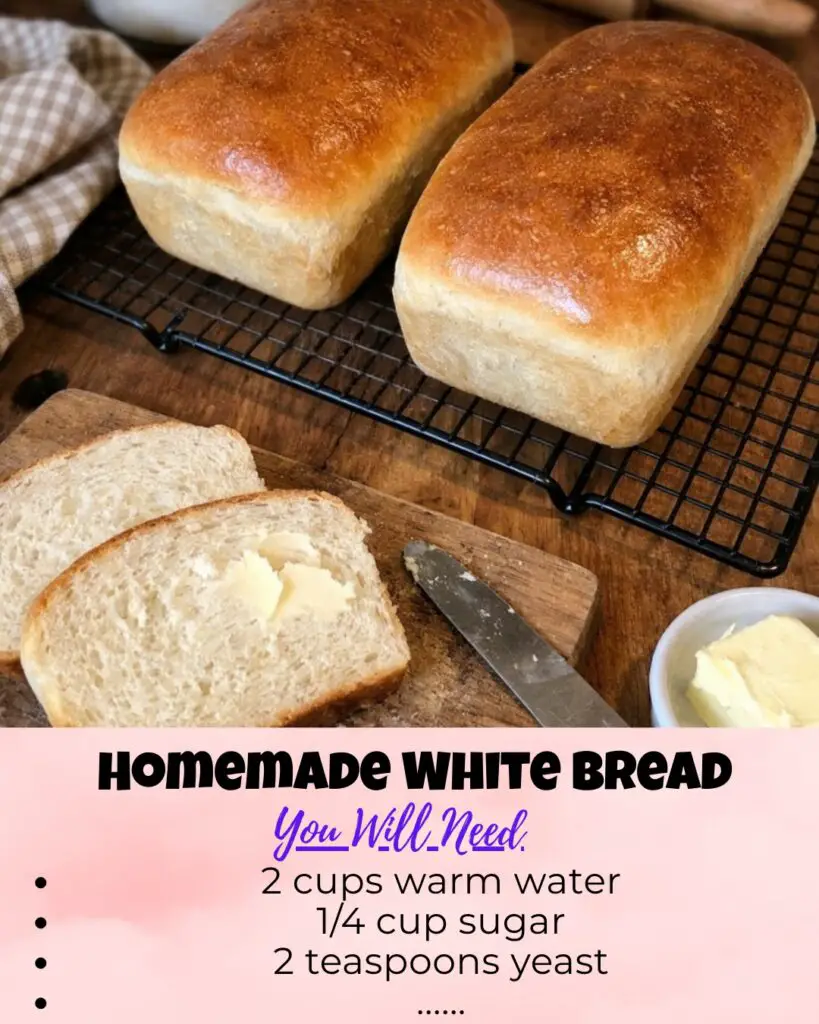
Ingredients
Equipment
Method
- Combine warm water and sugar. Sprinkle yeast on top and let sit 5–10 minutes until foamy.
- Mix flour and salt. Rub softened butter into flour until crumbly.
- Pour yeast mixture into flour mixture and stir until dough forms.
- Knead dough for 8–10 minutes by hand or 5–7 minutes with a stand mixer until smooth.
- Cover and let rise 1–2 hours until doubled in size.
- Punch down dough and divide into two portions.
- Shape into loaves and place in greased pans.
- Let rise 30–45 minutes until dough rises above pan edges.
- Bake at 375°F (190°C) for 25 minutes until golden brown.
- Remove from pans and cool on wire rack for at least 30 minutes before slicing.
Notes
Step-by-Step Process for Perfect Results
Making The Best Homemade White Bread requires time, but the steps remain simple and straightforward.
Mixing and Kneading the Dough
Start by dissolving sugar in warm water. Sprinkle yeast over the top and let it sit until foamy.
In a large bowl, combine flour and salt. Add softened butter and rub it into the flour until crumbly. This step evenly distributes fat for consistent texture.
Next, pour in the yeast mixture. Stir until a rough dough forms.
Now knead. You can knead in the bowl or on a lightly cleaned surface for 8–10 minutes. If using a stand mixer with a dough hook, knead on medium speed for 5–7 minutes.
The dough will feel sticky. That’s normal. Instead of adding flour, continue kneading. Over time, the dough becomes smoother and more elastic.
First Rise and Shaping
After kneading, cover the bowl with a clean towel or plastic wrap. Let the dough rise in a warm spot for 1–2 hours until doubled in size. If using rapid-rise yeast, it may take only about 35 minutes.
Once doubled, gently punch down the dough. This step releases trapped gas and redistributes yeast.
Divide the dough into two equal portions. Shape each portion into a loaf by rolling it tightly. Then place each loaf into a well-greased pan.
Proper shaping ensures even baking and smooth tops.
The Second Rise and Baking
The final rise and baking stage transform the dough into golden perfection.
Final Rise for Maximum Fluffiness
After placing the shaped loaves in pans, cover them loosely and let them rise again for 30–45 minutes. The dough should rise about one inch above the pan edges.
During this time, gluten relaxes and air pockets expand further. Therefore, the bread becomes lighter.
Avoid rushing this step. Under-proofed dough results in dense bread, while properly risen dough produces that classic fluffy crumb.
Meanwhile, preheat your oven to 375°F (190°C).
Baking to Golden Perfection
Bake the loaves for 25 minutes. The tops should turn a rich golden brown.
Once baked, immediately remove the bread from the pans. Cooling on a wire rack prevents soggy bottoms. Allow the loaves to cool for at least 30 minutes before slicing.
Although slicing early tempts everyone, waiting ensures the crumb sets properly.
Tips for Success and Storage
Even simple bread benefits from a few smart techniques.
Common Mistakes to Avoid
First, never use water that is too hot. High temperatures kill yeast instantly. Second, avoid adding excess flour during kneading. Extra flour creates dense, dry bread.
Additionally, always measure flour correctly. Spoon flour into your measuring cup and level it off. Scooping directly from the bag can pack flour too tightly.
Finally, let the bread cool fully before slicing. Cutting too soon compresses the crumb.
Storing and Freezing
Store cooled loaves in an airtight bag at room temperature for up to three days. For longer storage, slice and freeze the bread. Frozen slices thaw quickly and maintain freshness.
Because this recipe makes two loaves, you can enjoy one fresh and freeze the other.
Delicious Ways to Use The Best Homemade White Bread
This bread shines in countless ways.
Make classic sandwiches with turkey, ham, or peanut butter and jelly. Toast slices for breakfast with butter and jam. Use thick slices for French toast. You can even cube it for homemade croutons.
Because the crumb stays soft yet sturdy, it handles spreads and fillings beautifully.
Whether you pack lunches or prepare weekend brunch, this bread adapts effortlessly.
Frequently Asked Questions
1. Can I use instant yeast instead of active dry yeast?
Yes. You can mix instant yeast directly with the flour and skip the proofing step.
2. Why is my bread dense?
Dense bread often results from too much flour or insufficient rising time.
3. Can I make this by hand without a mixer?
Absolutely. Hand kneading works perfectly and builds great texture.
4. How do I know when the bread is fully baked?
Tap the bottom of the loaf. If it sounds hollow, it’s done.
5. Can I add ingredients like herbs or cheese?
Yes. Add mix-ins after the first kneading for even distribution.
Conclusion
The Best Homemade White Bread delivers softness, flavor, and versatility in every slice. While it requires time and patience, the process feels rewarding from start to finish.
With simple ingredients and careful kneading, you create two golden loaves that outperform anything from the store. The aroma alone makes the effort worthwhile.
Once you bake this bread, you may find yourself making it again and again. Fresh, fluffy, and perfect for sandwiches, it truly earns its name.