Looking for a fun, educational, and mess-friendly activity that sparks creativity in kids? Say hello to Sugar Water Painting—a magical art project that turns your kitchen into a vibrant art studio! Whether you’re a parent, teacher, or caregiver, this sensory-friendly DIY is perfect for rainy afternoons, weekend fun, or even classroom art time.
In this post, we’ll explore everything you need to make sugar water painting a colorful success—from ingredients to pro tips, creative twists, and even how to store your little one’s masterpieces. By the end, you’ll be ready to transform everyday materials into magical works of art that shimmer, shine, and make imaginations soar.
Why You’ll Love This Sugar Water Painting Activity
This isn’t just another kid’s craft. Sugar water painting offers a unique blend of science, art, and sensory play that’s both fun and educational. Here’s why it will become a favorite:
- Minimal mess, maximum magic – Unlike glitter and glue, sugar water gives your artwork sparkle without sticky chaos.
- Teaches basic chemistry – Kids learn how sugar dissolves and interacts with water and paint.
- Inspires creativity – There’s no right or wrong—just fun experimentation.
- Budget-friendly – You already have most (if not all) of the supplies at home.
- Perfect for all ages – Toddlers, preschoolers, and older kids alike will enjoy this activity.
Whether you’re homeschooling, running a daycare, or simply looking for quality screen-free time, sugar water painting is the sweet solution you’ve been searching for.
Ingredients You’ll Need
Creating art with sugar water only requires a few pantry staples. Here’s the complete list:
- 1 cup warm water
- ¼ cup white granulated sugar
- Watercolor paper, cardstock, or any thick paper
- Watercolor paints (or food coloring diluted in water)
- Paintbrushes (any size, but finer brushes are great for details)
- Small bowls or cups for mixing sugar water and colors
- Spoon for stirring
Tip: You can use recycled cardboard (like cereal boxes) as a canvas too!
Necessary Tools and Materials
For the best experience, gather the following tools before you begin:
- A tray or washable surface to protect your table
- Aprons or old t-shirts to keep clothes paint-free
- Paper towels for quick cleanups
- A drying rack or designated space to let art dry
- Dropper or pipette (optional, for color experiments)
- A light source like a window or lamp to showcase shiny results once dry
No need for fancy art supplies—just the basics and a little creativity will do!
Ingredient Swaps and Creative Additions
Want to make your sugar water painting experience even more exciting? Here are some fun swaps and additions:
Swaps
- Brown sugar for a caramel hue and richer scent
- Honey or corn syrup as a sticky alternative to sugar water
- Food coloring if you don’t have watercolors—just dilute with water!
Additions
- Salt – Sprinkle on wet sugar water for a crystallized texture
- Glitter – Lightly dust your sugar water art before it dries
- Scented extracts – Add vanilla or peppermint extract to your sugar mix for a sensory twist
- Stencils or stamps – Use shapes to guide younger children
Encourage experimentation—it’s part of the fun and learning!
Step-by-Step Instructions for Sugar Water Painting
Follow these simple steps to bring your sugar water art to life:
1. Make the Sugar Water
In a bowl, mix 1 cup of warm water with ¼ cup of sugar. Stir thoroughly until the sugar is completely dissolved. This creates your magical “painting glue.”
Tip: Use warm water to dissolve sugar faster. Microwave it for 15–20 seconds if needed.
2. Paint with Sugar Water
Dip a clean paintbrush into your sugar water solution. Paint directly onto your paper in any design—shapes, swirls, names, or freestyle patterns.
Let the sugar water design sit for 2–5 minutes until it becomes a little sticky and glossy.
Tip: Avoid soaking the paper. A light coating works best for clean results.
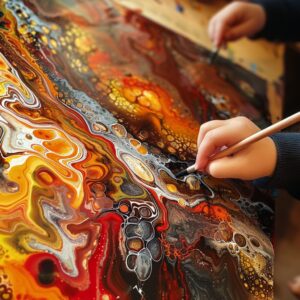
3. Add Color
Now the real magic happens! Dip a paintbrush into watercolor paint or diluted food coloring. Gently brush over the paper.
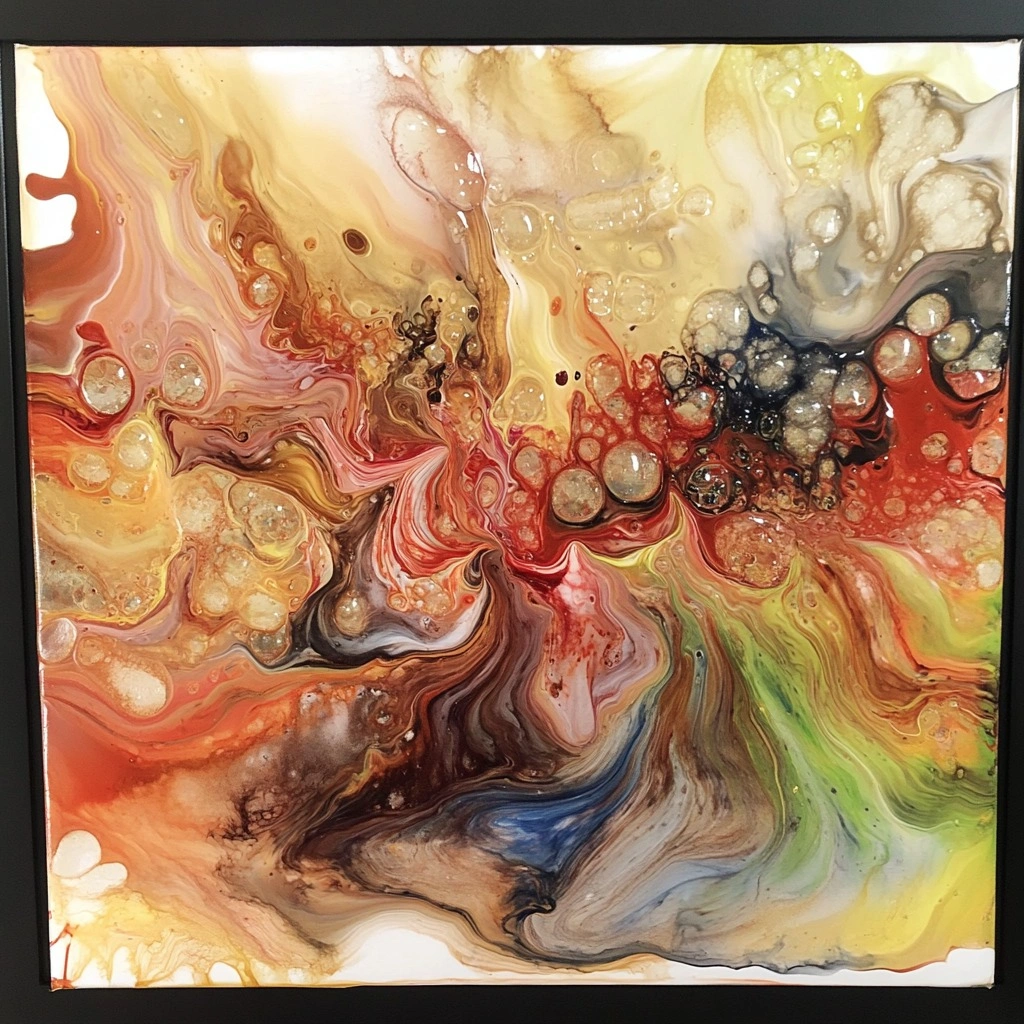
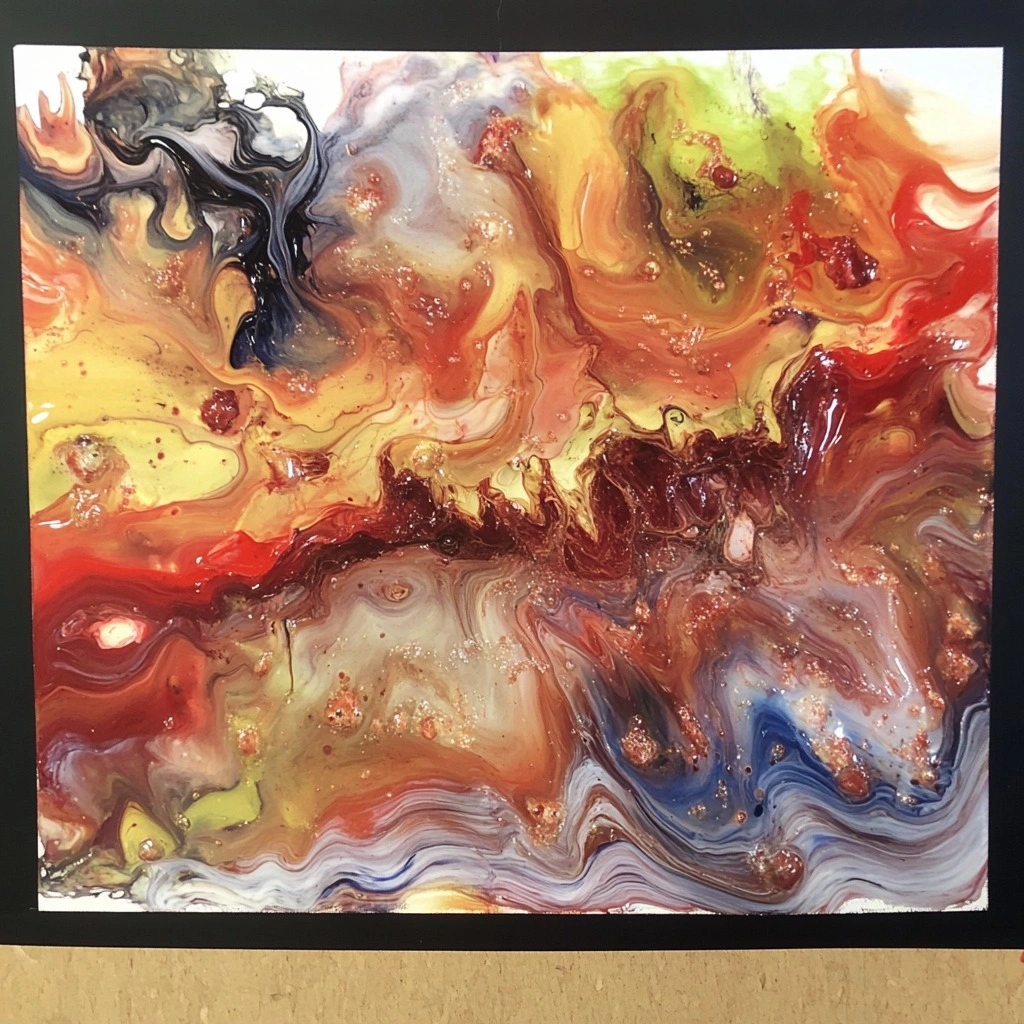
You’ll notice how the paint resists or pools around the sugar-painted areas, creating a glossy, vibrant, almost embossed look!
Optional: Try flicking paint across the sugar design with a toothbrush for a fun splatter effect.
4. Dry and Display
Let the painting dry completely—usually 1–2 hours depending on humidity and paint thickness.
Once dry, your artwork will have shiny, slightly raised designs that sparkle in the light. Hang your art on the fridge, gift it to grandparents, or display it in a DIY gallery wall.
Pro Tips for Success
Here’s how to make your sugar water painting project smooth and stress-free:
- Use thick paper – Regular printer paper may wrinkle or tear.
- Test the sugar ratio – If it’s too runny, add a bit more sugar.
- Work in layers – Let the sugar water dry partially before painting for best effects.
- Don’t oversaturate – Too much liquid can dilute the effect or soak through the paper.
- Paint in natural light – The shine is most visible in sunlight or near a window.
- Let kids lead – The more creative freedom they have, the more engaged they’ll be.
Creative Ways to Serve This Activity
Think beyond just “paint and dry.” Here are creative ways to enjoy sugar water painting:
- Holiday cards – Make shimmering handmade cards for birthdays or holidays.
- Story illustrations – Ask kids to paint scenes from their favorite book.
- Name art – Write each child’s name in sugar water for a personalized masterpiece.
- Science tie-in – Use the activity to teach evaporation, solubility, or absorption.
- Classroom displays – Create a collaborative mural with multiple sugar water artworks.
This activity can fit into educational curriculums, party crafts, or just cozy weekend fun at home.
Storing and Reheating
While this is a one-and-done activity, here are a few quick tips to extend your fun:
- Store leftover sugar water in an airtight container in the fridge for up to 3 days.
- Reheat gently in the microwave or by placing the container in warm water.
- Preserve artwork by placing dry paintings in a frame or under plastic sleeves.
Avoid folding the artwork, as dried sugar can crack.
Nutritional Information (For Safety Awareness)
Although this isn’t an edible activity, here’s what’s in the sugar water mixture for awareness:
- Calories per batch: ~200 (from sugar)
- Allergens: None (unless using food coloring with allergens)
- Sugar content: ~50g per cup
- Non-toxic but not for consumption – Safe for handling, not for eating
Always supervise younger children to ensure they don’t put brushes or sugar water in their mouths.
Frequently Asked Questions (FAQs)
1. Is sugar water painting safe for toddlers?
Yes! The ingredients are non-toxic and safe to handle. Just supervise closely to prevent accidental tasting.
2. Can I use regular printer paper?
It’s not recommended. Printer paper is too thin and may tear. Use watercolor or cardstock for best results.
3. What can I use instead of watercolor paints?
Diluted food coloring or natural dyes (like beet or turmeric water) work great.
4. Can I make the sugar water ahead of time?
Yes! Store it in the fridge for up to 3 days in a sealed container. Reheat slightly before using.
5. Will the artwork last over time?
Yes, if stored in a dry place and protected from humidity. Framing helps preserve the shine and texture.
Conclusion
Sugar water painting for kids is more than just a craft—it’s a hands-on adventure in color, creativity, and learning. With minimal supplies and maximum impact, this activity invites kids of all ages to explore textures, colors, and patterns in a completely new way. Whether it’s a rainy-day boredom buster or a classroom favorite, sugar water painting is sweet, simple, and full of spark.
So go ahead—grab a brush, mix some sugar, and let the artistic magic begin!