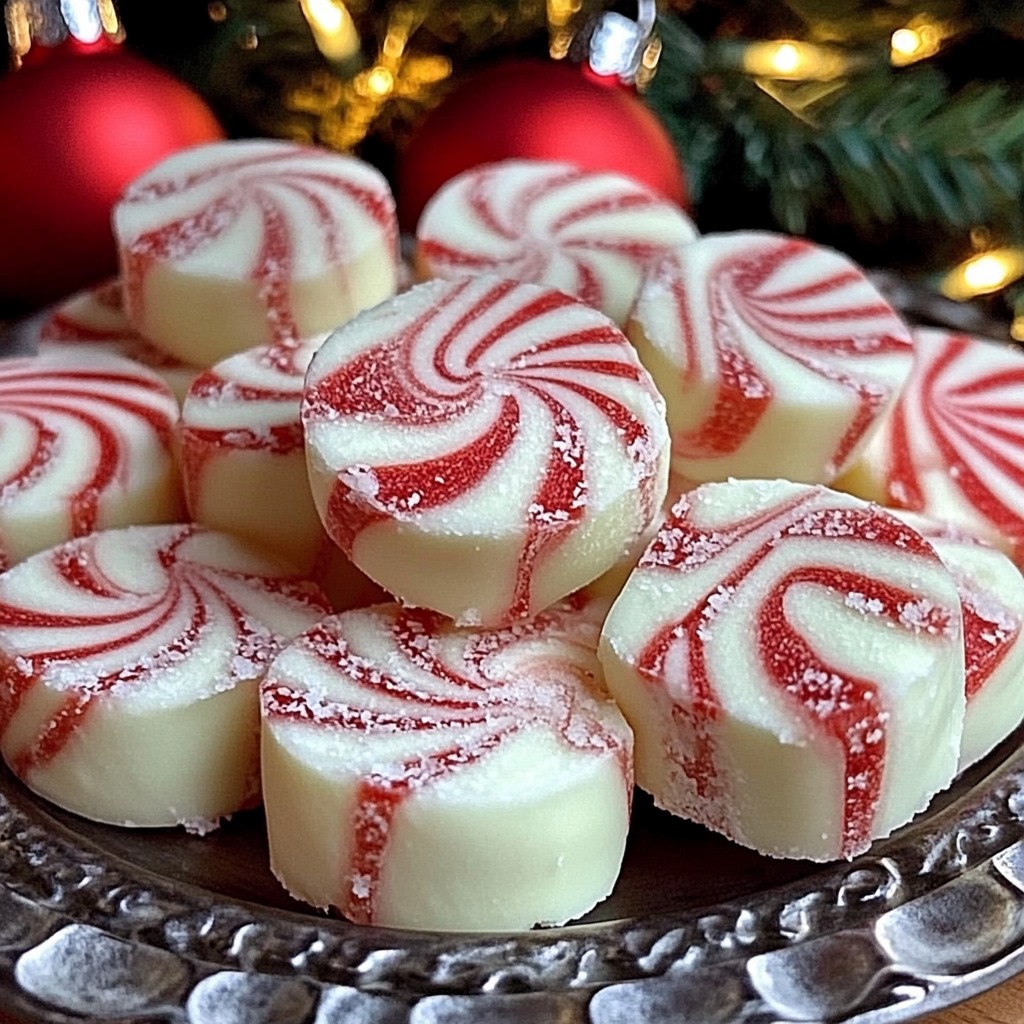
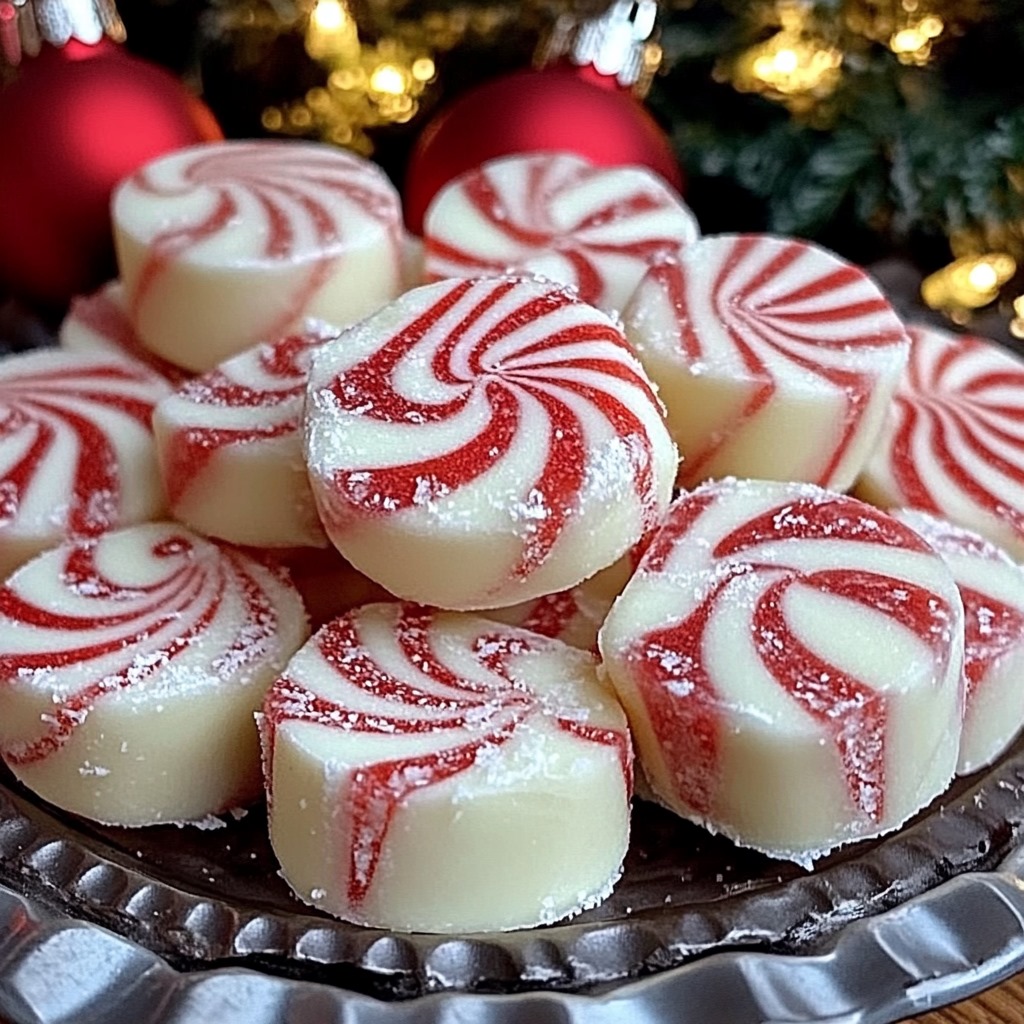
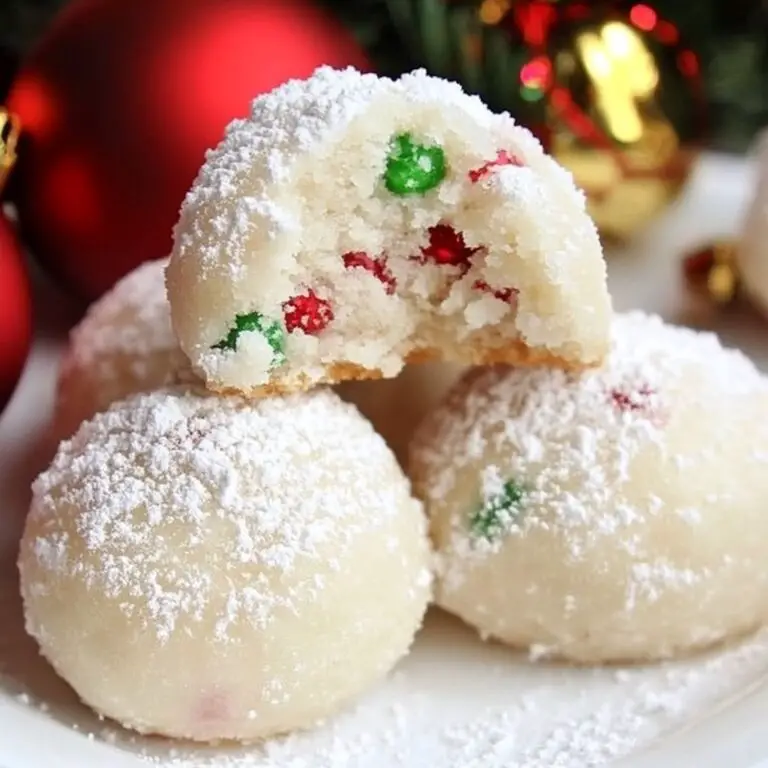
Ah, the magic of Christmas! It’s in the air, it’s in the lights, and it’s certainly in the treats we share with loved ones. Today, I’m bringing you a recipe that is as timeless as it is delightful: Soft Christmas Peppermints, also known as old-fashioned butter mints. These melt-in-your-mouth morsels bring a festive touch to any holiday gathering and are almost too pretty to eat—almost. 😉
Before we dive in, make sure to subscribe to my newsletter so you never miss a recipe! Let’s make this season extra sweet together.
Why You’ll Love These Soft Christmas Peppermints
- Bursting with holiday flavor: The gentle kick of peppermint paired with buttery sweetness is a holiday classic.
- Melt-in-your-mouth texture: These soft mints dissolve into pure bliss with every bite.
- Perfectly festive: A touch of red gel food coloring makes these treats visually stunning for your holiday table or gift boxes.
- Easy to make: With just six ingredients and a little hands-on time, these are wonderfully beginner-friendly.
What Do They Taste Like?
Imagine biting into something that’s soft, creamy, and delicately pepperminty, with just a hint of buttery richness. These aren’t your standard hard peppermints—they’re a luxurious, tender confection that feels like a warm holiday hug. Perfectly balanced, not overly sweet, and utterly irresistible!
Benefits of Making Your Own Butter Mints
- Customizable flavor: Adjust the peppermint extract to your liking.
- No preservatives: Homemade is always fresher and free from unnecessary additives.
- Versatile uses: Serve them at parties, tuck them into gift bags, or simply enjoy with a cup of hot cocoa.
Ingredients You’ll Need
- ¼ teaspoon peppermint extract (adjust to taste)
- 3 cups powdered sugar (sifted for smoothness)
- ½ cup butter, softened to room temperature
- 2 tablespoons heavy whipping cream
- Red gel food coloring (or your favorite festive color)
Tools for Perfect Mints
- Mixing bowl
- Hand or stand mixer
- Parchment paper
- Small knife for slicing
- Airtight container for storage
How to Make Soft Christmas Peppermints
1. Prepare the Butter Base
In a large mixing bowl, beat the softened butter until creamy. Gradually add the powdered sugar, one cup at a time, mixing well after each addition. This step creates the smooth, dough-like consistency we’re aiming for.
2. Add Cream and Peppermint
Pour in the heavy whipping cream and peppermint extract. Continue mixing until the dough comes together and is smooth. Taste-test here—this is your chance to add a touch more peppermint if desired!
3. Color the Dough
Divide the dough into two equal portions. Add a drop or two of red gel food coloring to one portion, kneading until the color is evenly distributed. You’ll end up with a lovely pink or red dough that screams Christmas cheer.
4. Shape the Mints
Roll each dough portion into long ropes, about ½-inch thick. Slice the ropes into small pieces, around ½ inch long. Feel free to shape them into rounds or flatten slightly with your fingers for that classic butter mint look.
5. Let the Mints Set
Place the mints on a parchment-lined baking sheet and let them air-dry at room temperature for 1-2 hours. This step ensures the perfect soft texture.
6. Store and Serve
Transfer the dried mints to an airtight container. Store them in a cool, dry place, and they’ll stay fresh for weeks—perfect for holiday gifting or snacking!
What to Serve With These Mints
- A mug of hot chocolate or peppermint tea for a cozy winter evening.
- A holiday dessert platter featuring cookies, fudge, and these mints.
- As a refreshing treat after a rich holiday meal.
Tips for Perfect Butter Mints
- Use gel food coloring: It won’t alter the consistency of the dough like liquid food coloring might.
- Sift your powdered sugar: This ensures a smooth texture.
- Knead gently: Overworking the dough can make it tough, so handle with care.
Storing Your Mints
- Airtight container: Keep these in a sealed container to maintain their texture.
- Room temperature storage: A cool, dry place is ideal. Avoid refrigeration, as it can make them too firm.
FAQ
Can I make these ahead of time?
Absolutely! These mints store well for up to 2-3 weeks, making them perfect for early holiday prep.
Can I use a different extract?
Yes! Swap peppermint for vanilla, almond, or even citrus extracts for a fun twist.
Do I need a stand mixer?
A hand mixer works just fine, though a stand mixer can save time.
Final Thoughts
Soft Christmas Peppermints are a holiday must-make for their flavor, versatility, and sheer nostalgic charm. They’re as delightful to make as they are to eat, and they’re guaranteed to be the star of your dessert table.
Want to explore more festive treats? Check out my recipes for Peppermint Bark Cookies and Old-Fashioned Peanut Brittle—your holiday baking lineup just got an upgrade!
Don’t forget to leave a review and share your photos on Pinterest—I love seeing your creations! 🎄
Nutritional Information
- Calories per mint: 35 kcal
- Servings: 50-60 mints
Happy holidays and happy mint-making! 🎅✨