Is there anything more enchanting than watching snow gently fall? Whether you live in a snowy climate or just dream of one, this Snowstorm in a Jar brings the winter magic indoors — no mittens required!
Thank you for stopping by to make something truly special. This simple, mesmerizing craft is perfect for kids and adults alike. It’s peaceful, fun, and honestly kind of addictive to shake and stare at. 💙
💌 Love hands-on crafts like this? Subscribe and I’ll send easy, magical DIYs straight to your inbox every week!
What Is a Snowstorm in a Jar?
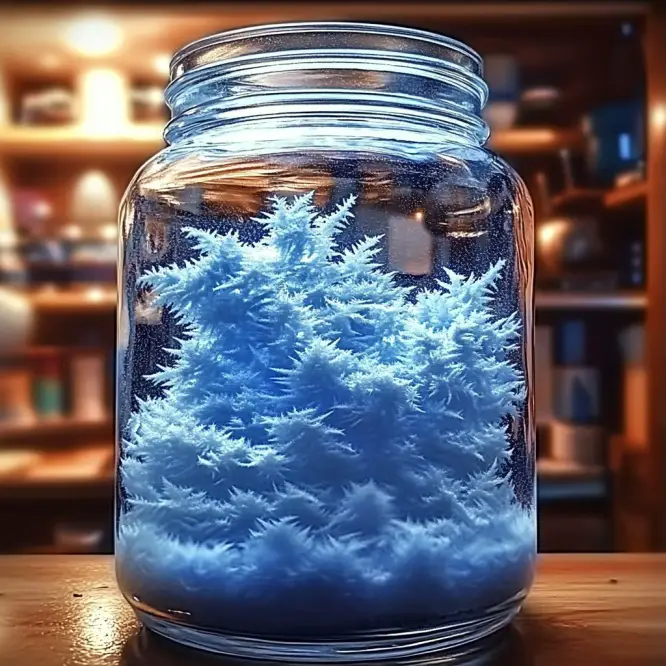
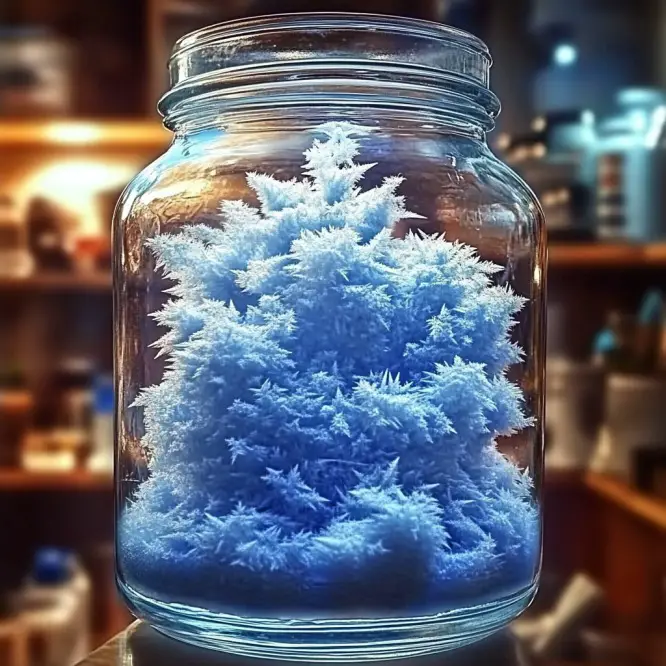
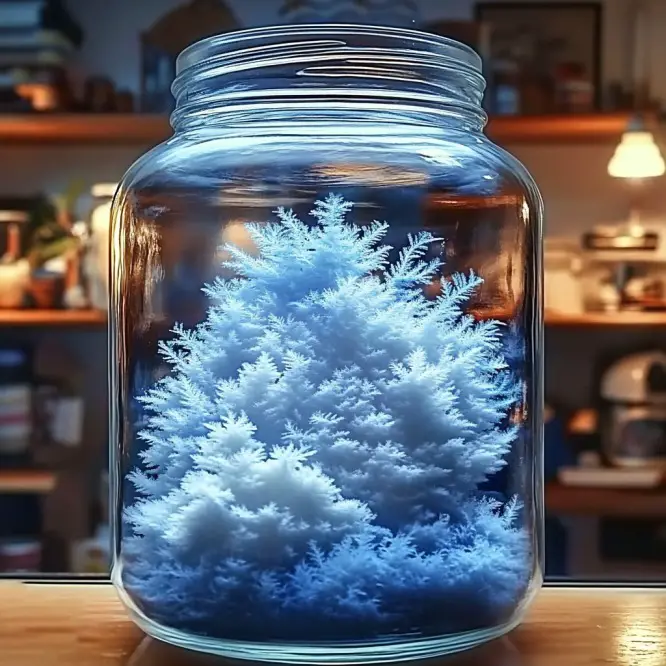
It’s a beautiful sensory jar filled with shimmering glitter that mimics the swirling, dancing flurries of a winter storm. With just a few household ingredients, you can create your own little blizzard — one you can shake up anytime you need a moment of calm or wonder.
Why You’ll Love This Winter Craft
- No mess outside = all the magic inside!
- Easy to make with items you probably already have.
- Soothing to watch, making it great for stress relief or quiet time.
- Customizable for holidays, classrooms, or gifts.
What It Looks & Feels Like
Picture this: delicate sparkles drifting in slow motion through icy-blue water, suspended in a dreamlike dance. The oil layer helps the glitter move slower, while the glue thickens the liquid just enough to make it mesmerizing — like a snow globe made for quiet, mindful moments. ✨
Benefits of Making a Snowstorm Jar
- Encourages mindfulness and relaxation
- Great for sensory development in kids
- An easy introduction to science concepts (liquid density, anyone?)
- Perfect for decorating windowsills, desks, or giving as handmade gifts
🧾 Ingredients You’ll Need
- 1 clear glass jar (12–16 oz with a tight-fitting lid)
- 1 cup water
- 2 tablespoons baby oil or vegetable oil
- 1 teaspoon white school glue
- 1 tablespoon aluminum powder or fine white glitter
- 1 drop blue food coloring (optional)
🧰 Tools & Extras
- Spoon or stir stick
- Measuring spoons
- Funnel (optional)
- Superglue (if you want to seal the lid permanently)
💡 Optional Additions
- Mini pine cones
- Tiny plastic snowflakes
- Star glitter or iridescent flakes
- Label/tag with a wintry name (like “Arctic Calm” or “Frozen Whirl”)
❄️ How to Make a Snowstorm in a Jar
Step 1: Fill the Jar
Pour 1 cup of clean water into your clear jar, filling it about three-quarters full.
Step 2: Add Frosty Tint
Add 1 drop of blue food coloring (optional) for that icy, glacial vibe. Stir gently.
Step 3: Mix in the Glue
Add 1 teaspoon white school glue and stir. This gives the water just enough thickness to slow the glitter’s fall.
Step 4: Add the Glitter
Sprinkle in 1 tablespoon of fine white glitter or aluminum powder. Stir again gently to distribute.
Step 5: Add the Oil
Slowly pour 2 tablespoons of baby oil or vegetable oil down the side of the jar. The oil will rise and sit on top — creating that slow-motion shimmer effect.
Step 6: Seal & Shake
Tightly seal the lid (you can use superglue for a permanent seal).
Step 7: Let It Snow!
Give your jar a good shake and watch the glitter twirl, float, and drift like a quiet snowfall. Once it settles, shake again for another round of snowy magic.
🌈 Variations & Ideas
- Try green or purple food coloring for an aurora-style storm.
- Mix silver and blue glitter for a frozen-themed jar.
- Use a plastic jar for kid-friendly or travel-safe versions.
- Add a holiday ribbon or tag to make it giftable!
🧠 Tips for Best Results
- Use fine glitter — chunky glitter tends to sink quickly.
- Stir slowly to keep the water from getting too bubbly.
- Baby oil gives the clearest surface layer — vegetable oil will work but may be cloudier.
- Store at room temperature to avoid clumping or clouding.
FAQs
Can I use colored glue?
Clear or white glue works best. Glitter glue can work, but it may affect clarity and slow down the swirl more than regular glue.
Is this safe for toddlers?
Use a plastic jar and secure the lid well. Always supervise use with younger children.
My glitter clumps — what should I do?
Try using less glue or switching to a finer glitter. Stirring thoroughly helps too!
Wrap-Up: A Tiny Blizzard You Can Hold
This Snowstorm in a Jar is more than just a craft — it’s a moment of peace, a little winter magic, and a reminder to pause and enjoy the simple, sparkly things. Whether it’s for holiday décor, a quiet corner in your classroom, or just a bit of joy on your desk, you’ll love the calm it brings.
💌 Don’t forget to subscribe for more easy, beautiful DIYs that bring magic to your day.
❄️ More Winter Crafts to Try:
- Suncatcher Glitter Jars
- Snowy Pinecone Garland
- DIY Holiday Scented Playdough
📸 Made Your Own Snowstorm?
Tag me on Pinterest or leave a comment below! I’d love to see your version and how you’ve made it uniquely yours.
🧮 Estimated Time & Cost
- Prep Time: 5–10 minutes
- Total Time: 15 minutes
- Estimated Cost: $2–5 per jar
Now go on — give it a shake and let it snow, anytime you want. 💙
Snowstorm in a Jar
Ingredients
Method
- Pour 1 cup of clean water into your clear jar, filling it about three-quarters full.
- Add 1 drop of blue food coloring (optional) for that icy, glacial vibe. Stir gently.
- Add 1 teaspoon white school glue and stir. This gives the water just enough thickness to slow the glitter’s fall.
- Sprinkle in 1 tablespoon of fine white glitter or aluminum powder. Stir again gently to distribute.
- Slowly pour 2 tablespoons of baby oil or vegetable oil down the side of the jar. The oil will rise and sit on top — creating that slow-motion shimmer effect.
- Tightly seal the lid (you can use superglue for a permanent seal).
- Give your jar a good shake and watch the glitter twirl, float, and drift like a quiet snowfall. Once it settles, shake again for another round of snowy magic.


