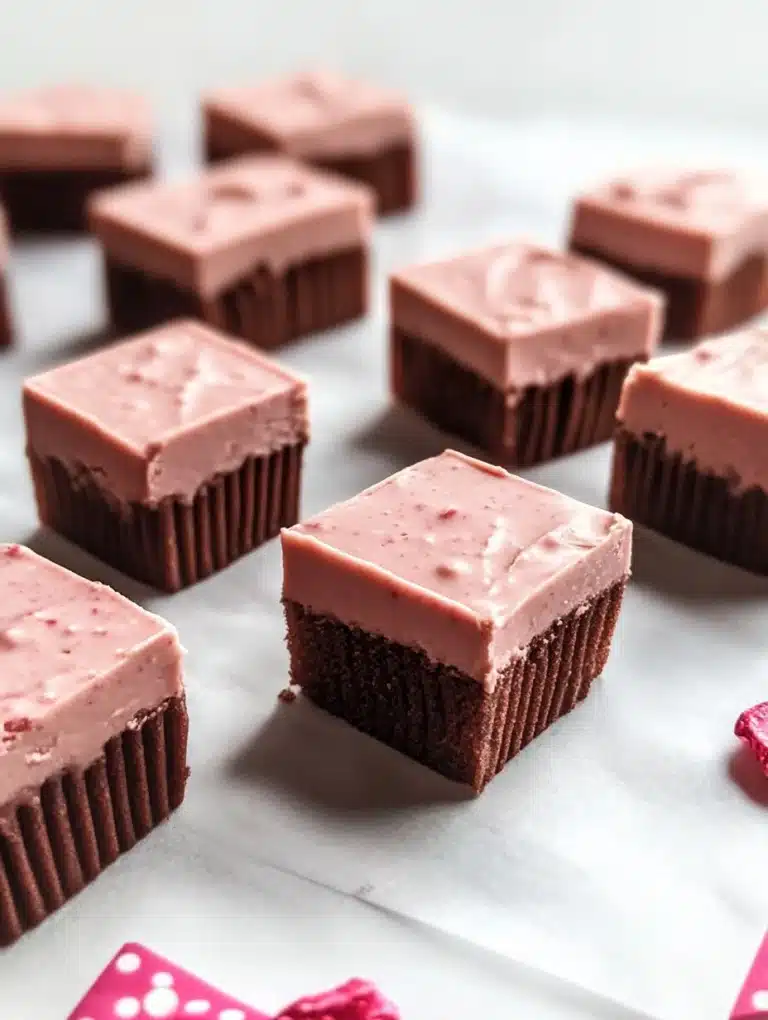
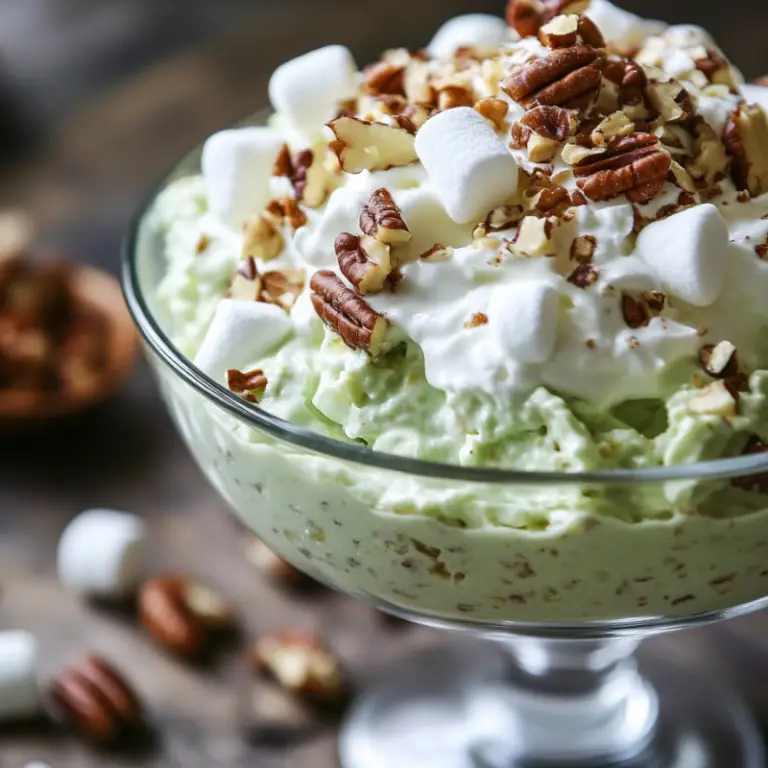
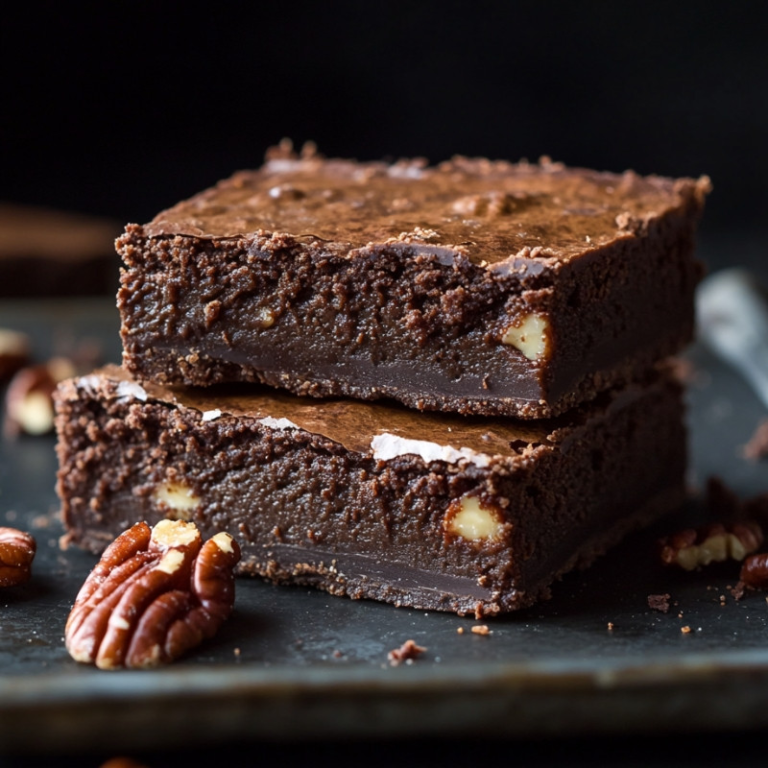
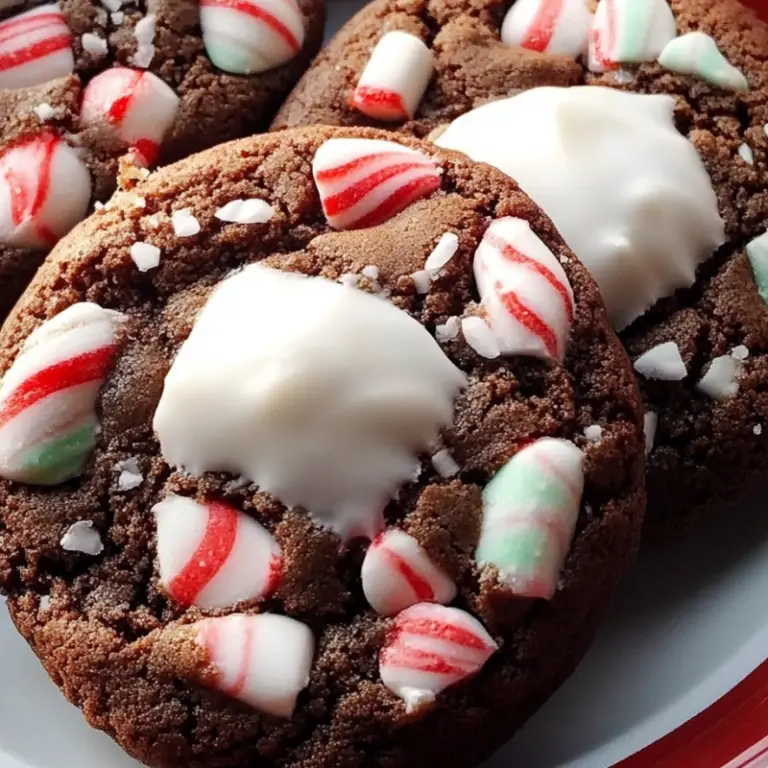
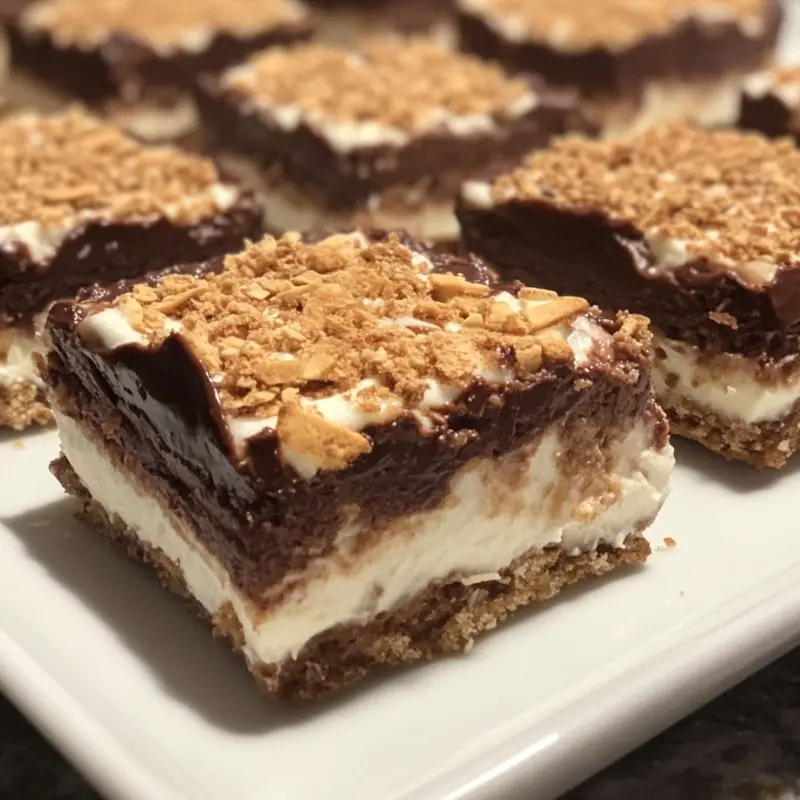
S’mores Seven Layer Bars: A Campfire Classic Reimagined!
Indulge in the ultimate treat with these S’mores Seven Layer Bars! They combine all the flavors of a gooey s’more without the need for a campfire. With toasted marshmallows, melted chocolate, and crunchy graham crackers in every bite, these bars bring the joy of summer indoors, making any day feel special. I’m so grateful to share this delightful recipe that’s sure to become a family favorite!
Why You’ll Love This Recipe
These S’mores Seven Layer Bars are a revelation! With every layer, you experience a perfect balance of textures and flavors. The crumbly graham cracker crust provides a satisfying crunch, while the melted chocolate and gooey marshmallows create a rich, luxurious finish. Plus, they’re incredibly easy to prepare—just mix, layer, and bake! Perfect for family gatherings or cozy weekends, this recipe is a fantastic way to bond over baking!
Ingredients
– 2 ½ cups graham cracker crumbs
– ¾ cup butter, melted
– 1 (14 oz) can sweetened condensed milk
– 2 cups mini marshmallows
– 1 cup semi-sweet chocolate chips
– 1 cup broken graham cracker pieces
– 2 (1.55 oz) chocolate bars, broken into pieces
Necessary Tools
– 9×13 inch baking dish
– Non-stick cooking spray or parchment paper
– Mixing bowl
– Spoon or spatula
– Oven
Ingredient Swaps and Additions
Feel free to customize your S’mores Bars! Swap out semi-sweet chocolate chips for milk chocolate or dark chocolate for a richer taste. You can also add peanut butter chips for a fun twist or sprinkle some chopped nuts for an extra crunch. If you’re feeling adventurous, try adding a layer of sliced bananas or crispy bacon for a unique flavor combo!
Step-by-Step Instructions
1. Preheat your oven to 350°F. Make sure to spray your baking dish with non-stick cooking spray or line it with parchment paper for easy removal later.
2. In a mixing bowl, combine the graham cracker crumbs and melted butter. Mix until fully combined, then press this mixture evenly into the bottom of your prepared baking dish.
3. Now it’s time to spread the sweetened condensed milk over the crust, making sure it covers the surface evenly.
4. Sprinkle half of the mini marshmallows, all of the chocolate chips, and broken graham cracker pieces on top of the condensed milk layer.
5. Bake in the preheated oven for 15 minutes. When it’s time, take it out and sprinkle the remaining marshmallows over the top. Return to the oven for another 10-15 minutes, until the marshmallows are beautifully browned and the edges are golden.
6. Once baked, remove it from the oven and place the chocolate pieces on top while it’s still warm. Allow everything to cool for at least 15 minutes before cutting; they will remain gooey but hold together beautifully!
7. For the best experience, wait until they cool completely before indulging. Enjoy every delectable bite of your S’mores Seven Layer Bars!
Serving Suggestions
These S’mores Bars are perfect on their own, but you can elevate your dessert experience by serving them with a scoop of vanilla ice cream or a dollop of whipped cream. You could also pair them with fresh fruit, like strawberries or raspberries, to add a refreshing touch.
Pro Tips for Success
– Make sure to press the graham cracker crust firmly into the bottom of the dish to ensure it holds together.
– Keep an eye on the marshmallows while baking to avoid burning. The golden brown color is what you’re aiming for!
– Allow the bars to cool completely for easier slicing.
Storing and Reheating
Store any leftovers in an airtight container at room temperature for up to 4 days. If you want to reheat them, pop a bar in the microwave for about 10 seconds for a warm and gooey treat!
FAQ Section
– Can I make these bars ahead of time? Yes! You can prepare them a day in advance and store them, covered, at room temperature.
– What if I can’t find mini marshmallows? You can use regular-sized marshmallows; just cut them in half before adding.
Conclusion
In summary, these S’mores Seven Layer Bars are a delightful twist on a classic treat, bringing the campfire spirit right into your kitchen. Their simple preparation and irresistible flavors make them a must-try. I can’t wait to hear about your experiences—don’t forget to leave a review, share photos, or tag your creations on Pinterest or Instagram!
Nutritional Information
Approximate nutritional information per serving (based on 16 servings):
– Calories: 220
– Total Fat: 10g
– Saturated Fat: 6g
– Cholesterol: 15mg
– Sodium: 85mg
– Total Carbohydrates: 32g
– Dietary Fiber: 1g
– Sugars: 15g
– Protein: 2g
Enjoy the deliciousness of S’mores Seven Layer Bars with every delectable bite!
S'mores Seven Layer Bars
Ingredients
Method
- Preheat your oven to 350°F and prepare your baking dish by spraying it with non-stick cooking spray or lining it with parchment paper.
- In a mixing bowl, combine the graham cracker crumbs and melted butter. Mix until fully combined, then press this mixture evenly into the bottom of your prepared baking dish.
- Spread the sweetened condensed milk over the crust, covering the surface evenly.
- Sprinkle half of the mini marshmallows, all of the chocolate chips, and broken graham cracker pieces on top of the condensed milk layer.
- Bake in the preheated oven for 15 minutes.
- Remove from oven and sprinkle the remaining marshmallows over the top. Return to the oven for another 10-15 minutes, until the marshmallows are beautifully browned and the edges are golden.
- Once baked, remove from the oven and place the chocolate pieces on top while it’s still warm.
- Allow to cool for at least 15 minutes before cutting, and then wait until cooled completely for the best experience.