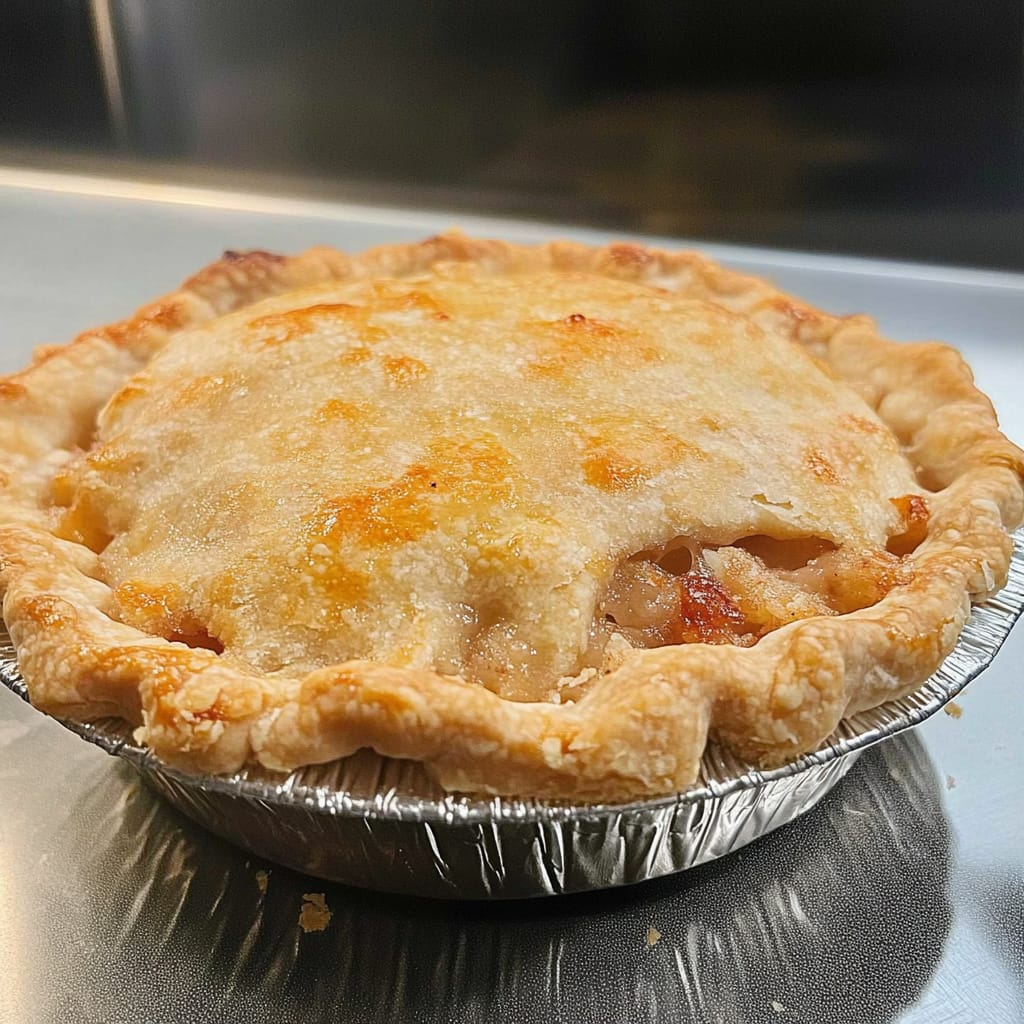
There’s nothing quite like the satisfaction of making a homemade pie crust from scratch. This recipe is my go-to for achieving a buttery, tender, and perfectly flaky crust—ideal for both sweet and savory pies! Whether you’re filling it with a luscious fruit filling or a rich, hearty quiche, this crust will elevate your baking game.
And guess what? It’s easier than you think! With just a handful of ingredients and a few simple techniques, you’ll have a foolproof pie crust every time. So, let’s roll up our sleeves and dive in!
❤️ Why You’ll Love This Pie Crust
✔ Flaky & Buttery – Thanks to the perfect ratio of flour, fat, and liquid, this crust bakes up beautifully with delicate, crisp layers.
✔ Versatile – Works for sweet or savory pies, galettes, and even tarts!
✔ Make-Ahead Friendly – Can be prepared ahead of time and stored for future baking.
✔ Easy to Work With – Rolls out smoothly without cracking, making it beginner-friendly.
🥧 What Does This Pie Crust Taste Like?
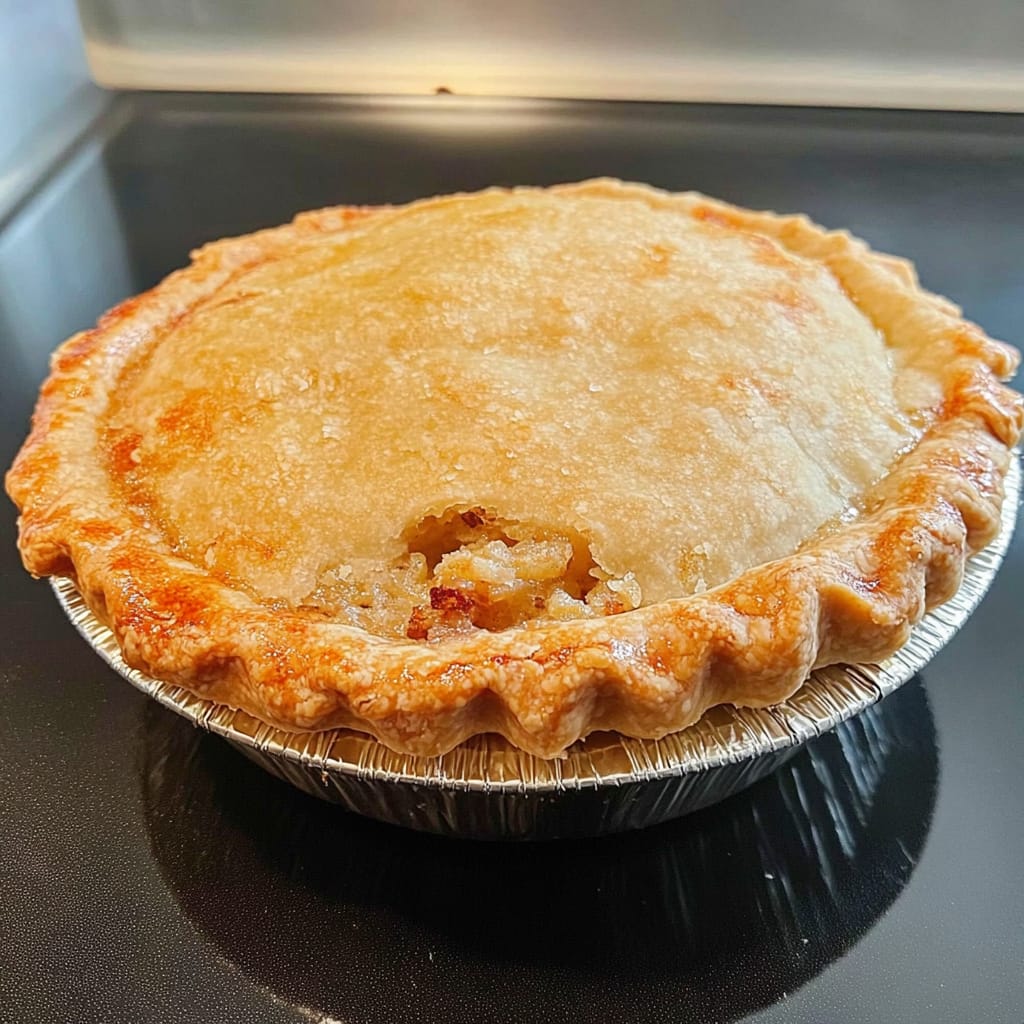
This pie crust is rich, buttery, and melt-in-your-mouth tender. The shortening ensures an ultra-flaky texture, while the combination of butter and vinegar adds a subtle depth of flavor. It bakes into a crisp, golden-brown shell that perfectly complements any filling!
🛒 Ingredients You’ll Need
Here’s what you’ll need to create the ultimate pie crust:
- 3 cups all-purpose flour (sifted for a lighter texture)
- 1 teaspoon salt (enhances flavor)
- ¼ teaspoon cream of tartar (improves flakiness & stability)
- 1½ cups shortening (such as Crisco, for maximum tenderness)
- 4 to 8 tablespoons ice-cold water (start with 4 tbsp and add as needed)
- 1 large egg, beaten (adds richness)
- 1 tablespoon vinegar (white or apple cider vinegar for extra tenderness)
🔹 Want extra flavor? Substitute half the shortening with butter for a more buttery taste!
🛠 Tools You’ll Need
✔ Large mixing bowl
✔ Pastry cutter or fork
✔ Measuring cups & spoons
✔ Rolling pin
✔ Plastic wrap
✔ Pie pan
🍽 How to Make Flaky Pie Crust
Follow these simple steps to create the perfect homemade pie crust!
1️⃣ Prepare the Dry Ingredients
- In a large mixing bowl, whisk together flour, salt, and cream of tartar.
2️⃣ Cut in the Shortening
- Using a pastry cutter, fork, or your fingertips, cut the shortening into the dry ingredients.
- Continue until the mixture looks like coarse crumbs with pea-sized pieces.
3️⃣ Prepare the Wet Ingredients
- In a separate bowl, whisk together:
- 4 tbsp ice-cold water
- Beaten egg
- Vinegar
4️⃣ Combine Wet & Dry Ingredients
- Gradually drizzle the wet mixture into the flour mixture while stirring gently with a fork or wooden spoon.
- Mix until the dough just comes together (don’t overmix—it will make the crust tough!).
- If the dough seems too dry, add 1 tbsp of ice water at a time until a soft but firm dough forms.
5️⃣ Form & Chill the Dough
- Divide the dough into two equal portions.
- Shape each portion into a flat disc (this makes rolling easier).
- Wrap tightly in plastic wrap and refrigerate for at least 30 minutes (or up to 24 hours).
🔥 Rolling & Using the Pie Crust
🥧 For a Single Pie Crust:
- Lightly flour your work surface to prevent sticking.
- Roll out one dough disc into a 12-inch circle (about ⅛ inch thick).
- Gently transfer the dough to a pie pan, pressing lightly into the edges.
- Trim excess dough and crimp the edges as desired.
🥧 For a Double-Crust Pie:
- Add your filling to the bottom crust.
- Roll out the second dough disc and place it on top.
- Trim excess dough, then seal and crimp the edges.
- Cut small slits on the top to allow steam to escape.
🥧 For a Pre-Baked Crust (Blind Baking):
- Prick the bottom with a fork.
- Line the crust with parchment paper and fill it with pie weights or dry beans.
- Bake at 375°F (190°C) for 10-15 minutes, or until lightly golden.
⭐ Expert Tips for the Best Pie Crust
✔ Use very cold ingredients! – Cold fat creates flaky layers. Chill your shortening, butter, and even the flour if needed.
✔ Don’t overwork the dough. – Overmixing activates gluten, making the crust tough.
✔ Chill before rolling. – Cold dough prevents shrinkage in the oven.
✔ Brush with an egg wash for a golden crust. – Mix 1 beaten egg + 1 tbsp milk and brush lightly before baking.
✔ Freeze extra dough! – It lasts up to 3 months when wrapped well.
🥄 What to Serve with Pie Crust
This crust is perfect for any pie! Here are some delicious filling ideas:
- Sweet Pies: Apple pie, pumpkin pie, pecan pie, blueberry pie 🍏🍂
- Savory Pies: Chicken pot pie, quiche, shepherd’s pie 🥧🥓
- Hand Pies & Tarts: Use for mini pies or galettes!
🏺 Storage Instructions
✔ In the Fridge: Keep wrapped dough for up to 3 days.
✔ In the Freezer: Store wrapped dough discs for up to 3 months. Thaw overnight in the fridge before rolling.
❓ Frequently Asked Questions (FAQ)
Can I make this pie crust ahead of time?
Yes! The dough can be made 1-2 days in advance and stored in the fridge. You can also freeze it for up to 3 months.
What’s the best fat for pie crust?
Shortening creates the flakiest crust, while butter adds flavor. You can use a mix of half butter, half shortening for the best of both worlds!
How do I prevent a soggy bottom crust?
For juicy fruit pies, brush the bottom crust with egg white before adding the filling. This creates a barrier that keeps it crisp!
Can I use this crust for savory pies?
Absolutely! This crust works beautifully for chicken pot pies, quiches, and meat pies.
🥧 Final Thoughts
And there you have it—the perfect, foolproof pie crust that will make your homemade pies shine! Whether you’re baking a classic apple pie or a savory quiche, this crust will deliver flaky, buttery perfection every time.
💬 Tried this recipe? Leave a review & rating below! Share your creations on Pinterest and tag me—I’d love to see your beautiful pies! 🥧😍
🍑 More Delicious Pie Recipes to Try:
- Classic Apple Pie 🍏
- Pumpkin Pie with a Buttery Crust 🎃
- Southern Pecan Pie 🥜
Happy Baking! 🥧✨