If you’re looking for a cool, creamy, and protein-packed treat, these Peanut Butter Frozen Yogurt Bars are exactly what you need! They’re rich, nutty, slightly sweet, and incredibly easy to make—perfect for a healthy dessert or a midday snack.
The best part? They require just a handful of wholesome ingredients and come together in minutes before freezing into deliciously creamy bars. Plus, they’re gluten-free, naturally sweetened, and customizable to your taste!
Let’s dive in! Save this recipe and subscribe for more healthy, easy-to-make treats!
Why You’ll Love These Frozen Yogurt Bars
✔ Healthy & Satisfying – Packed with protein from Greek yogurt and peanut butter. ✔ No-Bake & Easy – Just mix, freeze, and enjoy—no oven required! ✔ Naturally Sweetened – Made with honey or maple syrup instead of refined sugar. ✔ Perfect Texture – Creamy, smooth, and slightly chewy with crunchy toppings. ✔ Great for Meal Prep – Store in the freezer for a grab-and-go snack anytime!
What Do These Yogurt Bars Taste Like?
Think of a peanut butter cheesecake ice cream bar but healthier! The Greek yogurt gives it a slight tang, while the peanut butter adds creaminess and nuttiness. The honey or maple syrup provides just the right amount of sweetness, and if you add chocolate chips and chopped peanuts, you get an irresistible crunchy-smooth combo!
💡 Pro Tip: These bars taste even better after sitting at room temperature for a few minutes before eating—they get extra creamy and dreamy!
Ingredients You’ll Need
🥜 1 cup Greek yogurt (full-fat for extra creaminess) 🥜 ½ cup peanut butter (natural, creamy, or chunky) 🍯 ¼ cup honey or maple syrup (for natural sweetness) 🍦 1 teaspoon vanilla extract (for a dessert-like flavor) 🍫 ¼ cup mini chocolate chips (optional, but highly recommended!) 🥜 ¼ cup chopped peanuts (optional, for extra crunch)
Kitchen Tools Needed
✔ Mixing bowl – To combine all ingredients smoothly. ✔ Spatula – For spreading the mixture evenly. ✔ 8×8-inch baking dish – The perfect size for uniform bars. ✔ Parchment paper – Makes removing and cutting the bars super easy.
Ingredient Swaps & Customizations
🔹 Nut-Free Option? Swap peanut butter for sunflower seed butter or tahini. 🔹 Dairy-Free? Use coconut yogurt instead of Greek yogurt. 🔹 Extra Crunch? Sprinkle crushed granola, pretzels, or coconut flakes on top! 🔹 More Protein? Add a scoop of vanilla or chocolate protein powder to the mix. 🔹 Chocolate Lover’s Twist? Drizzle melted dark chocolate over the bars before freezing.
In a bowl, whisk together Greek yogurt, peanut butter, honey (or maple syrup), and vanilla extract until smooth and well combined.
2. Fold in the Extras
If using, stir in mini chocolate chips and chopped peanuts for extra texture and flavor.
3. Line the Pan
Line an 8×8-inch baking dish with parchment paper, leaving an overhang for easy removal.
4. Spread & Smooth
Pour the yogurt mixture into the lined baking dish and spread it evenly using a spatula.
5. Freeze Until Firm
Place the dish in the freezer for at least 4 hours, or until the bars are completely firm.
6. Slice into Bars
Once frozen, lift the mixture out using the parchment paper and cut it into bars of your preferred size.
7. Enjoy & Store!
Serve immediately or store leftovers in an airtight container in the freezer for up to 2 months.
What to Serve with These Yogurt Bars
🍓 With Fresh Berries – The tangy-sweet combo is irresistible! ☕ Alongside Coffee or Tea – A perfect afternoon snack. 🍌 Topped with Sliced Bananas – For an extra fruity twist. 🍯 Drizzled with Extra Honey – If you love a little extra sweetness.
Tips for Perfect Frozen Yogurt Bars
✅ Use full-fat Greek yogurt – This makes the bars creamier and less icy. ✅ Let them sit for a few minutes before eating – This softens them just enough for the best texture. ✅ Line the pan with parchment paper – Makes removing and cutting super easy! ✅ For an even freeze, spread evenly – A smooth, uniform layer ensures even firmness. ✅ Use natural peanut butter – No added sugars or oils for the best flavor and consistency.
Storage Instructions
🧊 Refrigeration: These bars are best kept frozen. However, if stored in the fridge, they’ll be soft and creamy like a mousse bar. ❄️ Freezing: Store in an airtight container in the freezer for up to 2 months. Separate layers with parchment paper to prevent sticking.
Frequently Asked Questions (FAQ)
1. Can I make these bars vegan?
Yes! Just use dairy-free coconut yogurt and maple syrup instead of honey.
2. Why are my bars too hard?
If they freeze too solid, let them sit at room temperature for 5 minutes before eating for a softer texture.
3. Can I make this into a frozen yogurt bark instead?
Absolutely! Instead of a thick layer, spread the mixture thinner on a baking sheet and freeze. Once solid, break it into pieces like bark!
4. Can I use another nut butter?
Yes! Almond butter, cashew butter, or sunflower seed butter all work great.
5. How can I make this more like ice cream?
For a creamier, ice cream-like consistency, blend in half a frozen banana before freezing.
Final Thoughts: The Easiest Frozen Snack You’ll Ever Make!
These Peanut Butter Frozen Yogurt Bars are the perfect balance of creamy, nutty, sweet, and refreshing. They’re an easy, healthy treat that you can make in minutes and enjoy straight from the freezer whenever you need a cool snack!
How to Make a Chocolate-Dipped Version 🍫
Want to make these bars even more indulgent? Dip them in chocolate!
Steps for a Chocolate Coating:
Melt ½ cup dark or milk chocolate chips with 1 teaspoon coconut oil in the microwave (30-second intervals, stirring in between).
Once the bars are frozen, dip the bottom half into the melted chocolate or drizzle over the top.
Place back on a parchment-lined tray and freeze for another 15 minutes to set.
💡 Pro Tip: Sprinkle chopped peanuts, sea salt, or extra mini chocolate chips over the melted chocolate before freezing!
How to Turn This Into a Frozen Yogurt Pie 🥧
Want to transform this recipe into a no-bake frozen dessert pie? Here’s how:
Make a crust: Crush 1 ½ cups of graham crackers and mix with ¼ cup melted butter. Press into a 9-inch pie dish.
Prepare the filling: Use the same peanut butter yogurt mixture as the bars and spread it over the crust.
Freeze for 4+ hours, then slice into pie wedges and serve!
Optional: Top with melted chocolate, crushed peanuts, or a dollop of whipped cream.
🍰 Perfect for a summer party or make-ahead dessert!
Fun Add-Ins for More Flavor 🔥
Want to switch things up? Try these mix-ins for extra flavor and crunch:
Swirl in 2 tablespoons of strawberry or raspberry jam for a PB&J version.
Add crushed pretzels for a salty-sweet contrast.
Mix in shredded coconut for a tropical twist.
Stir in cocoa powder (1 tbsp) for a chocolate-peanut butter version.
Sprinkle in cinnamon or nutmeg for a warm, cozy flavor.
✨ Customizing your bars makes them even more fun and delicious!
Best Way to Pack These for On-the-Go Snacking 🎒
Want to bring these bars to work, the gym, or on a road trip? Here’s how to keep them fresh and frozen:
✔ Wrap each bar individually in parchment paper or plastic wrap. ✔ Store in an insulated lunchbox with an ice pack if taking them to-go. ✔ If they start softening, enjoy as a creamy yogurt bar instead of frozen!
🚗 Perfect for busy mornings or post-workout snacks!
If you try this recipe, let me know how you liked it! Leave a comment below or tag me in your photos on Pinterest & Instagram—I’d love to see your creations!
These Peanut Butter Frozen Yogurt Bars are a cool, creamy, protein-packed treat, perfect for a healthy dessert or a midday snack. They are easy to make, gluten-free, and naturally sweetened!
My sister raised me after our mother died. She was only nineteen years old. I was twelve. While other girls her age worried about college classes, parties, and dating, she worried about rent, grocery bills, and whether I had clean clothes for school. She worked double shifts at a diner during the day and cleaned…
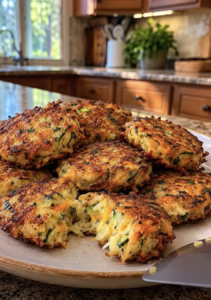
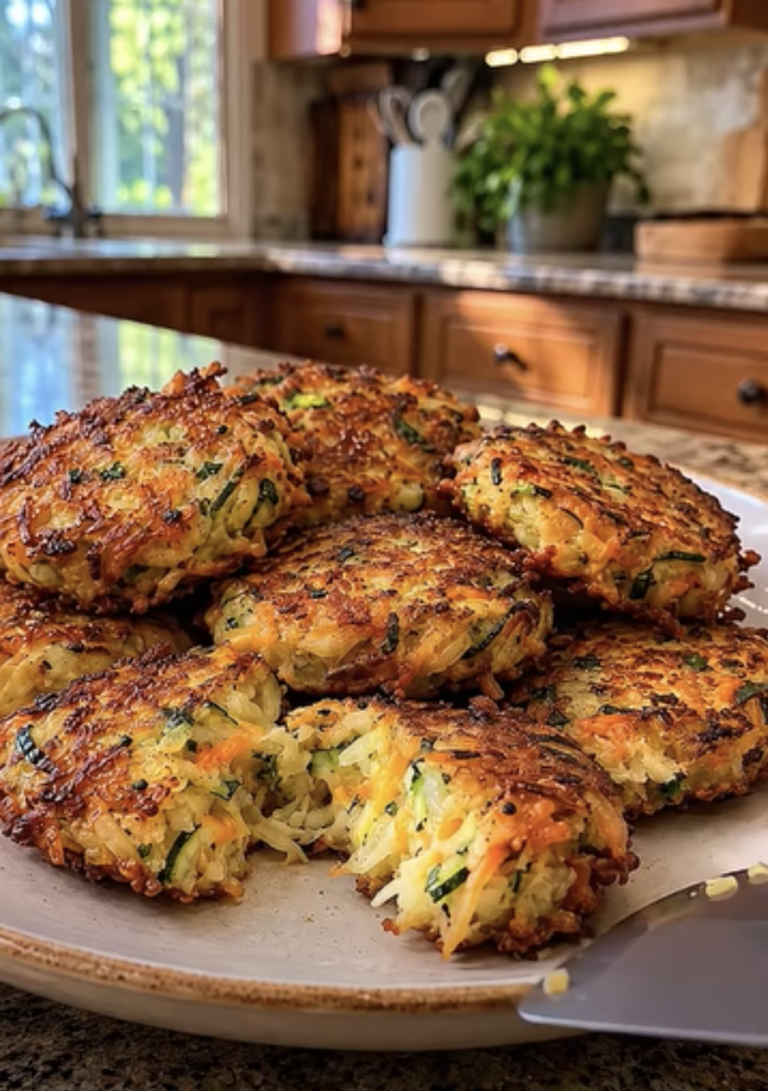
Crispy Zucchini and Potato Fritters with Cheese combine freshly grated zucchini, tender potatoes, melted cheese, garlic, and simple seasonings to create a golden, crunchy snack that tastes delicious straight from the skillet. These homemade fritters deliver everything you want in a quick, comforting dish. The outside turns beautifully crisp, while the inside stays soft, cheesy,…
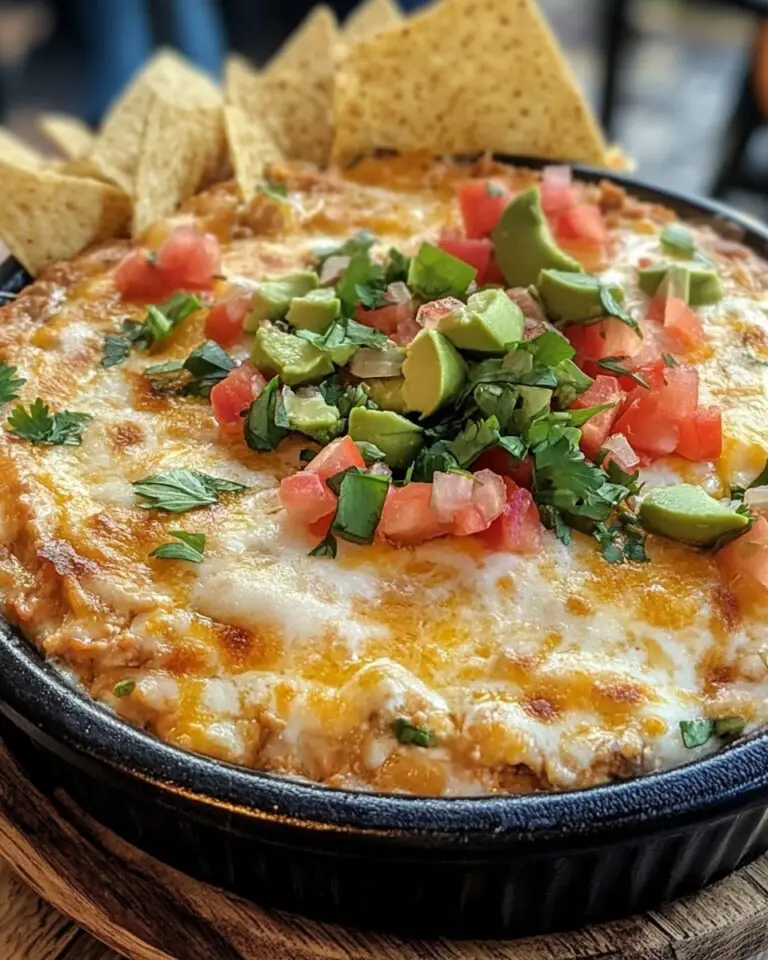
When it comes to party dips, Texas Trash Dip is in a league of its own. This creamy, cheesy, and totally irresistible dip brings together classic Tex-Mex flavors, perfect for game day, potlucks, or any gathering where you want to wow guests with a crowd-pleaser. It’s packed with layers of flavor – from the seasoned…
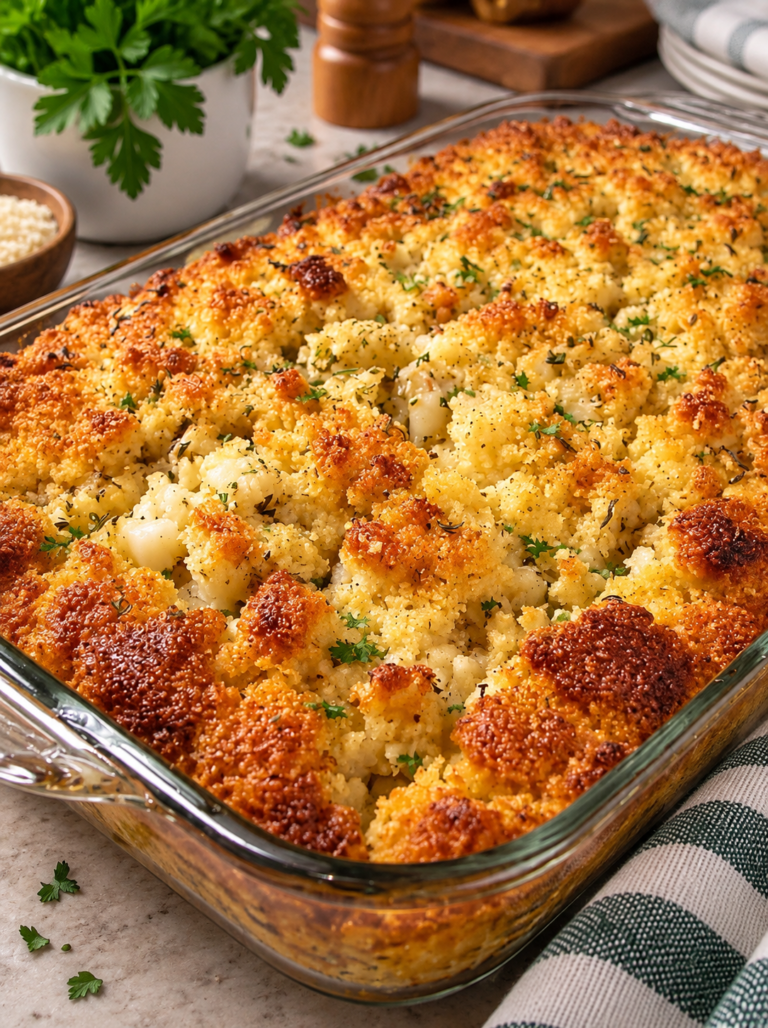
Southern Cornbread Dressing brings classic comfort to the table with tender crumbled cornbread, buttery onions and celery, fragrant sage, thyme, rich broth, and eggs that hold everything together. The center stays moist and soft, while the top develops lightly golden edges that make every serving especially satisfying. This Southern Cornbread Dressing works beautifully for Thanksgiving,…
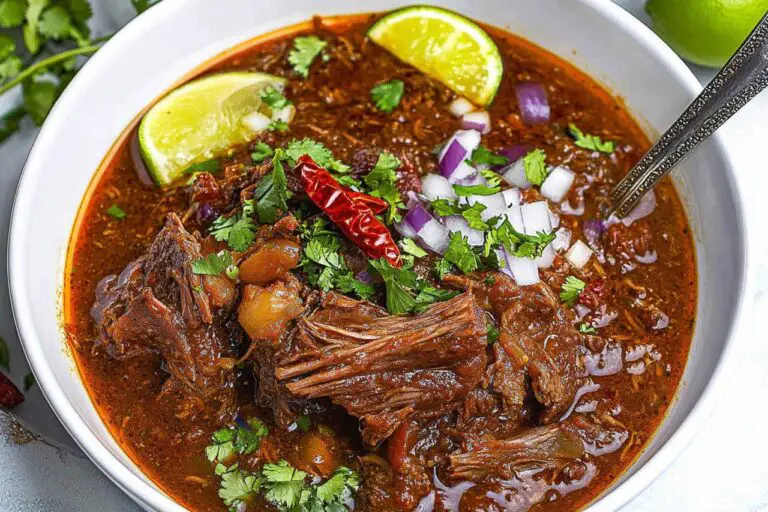
Birria is a rich, flavorful, and comforting Mexican stew that’s perfect for family gatherings or a cozy night in. Traditionally made with goat or beef, this dish is slow-cooked until the meat is tender and infused with deep, smoky, and slightly spicy flavors. Serve it as a stew or use the meat for tacos, quesabirria,…
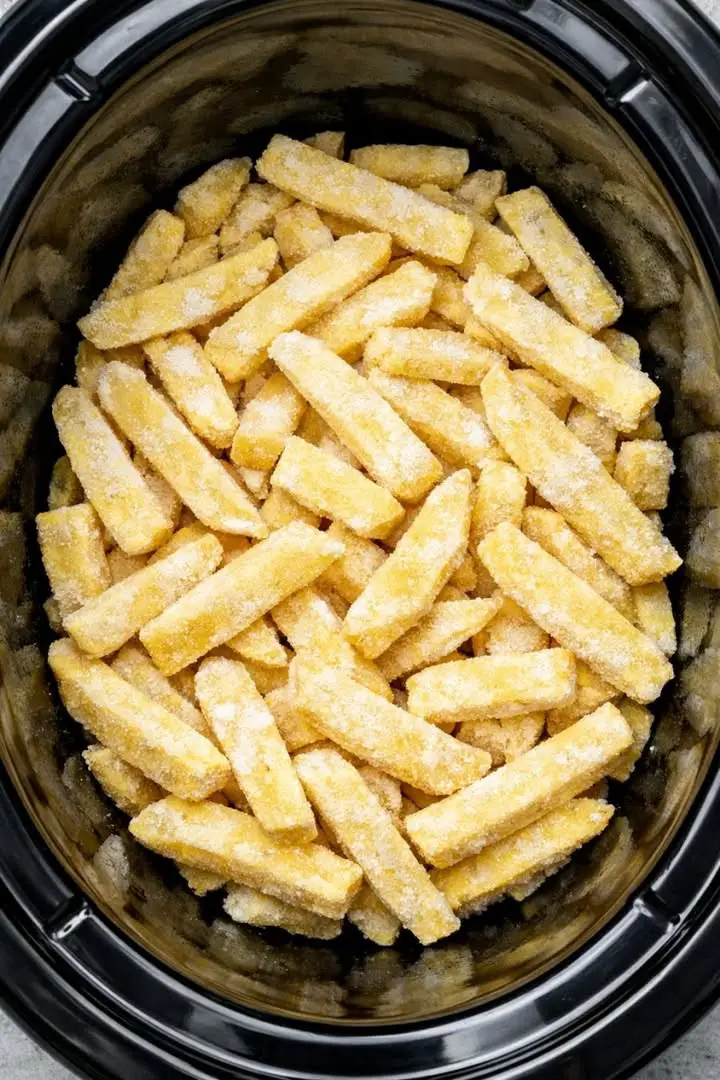
4-Ingredient Slow Cooker Tax Season Potatoes are the ultimate comfort food shortcut when life gets busy. With frozen steak fries, cheese, ranch seasoning, and bacon, this recipe turns simple freezer staples into a rich, cheesy, crowd-pleasing dish. It’s the kind of meal that practically cooks itself while you focus on everything else on your plate….
One Comment
Do you not offer a printable version of this recipe or have I overlooked a link that allows for it?



Do you not offer a printable version of this recipe or have I overlooked a link that allows for it?