Introduction
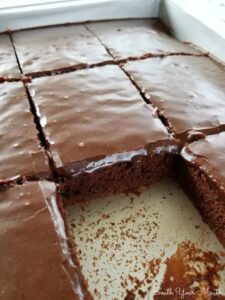
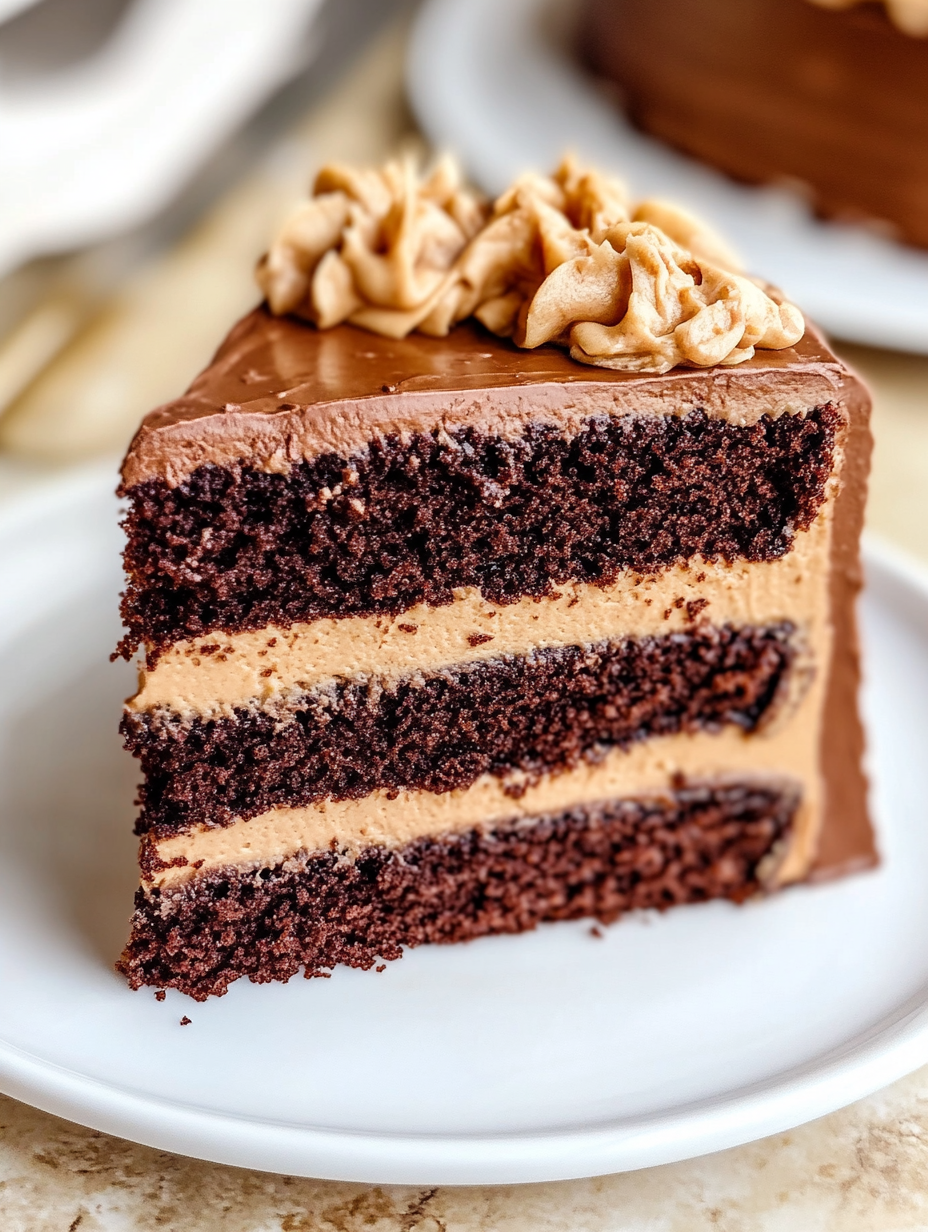
The combination of peanut butter and chocolate has long been cherished as one of the most indulgent and satisfying flavor pairings. The Peanut Butter Chocolate Celebration Cake takes this beloved duo to new heights. This decadent dessert is a layered masterpiece that boasts rich, moist chocolate cake, luscious peanut butter frosting, and a glossy chocolate ganache. Whether you’re celebrating a special occasion or simply treating yourself to a delicious confection, this cake promises to delight every chocolate and peanut butter enthusiast.
Detailed Ingredients
For the Chocolate Cake:
– 1 and 3/4 cups all-purpose flour
– 3/4 cup unsweetened cocoa powder
– 2 cups granulated sugar
– 1 and 1/2 teaspoons baking powder
– 1 and 1/2 teaspoons baking soda
– 1 teaspoon salt
– 2 large eggs
– 1 cup whole milk
– 1/2 cup vegetable oil
– 2 teaspoons vanilla extract
– 1 cup boiling water
For the Peanut Butter Frosting:
– 1 cup unsalted butter, room temperature
– 1 cup creamy peanut butter
– 4 cups powdered sugar
– 1/4 cup heavy cream
– 2 teaspoons vanilla extract
For the Chocolate Ganache:
– 1 cup semi-sweet chocolate chips
– 1/2 cup heavy cream
Prep Time, Cook Time, Total Time, Yield
Prep Time: 35 minutes
Cook Time: 35 minutes
Total Time: 1 hour 10 minutes
Yield: 10-12 servings
Detailed Directions and Instructions
Creating this cake is a delightful process that brings together a variety of techniques to craft a dessert that is as pleasing to the eye as it is to the palate.
1. Preheat your oven to 350°F (175°C) and prepare your baking pans by greasing and flouring two 9-inch round cake pans. This will ensure the cakes release easily after baking.
2. In a large mixing bowl, begin by combining the dry ingredients: flour, cocoa powder, sugar, baking powder, baking soda, and salt. Use a whisk to ensure they are thoroughly mixed, eliminating any lumps.
3. Add the wet ingredients to the dry mixture: eggs, milk, vegetable oil, and vanilla extract. Using a hand mixer or stand mixer, blend until the batter is smooth and well incorporated.
4. Once the base batter is ready, slowly add the boiling water. This step is crucial as the hot water helps to bloom the cocoa powder, enhancing the chocolate flavor. Mix until the batter is smooth; note that it will be relatively thin.
5. Divide the batter evenly between the prepared cake pans. Smooth the tops with a spatula and bake in the preheated oven for 30-35 minutes. The cakes are done when a toothpick inserted into the center comes out clean, with no wet batter attached.
6. Allow the cakes to cool in the pans for about 10 minutes before turning them out onto a wire rack to cool completely.
7. While the cakes are cooling, prepare the peanut butter frosting. Start by beating the softened butter and peanut butter together until creamy and well blended.
8. Gradually incorporate the powdered sugar, adding it in stages. Beat until each addition is fully mixed before adding more. This ensures a smooth and creamy consistency.
9. Add the heavy cream and vanilla extract to the frosting. Continue to beat the mixture until light and fluffy, adjusting for your desired texture.
10. For the chocolate ganache, heat the heavy cream in a small saucepan over medium heat until it’s just simmering. Pour the hot cream over the chocolate chips in a heatproof bowl. Let it sit undisturbed for a few minutes to allow the chocolate to melt, then stir until smooth and glossy.
11. To assemble the cake, place one cake layer on a serving plate or cake stand. Spread a generous amount of peanut butter frosting over the top, smoothing it with a spatula.
12. Place the second cake layer on top, pressing gently to secure. Spread more frosting over the top and sides of the cake, ensuring even coverage.
13. Pour the chocolate ganache over the top of the cake, allowing it to drizzle artistically down the sides. Use a spatula to help guide the flow if needed.
14. For the best texture, refrigerate the assembled cake for at least 30 minutes before serving. This allows the ganache to set slightly, making it easier to slice.
Notes
When preparing the cake, ensure that all ingredients are at room temperature, particularly the butter and eggs. This helps with even mixing and achieving a smoother batter. For a more intense chocolate flavor, you can substitute a portion of the semi-sweet chocolate chips with dark chocolate. If you prefer a less sweet frosting, reduce the amount of powdered sugar to taste.
Cook Techniques-FAQ
Why Add Boiling Water to the Batter?
Adding boiling water to the cake batter intensifies the chocolate flavor by blooming the cocoa powder. The heat allows the cocoa particles to expand and release more flavor, resulting in a richer, more robust taste.
Can I Make the Cake in Advance?
Yes, you can bake the cake layers a day or two in advance. Once cooled, wrap them tightly in plastic wrap and store at room temperature. The frosting and ganache can also be prepared ahead of time and stored in the refrigerator. Just be sure to bring them to room temperature and give them a quick whip before assembling the cake.
Conclusion
The Peanut Butter Chocolate Celebration Cake is the perfect treat for anyone who loves the classic combination of chocolate and peanut butter. Its complex flavors and textures create a dessert that’s both comforting and sophisticated. Whether enjoyed at a birthday party, anniversary, or simply a special family dinner, this cake will surely impress your guests and satisfy your sweet tooth.
More Recipes Suggestions and Combinations
For those who can’t get enough of peanut butter and chocolate, consider trying other delightful recipes such as chocolate peanut butter brownies, peanut butter chocolate mousse parfaits, or even a no-bake peanut butter chocolate pie. Each of these desserts highlights the harmony between chocolate and peanut butter in unique and delicious ways, offering a variety of textures and preparations to explore. Experiment with different combinations, such as adding a layer of caramel in the cake or incorporating chopped peanuts for added crunch, to customize each recipe to your taste.
Peanut Butter Chocolate Celebration Cake
Ingredients
Method
- Preheat your oven to 350°F (175°C) and prepare your baking pans by greasing and flouring two 9-inch round cake pans.
- In a large mixing bowl, combine the dry ingredients: flour, cocoa powder, sugar, baking powder, baking soda, and salt. Whisk to eliminate lumps.
- Add the wet ingredients: eggs, milk, vegetable oil, and vanilla extract. Blend until smooth.
- Slowly add the boiling water, mixing until smooth. The batter will be thin.
- Divide the batter between the prepared cake pans and bake for 30-35 minutes. A toothpick should come out clean.
- Allow the cakes to cool in the pans for 10 minutes before transferring to a wire rack to cool completely.
- In a bowl, beat the softened butter and peanut butter together until creamy.
- Gradually incorporate the powdered sugar, mixing after each addition until smooth.
- Add heavy cream and vanilla, beating until light and fluffy.
- Heat heavy cream in a saucepan until just simmering. Pour over chocolate chips and let sit for a few minutes.
- Stir until smooth and glossy.
- Place one cake layer on a serving plate, topping it with peanut butter frosting.
- Add the second layer, pressing gently, then frost the top and sides.
- Pour chocolate ganache over the top, letting it drizzle down the sides.
- Refrigerate the assembled cake for at least 30 minutes before serving.