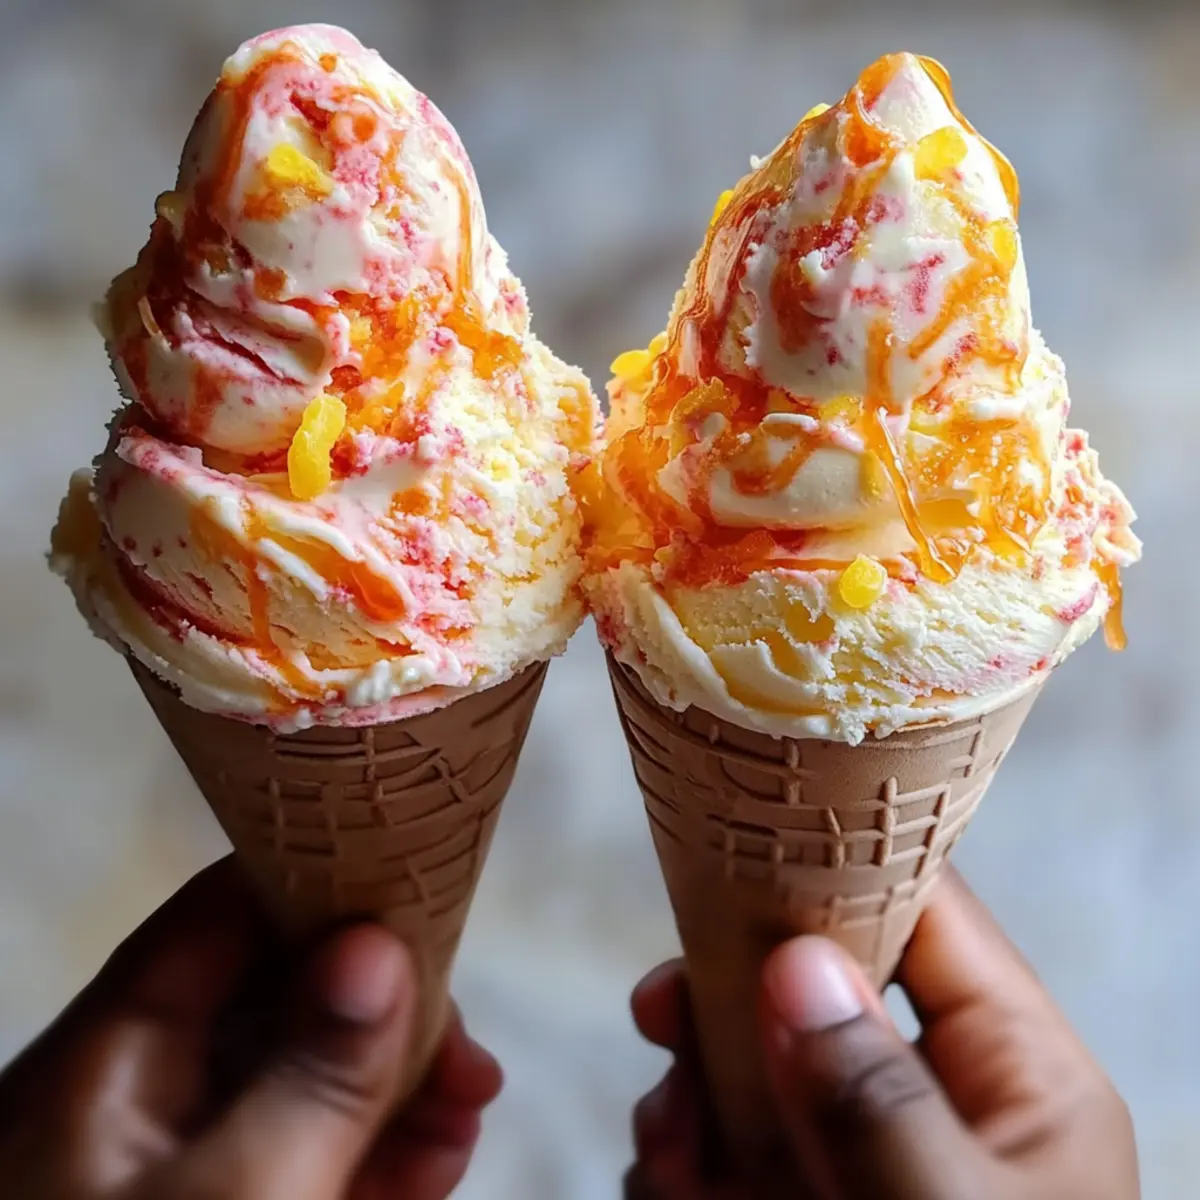
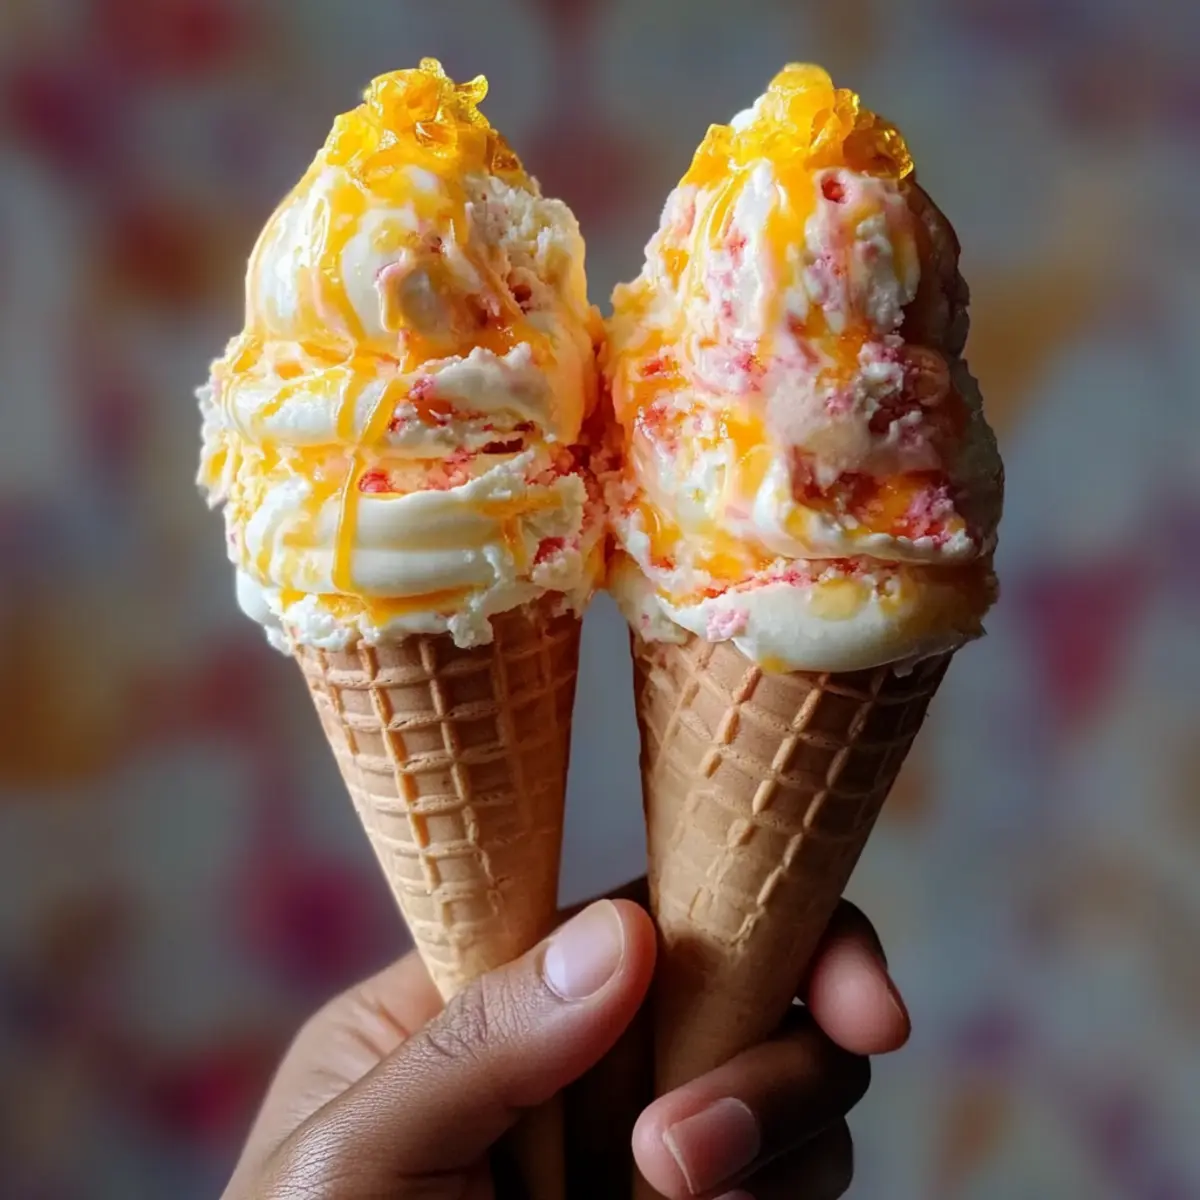
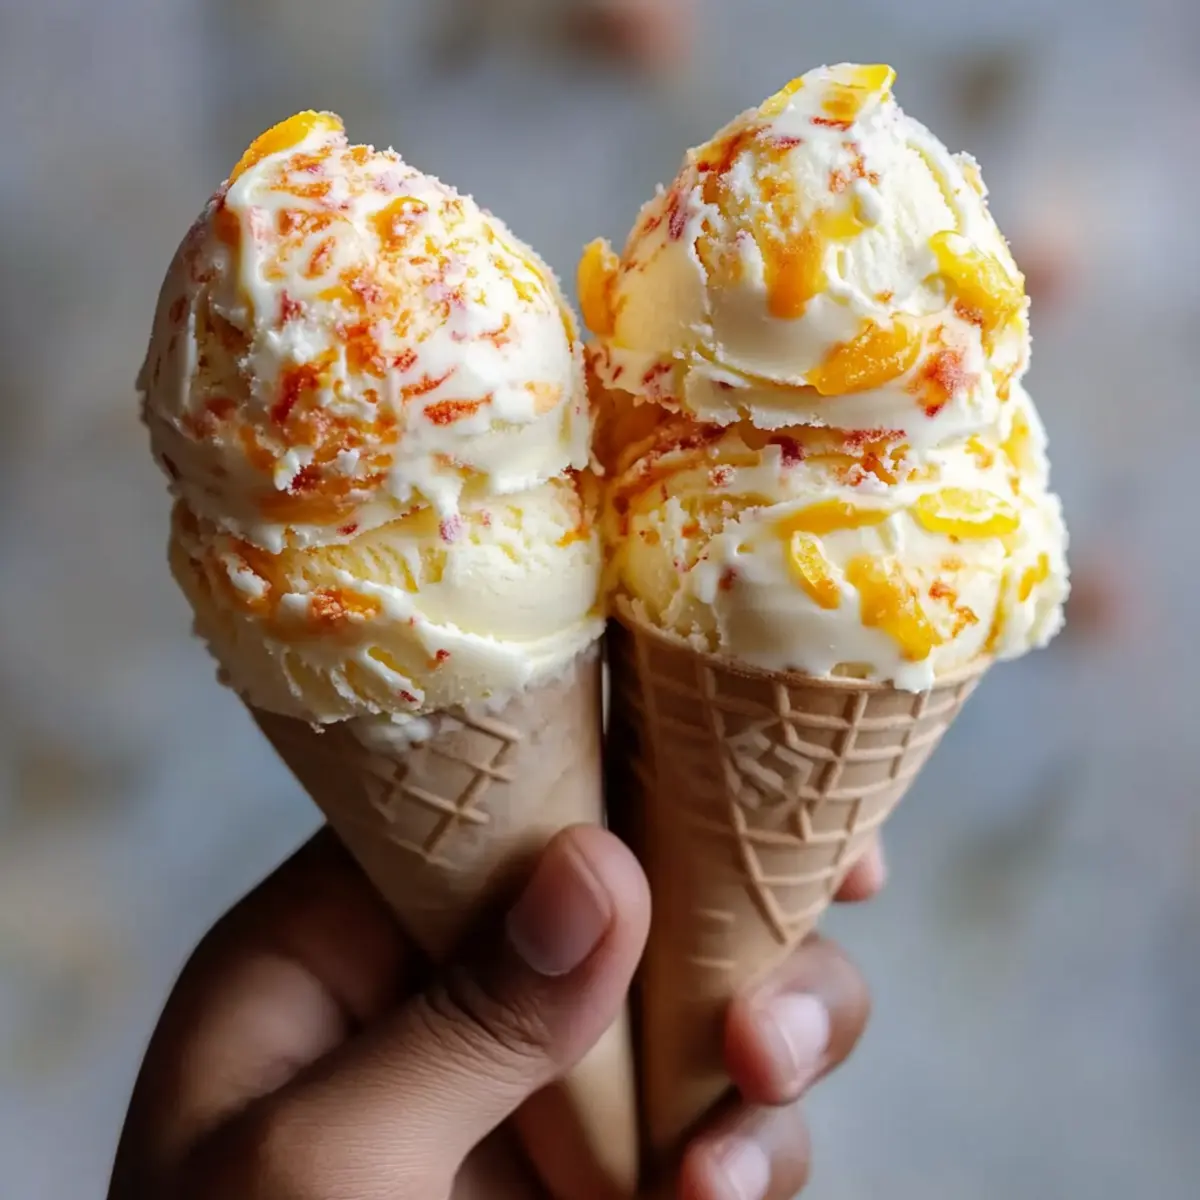
Picture this: the sun sets on a lazy summer afternoon, and all around you, the scent of tropical bliss fills the air. That’s the moment I discovered the magic of No-Churn Painkiller Ice Cream—a creamy, dreamy delight that whisks you away to a beachside paradise with every bite. This luscious dessert, layered with vibrant pineapple, rich coconut, and a splash of zesty orange, is as simple to prepare as it is satisfying to enjoy.
Whether you’re hosting a warm-weather gathering or simply treating yourself to a mini-vacation at home, this frozen gem can effortlessly cater to your palate—boozy for the adventurous or alcohol-free for the family-friendly occasions. With customizable options and no ice cream maker required, you’ll find yourself returning to this recipe again and again, each scoop more blissful than the last. Let’s dive into the tropical goodness that will elevate your dessert game and keep your taste buds singing!
Why Is Painkiller Ice Cream a Must-Try?
Deliciously Tropical: The blend of pineapple, coconut, and orange delivers a refreshing burst of tropical flavors that will transport your taste buds to sunny shores.
Effortless Preparation: With no ice cream maker required, this no-churn recipe is a breeze, making it perfect for both novice cooks and seasoned chefs alike.
Customizable Delight: Tailor this recipe to your preference by swapping in different flavor add-ins or enjoying it as a virgin version—the possibilities are endless!
Cool Treat for All: Whether at a summer gathering or a cozy night in, this ice cream delights everyone, making it a crowd-pleaser that satisfies all ages.
Quick Freeze Time: Ready to enjoy after just a few hours in the freezer, this recipe saves you time while still delivering rich, creamy indulgence.
Painkiller Ice Cream Ingredients
For the Base
• Coconut Cream – Provides richness and creaminess; use full-fat coconut milk, chilled overnight to separate the solids if needed.
• Heavy Cream – Adds volume and contributes to the airy texture; no substitutions advised.
• Sweetened Condensed Milk – Sweetens and adds a smooth consistency; essential for texture; do not omit.
• Pineapple Juice – Adds tropical flavor; blend canned pineapple chunks for a thicker texture if desired.
• Orange Juice – Brightens the flavor profile; no direct substitutes, though lemon juice can add a different citrus note.
• Dark Rum (optional) – Provides depth of flavor; use spiced or coconut rum, or omit for a kid-friendly version.
• Vanilla Extract – Enhances sweetness and flavor complexity; no substitutions advised.
• Salt – Balances sweetness and enhances overall flavor; essential ingredient for a well-rounded taste.
Optional Add-Ins
• Crushed Pineapple – For added texture; incorporate into the mixture before freezing for tropical bites.
• Caramel – Adds a sweet swirl; drizzle in for a decadent twist.
• Toasted Coconut – Provides crunch and extra coconut flavor; mix in for delightful contrast.
This No-Churn Painkiller Ice Cream promises to amaze your loved ones with every scoop—whether it’s a vibrant flavor burst or a creamy escape, the joy is yours to craft!
How to Make Painkiller Ice Cream
- Chill Ingredients and Tools: Begin by refrigerating the heavy cream and coconut cream for at least an hour. Also, chill your mixing bowl and beaters to help achieve better whipping results.
- Whip the Heavy Cream: In your chilled bowl, beat the heavy cream using an electric mixer until stiff peaks form. You want it fluffy and airy, like a cloud, so set it aside gently.
- Mix the Base: In a separate large bowl, whisk together the coconut cream, sweetened condensed milk, pineapple juice, orange juice, any dark rum if using, vanilla extract, and salt until everything is beautifully smooth and blended.
- Fold in Whipped Cream: Carefully fold the whipped cream into the tropical mixture using a spatula. Be gentle! You want the airy texture to remain intact without any streaks showing.
- Add Extras (Optional): This is your moment to shine! If you like, mix in crushed pineapple, a swirl of caramel, or toasted coconut for an extra flavor punch before freezing.
- Freeze: Pour the mixture into a loaf pan or a suitable freezer-safe container. Smooth the top with a spatula, cover properly, and freeze for at least 6 hours or overnight until it’s set and scoopable.
Optional: Serve in a coconut shell for a festive look!
Exact quantities are listed in the recipe card below.
Make Ahead Options
These Painkiller Ice Cream preparations are perfect for busy home cooks looking to save time! You can whip up the mixture and freeze it up to 24 hours in advance, ensuring all the flavors meld beautifully while saving you precious time on the day you plan to serve. To maintain the ice cream’s rich and creamy texture, refrigerate the heavy cream and coconut cream beforehand for at least an hour to whip perfectly. Once frozen, keep the ice cream covered tightly to avoid freezer burn. When you’re ready to serve this delightful treat, simply let it sit at room temperature for 5-10 minutes before scooping, achieving that same luscious consistency you love in Painkiller Ice Cream!
What to Serve with Painkiller Ice Cream?
Imagine the flavors of the tropics dancing together, elevating your dessert experience even further.
- Grilled Pineapple: This caramelized delight brings out the natural sweetness and adds a juicy, smoky contrast to the creamy ice cream.
- Toasted Coconut Flakes: A light, crunchy topping that enhances the coconut flavor while providing a delightful texture to your frozen treat.
- Chocolate Drizzle: A rich, velvety sauce that adds depth and a hint of indulgence, perfectly complementing the tropical notes of the ice cream.
- Rum Punch: A fruity, refreshing cocktail that echoes the rum in the ice cream, creating a harmonious pairing for festive gatherings.
- Coconut Macaroons: These chewy, sweet bites echo the flavors found in the ice cream, offering a delightful texture contrast with every spoonful.
- Fresh Berries: Strawberries or mango slices brighten up the dish and add a tangy freshness that balances the rich creaminess of the ice cream.
- Key Lime Pie: A zesty dessert that perfectly cuts through the sweetness, offering a refreshing palate cleanser between rich, creamy bites.
- Butterscotch Sauce: Drizzling this warm sauce brings a rich, buttery sweetness that harmonizes perfectly with the tropical flavors of your No-Churn Painkiller Ice Cream.
How to Store and Freeze Painkiller Ice Cream
- Freezer: Store Painkiller Ice Cream in an airtight container in the freezer for up to 2 weeks. This helps maintain its creamy texture and flavor.
- Wrapping: To prevent freezer burn, press plastic wrap directly onto the surface of the ice cream before sealing the container.
- Serving: If the ice cream is too hard to scoop, allow it to sit at room temperature for 5–10 minutes before serving. This will make it easier to enjoy your delightful treat.
- Avoiding Crystals: For optimal creaminess, remember that frequent opening of the container can lead to ice crystals forming; take out only what you need!
Expert Tips for Painkiller Ice Cream
- Chill Everything: Cold ingredients are crucial; chilling the creams and tools beforehand ensures better whipping and a light texture.
- Condensed Milk Essential: Don’t skip the sweetened condensed milk! It’s key for that smooth, creamy consistency characteristic of this Painkiller Ice Cream.
- Controlled Alcohol: If adding rum, maintain the balance; too much can prevent the ice cream from firming up properly.
- Scoop with Ease: If your ice cream gets too hard, let it sit out for 5–10 minutes before scooping for effortless serving.
- Custom Flavor Options: For adventurous flavors, consider adding crushed maraschino cherries or a swirl of pineapple preserves to personalize your treat!
Painkiller Ice Cream Variations
Feel free to let your creativity shine and customize this delightful treat to suit your taste buds!
- Dairy-Free: Swap coconut cream for full-fat coconut milk, chilled overnight, for a deliciously creamy vegan alternative.
- Alcohol-Free: Omit the dark rum entirely, or replace it with coconut extract for a kid-friendly and equally delectable option.
- Fruit Packed: Mix in diced strawberries or mango for an extra fruity twist that brightens the flavor profile beautifully!
- Chocolate Drizzle: Incorporate a rich chocolate sauce swirl for a decadent contrast that takes this tropical delight to new heights.
- Nutty Crunch: Add chopped toasted macadamia nuts or almonds to give a lovely crunch and nutty flavor to every scoop.
- Spiced Up: Sprinkle in a pinch of cinnamon or nutmeg for a warm, spicy flavor that complements the tropical notes perfectly.
- Minty Fresh: Fold in crushed fresh mint leaves for a refreshing touch that enhances the overall experience.
- Swirls of Joy: Create a swirl of peanut butter or Nutella for a creamy, nutty surprise hidden within your icy paradise.
With these variations, you can craft a Painkiller Ice Cream that’s uniquely yours, ensuring every scoop becomes a memorable experience!
Painkiller Ice Cream Recipe FAQs
What kind of coconut cream should I use for the Painkiller Ice Cream?
Absolutely! Look for full-fat coconut cream, as it provides the rich and luscious texture this ice cream is known for. If you can’t find it, you can use full-fat coconut milk—just chill it overnight, and scoop out the solidified cream that forms on top.
How should I store Painkiller Ice Cream?
To keep your Painkiller Ice Cream fresh, store it in an airtight container in the freezer for up to 2 weeks. Be sure to press plastic wrap directly onto the surface of the ice cream before sealing it to prevent freezer burn and maintain that creamy texture.
Can I freeze Painkiller Ice Cream for longer than 2 weeks?
While it’s best consumed within 2 weeks for optimal flavor and texture, you can freeze it for up to 3 months. After that, the quality may decline. Just make sure it’s well-wrapped and stored properly to avoid freezer burn.
What should I do if my Painkiller Ice Cream is too hard to scoop?
Very! If your ice cream becomes too hard, let it sit at room temperature for about 5–10 minutes. This gentle thawing will make scooping much easier without compromising the texture. You can also run your ice cream scoop under warm water for a few seconds for added ease.
Are there any dietary considerations for Painkiller Ice Cream?
Great question! This recipe contains dairy and coconut, which may not be suitable for those with lactose intolerance or dairy allergies. If you’re making it for someone with dog allergies or dietary restrictions, feel free to replace the heavy cream with a dairy-free alternative and omit the alcohol to create a kid-friendly version. Just be sure to check labels for any hidden ingredients!
How can I customize my Painkiller Ice Cream?
The more the merrier! You can easily make this recipe your own by swapping in different juices like mango or passion fruit for tropical flair, or adding in popular mix-ins such as crushed cookies, chocolate chips, or fresh fruit. Let your creativity shine!

Irresistibly Creamy Painkiller Ice Cream: A Tropical Delight
Ingredients
Equipment
Method
- Chill the heavy cream and coconut cream for at least an hour, along with the mixing bowl and beaters.
- In a chilled bowl, beat the heavy cream until stiff peaks form, then set aside.
- In a separate large bowl, whisk together the coconut cream, sweetened condensed milk, pineapple juice, orange juice, dark rum (if using), vanilla extract, and salt until smooth.
- Fold the whipped cream into the tropical mixture gently, maintaining the airy texture.
- Mix in any optional add-ins like crushed pineapple, caramel, or toasted coconut if desired.
- Pour the mixture into a loaf pan, smooth the top, cover, and freeze for at least 6 hours or overnight.