Monster Peanut Butter Cheesecake Pie is the ultimate dessert for anyone who loves rich, creamy, and indulgent flavors. This no-fuss yet impressive dessert combines velvety cream cheese, smooth peanut butter, and a buttery graham cracker crust into one irresistible bite. Whether you’re celebrating a special occasion or simply craving something sweet, this pie delivers a satisfying and unforgettable experience.
I remember making this pie for a casual weekend gathering when I wanted something simple but impressive. I mixed together peanut butter and cream cheese, folded in whipped cream, and let it chill overnight. The next day, when I sliced into it, the creamy texture and rich flavor were beyond what I expected. Everyone kept asking for seconds, and since then, it has become one of my most requested desserts.
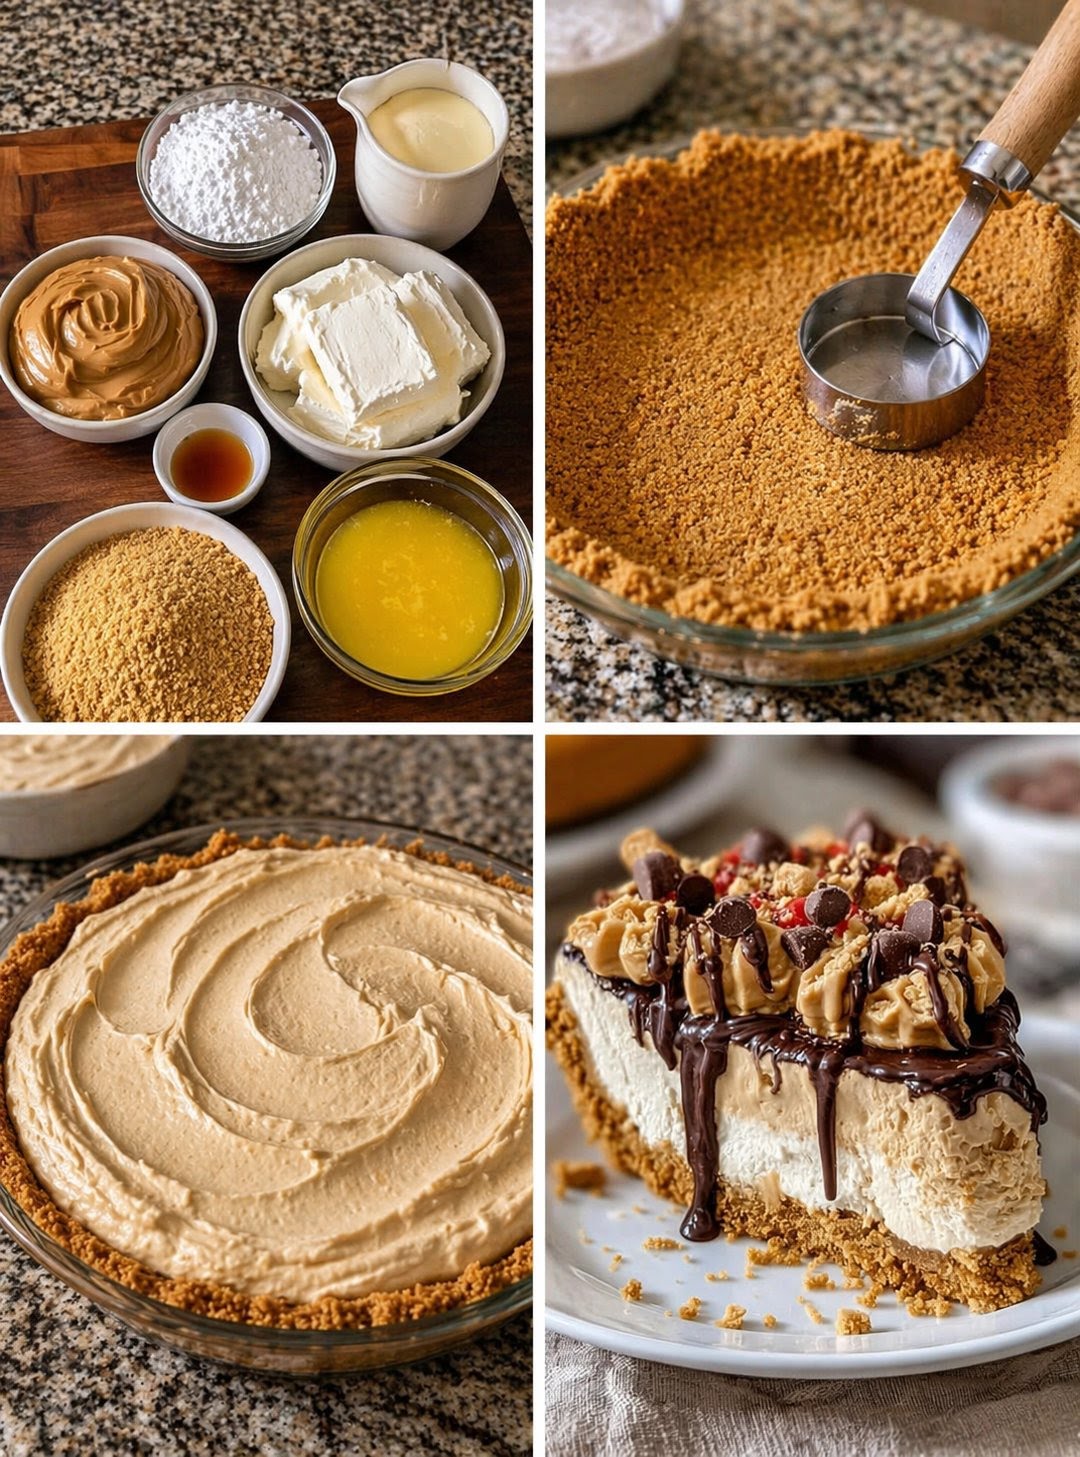
Ingredients
Equipment
Method
- Preheat oven to 350°F and mix graham cracker crumbs with melted butter.
- Press mixture into pie dish and bake for 10 minutes, then cool.
- Beat cream cheese, peanut butter, and powdered sugar until smooth.
- Add vanilla and fold in whipped cream.
- Spread filling into crust and top with chocolate chips.
- Chill for at least 4 hours before serving.
Notes
Ingredients That Make This Pie Irresistible
Core Ingredients for Rich Flavor
Monster Peanut Butter Cheesecake Pie uses a handful of simple ingredients that create a luxurious texture and bold flavor. Cream cheese forms the smooth and creamy base, while peanut butter adds richness and a nutty depth that defines the dessert.
Powdered sugar sweetens the filling without making it heavy, and whipped cream lightens the texture, making each bite airy and smooth. Graham cracker crumbs combined with melted butter create a sturdy and flavorful crust.
As highlighted in the original recipe , these ingredients come together to create a perfectly balanced dessert that is both indulgent and easy to prepare.
Optional Add-Ins for Extra Indulgence
You can easily elevate this pie with a few additions. Chocolate chips add a delightful contrast to the creamy filling, while chopped peanuts provide extra crunch.
For even more flavor, drizzle melted chocolate or caramel over the top. These additions enhance both the taste and presentation without complicating the recipe.
Step-by-Step Preparation Guide
Making the Graham Cracker Crust
Start by preheating your oven to 350°F (175°C). In a mixing bowl, combine graham cracker crumbs, melted butter, and a bit of sugar.
Press the mixture firmly into the bottom of a pie dish to form an even layer. Bake for about 10 minutes to set the crust, then let it cool completely.
This step creates a firm base that holds the creamy filling perfectly.
Preparing the Creamy Filling
In a large bowl, beat softened cream cheese until smooth. Add peanut butter and powdered sugar, mixing until fully combined.
Stir in vanilla extract, then gently fold in whipped cream. This creates a light, airy filling that still feels rich and indulgent.
Assembling and Chilling the Pie
Layering the Filling
Once the crust has cooled, pour the creamy peanut butter mixture into the pie dish. Spread it evenly using a spatula to create a smooth surface.
Sprinkle chocolate chips on top for added texture and flavor.
Chilling for Perfect Texture
Place the pie in the refrigerator for at least four hours, or overnight if possible. This allows the filling to set properly and enhances the flavor.
Chilling is essential for achieving that perfect sliceable consistency.
Tips for Best Results
Achieving a Smooth Filling
Make sure the cream cheese is fully softened before mixing. This prevents lumps and ensures a smooth texture.
Mix ingredients thoroughly but avoid overmixing once the whipped cream is added. This helps maintain a light and fluffy consistency.
Enhancing Flavor and Presentation
Use high-quality peanut butter for the best taste. Natural peanut butter can add a deeper flavor.
Garnish with whipped cream, chocolate drizzle, or chopped nuts to make the pie visually appealing.
Serving Ideas and Variations
Best Ways to Serve
Serve Monster Peanut Butter Cheesecake Pie chilled for the best texture. Pair it with coffee or a glass of milk to balance the richness.
For a more indulgent experience, add a scoop of vanilla ice cream on the side.
Creative Variations to Try
You can experiment with different nut butters like almond or cashew butter for a unique twist. Adding cocoa powder to the filling creates a chocolate-peanut butter version.
For a gluten-free option, use a gluten-free crust alternative.
Frequently Asked Questions
Can I make this pie ahead of time?
Yes, it tastes even better when made a day in advance.
How long does it last in the fridge?
It stays fresh for up to one week when stored properly.
Can I freeze this cheesecake pie?
Yes, freeze slices and thaw before serving.
Can I use a different crust?
Yes, cookie crusts or nut-based crusts work well.
Is this recipe beginner-friendly?
Yes, it’s simple and requires minimal baking skills.
Conclusion
Monster Peanut Butter Cheesecake Pie is the perfect combination of creamy, rich, and satisfying flavors. With simple ingredients and easy preparation, it offers a dessert that feels both indulgent and approachable.
Whether you serve it for a celebration or enjoy it as a personal treat, this pie is guaranteed to impress and quickly become a favorite in your recipe collection.