Spooky Halloween Marble Cake
Introduction
Halloween is a time for creativity and delight, and what better way to express that than through a visually captivating dessert? The Spooky Halloween Marble Cake is a masterpiece of vibrant swirls of orange and black that offer a surprise in every bite. Sign up to get this recipe delivered right to your inbox, ensuring each October is just as enchanting!
Why You’ll Love This Recipe
This cake is a Halloween hit for several reasons. Its dynamic orange and black marbling makes it the perfect festive centerpiece, and the soft, moist texture offers an unbeatable taste experience. Plus, it’s straightforward to make, making it ideal for both novice bakers and seasoned pros. Best of all, it’s a sweet treat that’s sure to wow kids and adults alike at any Halloween gathering!
Ingredients
– 2 1/2 cups all-purpose flour
– 2 1/2 tsp baking powder
– 1/2 tsp salt
– 1 cup unsalted butter, room temperature
– 1 3/4 cups granulated sugar
– 4 large eggs
– 1 tbsp vanilla extract
– 1 cup whole milk
– Orange gel food color
– Black gel food color
– 1 batch of vanilla buttercream (store-bought or homemade)
Necessary Tools
– Two 9-inch round cake pans
– Mixing bowls
– Hand or stand mixer
– Measuring cups and spoons
– Wire rack
– Toothpick
– Knife for swirling
Ingredient Swaps and Additions
If you don’t have orange or black gel food color, you can use natural alternatives like carrot juice and activated charcoal powder. For extra flavor, consider adding a teaspoon of cinnamon or nutmeg for a warm, autumnal spice.
Step-by-Step Instructions
1. Preheat your oven to 350°F (175°C). Prepare two cake pans with grease and flour.
2. In a bowl, combine the flour, baking powder, and salt.
3. Beat the butter and sugar until the mixture is light and fluffy.
4. Incorporate the eggs one at a time, followed by vanilla extract.
5. Gradually alternate adding the flour mixture and milk to the butter mixture.
6. Divide and color the batter: one with orange, the other with black.
7. Layer the batters in the pans and use a knife to create a marbling effect.
8. Bake for 25-30 minutes. Test with a toothpick to ensure they are done.
9. Cool in pans, then on a wire rack.
10. Layer with buttercream and frost as desired.
Serving Suggestions
Pair your Spooky Marble Cake with a scoop of vanilla ice cream or serve alongside hot apple cider for the ultimate Halloween treat experience.
Pro Tips for Success
To achieve the perfect marbled effect, ensure your swirling is gentle. Over-mixing the batter can blend the colors too much. Always start and end with the flour mixture when alternating with milk to keep the batter smooth.
Storing and Reheating
Store leftover cake in an airtight container at room temperature for up to 3 days. If refrigerating, bring it to room temperature before serving for the best flavor and texture.
FAQ Section
– Can I make this cake ahead of time?
Yes, you can bake the cakes a day ahead and frost them before serving.
– How can I make this even spookier?
Try adding a layer of crushed cookies on top for a “graveyard” effect.
Conclusion
You’re now all set to make an impressive Spooky Halloween Marble Cake. Its inspiring look and delightful flavor make it a must-try this Halloween. We’d love to see your creative takes on this recipe, so don’t forget to share your photos or leave a review. Tag us on Pinterest or Instagram!
Nutritional Information
Approximate values per serving: 350 calories, 16g fat, 45g carbohydrates, 4g protein.
Enjoy making and eating this fun, festive dessert – it’s sure to be a family favorite for years to come!
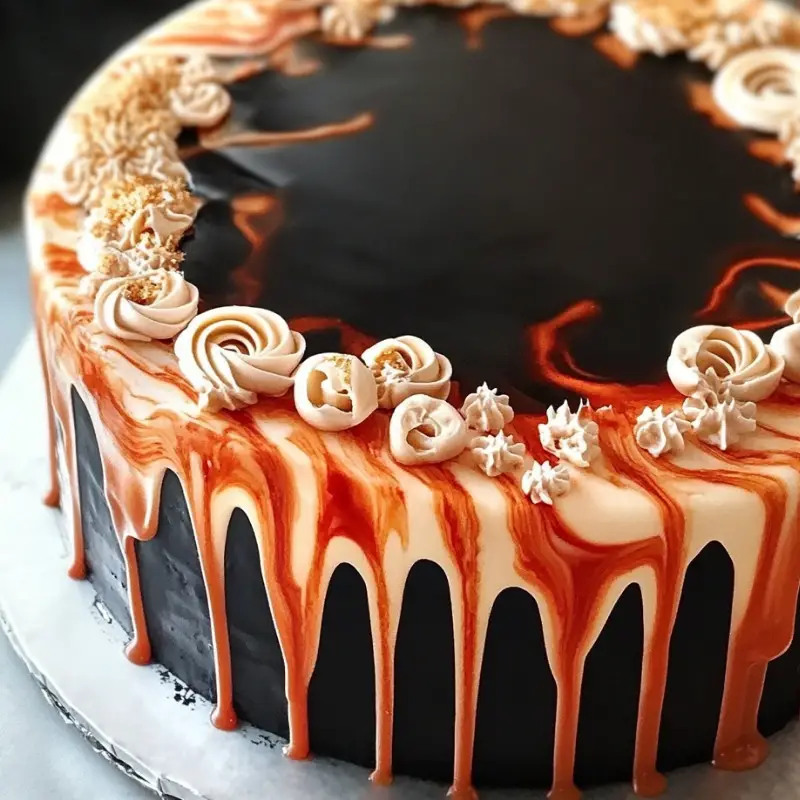
Spooky Halloween Marble Cake
Ingredients
Method
- Preheat your oven to 350°F (175°C). Prepare two cake pans with grease and flour.
- In a bowl, combine the flour, baking powder, and salt.
- Beat the butter and sugar until the mixture is light and fluffy.
- Incorporate the eggs one at a time, followed by vanilla extract.
- Gradually alternate adding the flour mixture and milk to the butter mixture.
- Divide and color the batter: one with orange, the other with black.
- Layer the batters in the pans and use a knife to create a marbling effect.
- Bake for 25-30 minutes. Test with a toothpick to ensure they are done.
- Cool in pans, then on a wire rack.
- Layer with buttercream and frost as desired.