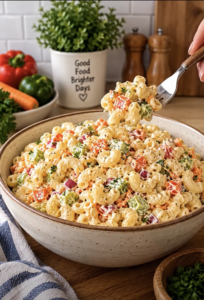
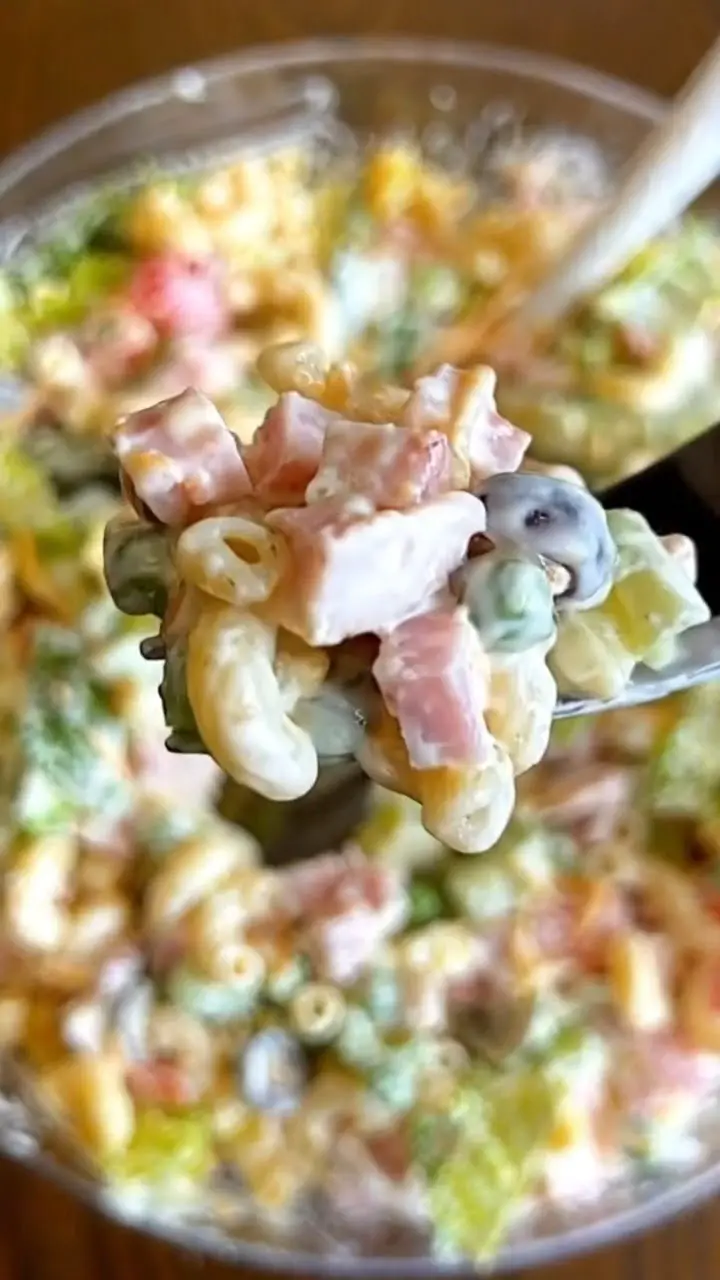
Layered Pasta Salad is the kind of dish that instantly upgrades any table. With colorful layers of pasta, crisp vegetables, savory ham, and a creamy tangy dressing, this recipe brings both flavor and presentation together in one beautiful bowl. Whether you prepare it for a backyard barbecue or a quick family dinner, this layered pasta salad delivers freshness, texture, and convenience in every bite.
I still remember the first time I made this for a small weekend gathering. I wanted something simple yet eye-catching, so I tried layering instead of mixing everything together. As I carefully stacked each ingredient in a glass bowl, the colors came alive—greens, reds, yellows, and creamy whites. When I finally served it, everyone paused before digging in, just to admire how it looked. After the first bite, the compliments kept coming. Since then, this recipe has become my go-to whenever I need a reliable crowd-pleaser that I can prepare ahead of time.
Ingredients
Equipment
Method
- In a small bowl, mix mayonnaise, sour cream, vinegar, sugar, Dijon mustard, Worcestershire sauce, salt, and pepper.
- Cook pasta until al dente, then drain, rinse, and cool completely.
- In a large dish, layer lettuce, pasta, bell peppers, onions, peas, celery, ham, and olives.
- Spread dressing evenly over the top layer.
- Sprinkle shredded cheese on top, cover, and refrigerate for at least 5 hours.
- Toss the salad thoroughly before serving.
Notes
Why Layered Pasta Salad Stands Out
A Visual and Flavorful Experience
Layered Pasta Salad doesn’t just taste good—it looks stunning too. Each layer adds a pop of color and texture, creating a dish that feels special without requiring complicated techniques. Because you stack the ingredients instead of mixing them right away, every component stays fresh and distinct until serving.
Additionally, the layering method ensures even distribution of flavors. When you toss the salad just before serving, the creamy dressing coats every bite perfectly. As a result, you get a balanced combination of crunchy vegetables, tender pasta, and savory ham in each forkful.
Perfect for Make-Ahead Meals
One of the biggest advantages of this dish is its make-ahead convenience. You can prepare it hours before your event, which saves time and reduces stress. Simply assemble the layers, cover the dish tightly, and refrigerate.
Because the dressing sits on top, it slowly seeps into the layers without making them soggy. Therefore, the salad maintains its texture while developing deeper flavor over time. This makes it ideal for busy days when you want something delicious without last-minute effort.
Ingredients That Build the Perfect Layers
Fresh and Crisp Vegetables
Fresh vegetables form the backbone of this recipe. Romaine lettuce adds a crisp base, while red bell peppers bring sweetness and color. Meanwhile, red onions provide a subtle bite that balances the creaminess of the dressing.
Peas and celery also play important roles. The peas add a soft, slightly sweet element, while celery contributes crunch. Together, these vegetables create a refreshing contrast to the richer ingredients.
Hearty Additions and Creamy Dressing
The pasta and ham give this salad its satisfying, hearty feel. Macaroni works perfectly because it holds the dressing well and blends seamlessly with the other ingredients. However, similar small pasta shapes can work just as well.
The dressing ties everything together. A blend of mayonnaise, sour cream, vinegar, Dijon mustard, and seasonings creates a creamy yet tangy flavor. Because of this balance, the salad never feels too heavy or bland.
Finally, shredded cheddar cheese adds a rich, slightly sharp finish. When layered on top, it creates a beautiful final touch that melts slightly into the dressing.
Step-by-Step Preparation Guide
Cooking the Pasta the Right Way
Start by boiling the macaroni until it reaches an al dente texture. This step matters because overcooked pasta can turn mushy once chilled. After cooking, drain and rinse the pasta under cold water.
Then, allow it to cool completely. This prevents sticking and ensures that the layers remain neat and distinct when assembled. While the pasta cools, you can prepare the vegetables and dressing.
Assembling the Layers for Best Results
Begin with a layer of chopped romaine lettuce at the bottom of your dish. This creates a fresh, sturdy base. Next, add the cooled pasta evenly over the lettuce.
Continue layering with bell peppers, red onions, peas, celery, ham, and olives. Each layer should spread evenly to create a visually appealing effect. After that, gently spread the dressing across the top.
Finally, sprinkle shredded cheddar cheese over everything. Cover the dish tightly and refrigerate for at least five hours. Right before serving, toss the salad thoroughly to combine all the layers.
Tips to Customize and Perfect Your Salad
Easy Ingredient Swaps
This recipe offers plenty of flexibility. If you prefer a different protein, you can replace ham with cooked chicken or turkey. For a vegetarian version, simply skip the meat and add more vegetables or beans.
You can also experiment with different cheeses. For example, mozzarella provides a milder flavor, while a sharper cheese adds more depth. Similarly, swap black olives for green olives if you want a slightly tangier taste.
Serving and Storage Tips
Serve this salad chilled for the best flavor and texture. Because it holds up well in the refrigerator, leftovers stay fresh for up to two days. However, make sure to store it in an airtight container.
If you plan to transport the salad, keep it cold until serving time. This helps maintain both taste and food safety. Also, remember to toss the salad just before serving to ensure every bite is coated in dressing.
Frequently Asked Questions
1. Can I make layered pasta salad a day ahead?
Yes, you can prepare it up to 24 hours in advance. In fact, it often tastes better after sitting overnight.
2. What type of pasta works best?
Macaroni works great, but rotini, shells, or bowtie pasta also work well.
3. Do I have to use a glass bowl?
No, but a glass bowl showcases the layers beautifully. Any large dish will work.
4. Can I use a different dressing?
Yes, you can try ranch or a vinaigrette, although the creamy dressing complements the layers best.
5. How do I prevent the salad from getting soggy?
Make sure the pasta cools completely and keep the dressing on top until serving.
Conclusion
Layered Pasta Salad brings together simplicity, flavor, and visual appeal in one dish. With its vibrant layers and creamy dressing, it turns everyday ingredients into something special. Because it’s easy to prepare ahead of time, it fits perfectly into busy schedules and social gatherings alike.
Once you try this recipe, you’ll likely find yourself returning to it again and again. Whether you stick to the classic version or experiment with your own twists, this salad consistently delivers both taste and convenience.