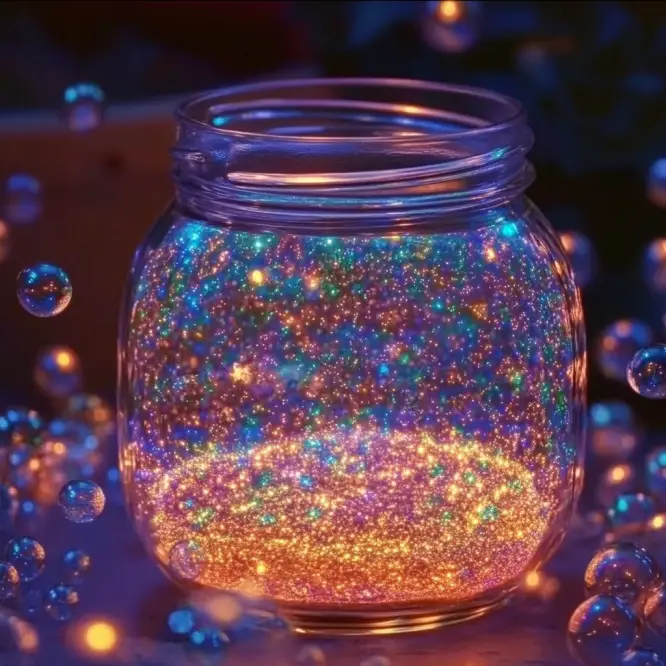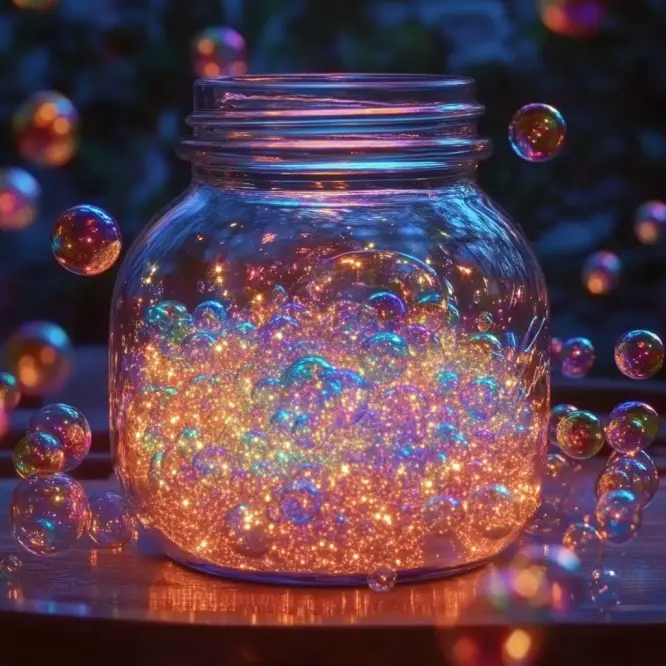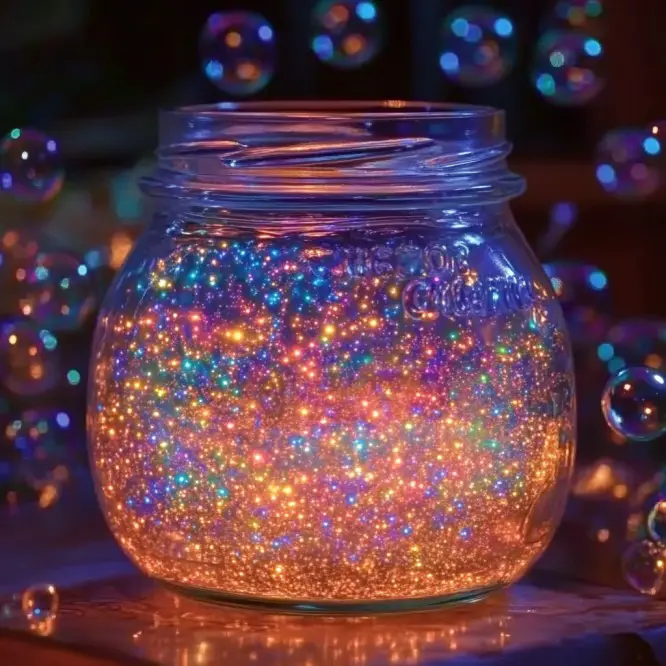
First off—thank you so much for stopping by! If you’re here, I’m guessing you love a little whimsy, a splash of science, and a dash of hands-on fun. You’re in for a treat! This glowing bubble project is pure magic, and whether you’re doing it with kids, friends, or just treating yourself to a bit of nighttime enchantment—it’s absolutely worth it. 💫
Want more brilliant DIYs like this one?
Be sure to subscribe and get glowing ideas sent straight to your inbox!
Why Glow-in-the-Dark Bubbles?
Because regular bubbles are fun—but glow-in-the-dark bubbles? They’re next level. These neon orbs catch the blacklight and shimmer through the night air like glowing fairy spells. Perfect for backyard parties, summer nights, Halloween, or even a science-themed birthday bash!
Why You’ll Love This Glowing Craft
- Easy to make with household items
- Educational (hello, fluorescence!)
- Visually stunning—bubbles that glow under UV light? Yes, please!
- Totally customizable with different colors
- Kid-approved and science-lovers’ favorite

What Do They Look Like?
Under a UV blacklight, these bubbles appear to glow in vibrant neon hues—especially electric yellow and green. They drift through the dark air with a magical, alien-like glow that looks straight out of a sci-fi movie. (Seriously, you’ll want to take videos.)
Ingredients & Materials
🧪 Main Ingredients:
- 1 cup bubble solution (store-bought or homemade, see below)
- 1 highlighter (yellow or green work best)
- 1/4 cup warm water
- Optional: a small squirt of dish soap (for stronger bubbles)
- UV blacklight (for the glow effect)
🫧 Homemade Bubble Solution (Optional):
- 1 cup warm water
- 2 tbsp dish soap
- 1 tbsp corn syrup or sugar (helps bubbles hold their shape)
Step-by-Step: How to Make Glow-in-the-Dark Bubbles
🟡 Step 1: Extract the Glow
Put on gloves (highlighters stain!) and carefully cut open a yellow or green highlighter.
- Remove the felt ink tube from inside.
- Place the ink tube in 1/4 cup of warm water.
- Let it soak for 10–15 minutes, swirling gently every few minutes.
- The water will turn neon—this is your glowing dye.
💡 Pro Tip: Use a glass jar or clear container to watch the color develop. It’s part of the fun!
🔮 Step 2: Make the Bubble Mix
Pour your glowing dye into your bubble solution (store-bought or homemade). Stir gently to combine.
- Add a small squirt of dish soap for stronger, longer-lasting bubbles.
- Avoid shaking—it’ll make foam, not bubbles!
🫧 Step 3: Time to Bubble!
Grab a bubble wand, straw, or make your own wand out of a pipe cleaner.
- Head into a dark room or outside at night.
- Shine a UV blacklight toward the area where you’re blowing bubbles.
- Blow a few bubbles and watch as they glow and float like miniature stars!

Crafting Tips & Variations
- Best Colors for Glow: Yellow and green highlighters glow the brightest under UV. Pink, orange, and blue may appear less vibrant.
- Want to Layer Colors? Make several dye batches using different highlighters and mix them with small portions of the bubble solution.
- Make it Last Longer: The optional dish soap adds strength and elasticity to your bubbles—especially helpful outdoors.
- Try it Indoors: A dark room and a small UV flashlight make this a perfect rainy-day or science experiment craft.
How to Serve Up the Fun
- Backyard Glowing Bubble Party: Hand out glow sticks and let the kids (or adults!) blow bubbles in the dark.
- Science Class or Camp: Use this to demonstrate how fluorescence works.
- Bath Time Fun: Use a blacklight in the bathroom and blow a few bubbles in the tub (be safe with electronics near water!).
- Photo or Video Shoots: Capture magical footage of glowing bubbles floating in slow motion.
Safety Notes
- Glow Effect = Blacklight: These bubbles don’t glow in total darkness without a UV light source. A handheld UV flashlight or blacklight bulb is necessary.
- Avoid contact with eyes/mouth: While the dye is water-based, highlighter ink is not food-safe.
- Wear gloves during dye extraction to avoid staining skin.
Frequently Asked Questions
Can I make glow bubbles without a blacklight?
Not really—highlighter dye is fluorescent, meaning it needs UV light to react and glow. Without it, the bubbles will just look brightly colored.
Can I use tonic water instead of highlighter?
Tonic water does glow under UV, but it doesn’t produce vibrant color in bubbles. Highlighter ink gives a much bolder effect.
How long does the glowing mix last?
Use your glowing bubble mix the same day for best results. The color will fade over time as the dye breaks down or bubbles degrade.

Are glow-in-the-dark bubbles safe for kids?
Yes—with supervision. Avoid ingestion and keep the mixture away from eyes and open wounds. Use gloves during prep, and make sure kids don’t drink the bubble mix.
Final Thoughts: Make the Night Glow ✨
There’s something so magical about glowing bubbles—watching them float through the night like tiny orbs of light never gets old. This project combines science, sensory play, and just the right amount of sparkle to create a moment of wonder that’s perfect for all ages.
🎉 Want more glowing DIYs? Check out:
- Glow-in-the-Dark Slime
- Neon Moon Sand
- UV Reactive Lava Lamps
Show Off Your Glow!
Tried this project?
Leave a comment below or tag me in your glowing bubble pics on Pinterest or Instagram—I’d love to see how your bubble magic turned out!
Fun “Nutritional” Info (Just for Laughs!)
- Glow factor: 🌟🌟🌟🌟🌟
- Mess level: Medium
- Wow factor: Off the charts
- Screen-free time: 100%
Thanks for blowing by! Keep glowing and keep crafting! 🌙🫧

Glow-in-the-Dark Bubbles
Ingredients
Method
- Put on gloves and carefully cut open a yellow or green highlighter.
- Remove the felt ink tube from inside.
- Place the ink tube in 1/4 cup of warm water.
- Let it soak for 10–15 minutes, swirling gently every few minutes.
- The water will turn neon—this is your glowing dye.
- Use a glass jar or clear container to watch the color develop.
- Pour your glowing dye into your bubble solution.
- Stir gently to combine.
- Add a small squirt of dish soap for stronger, longer-lasting bubbles.
- Avoid shaking as it will create foam, not bubbles.
- Grab a bubble wand, straw, or use a pipe cleaner to make your own wand.
- Head into a dark room or outside at night.
- Shine a UV blacklight toward the area where you’re blowing bubbles.
- Blow a few bubbles and watch as they glow and float.


