Introduction
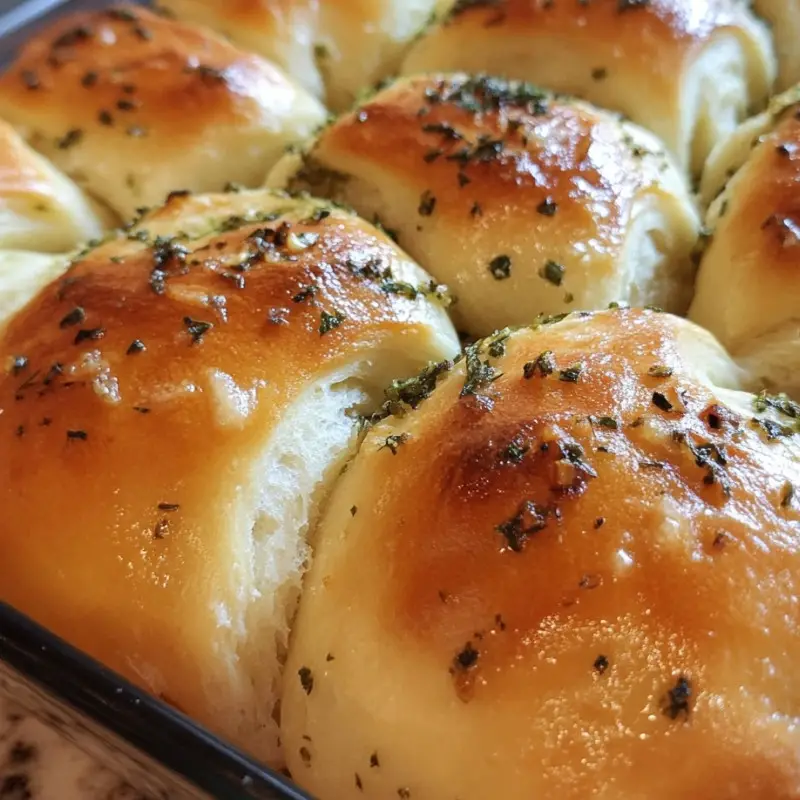
There’s something truly magical about the smell of freshly baked bread filling your kitchen. And when that bread is infused with rich, buttery garlic flavor, it takes the experience to a whole new level! These Garlic Swirl Rolls are soft, fluffy, and packed with delicious garlicky goodness, making them perfect for any meal. Whether you’re serving them as a side dish for a cozy dinner, as a snack, or at a special gathering, these rolls are sure to impress.
If you love homemade bread, this recipe is a must-try! Plus, you can customize the flavors to suit your preference. Let’s get baking!
Why You’ll Love This Recipe
- Packed with Flavor: Buttery, garlicky, and slightly cheesy—each bite is irresistible!
- Soft and Fluffy Texture: These rolls are perfectly airy and light.
- Easy to Make: Simple ingredients and step-by-step instructions make it beginner-friendly.
- Great for Any Occasion: Perfect as a side for soups, pasta, or even as a stand-alone snack!
- Make-Ahead Friendly: You can prep the dough in advance and bake fresh when needed.
Ingredients 🛒
- For the Dough:
- 4 cups (500g) bread flour
- 2 1/4 tsp (7g) instant yeast
- 2 tsp (10g) salt
- 1/4 cup (50g) granulated sugar
- 1 1/4 cups (300ml) warm milk
- 1/4 cup (50g) unsalted butter, softened
- For the Garlic Filling:
- 1/4 cup (50g) butter, melted
- 4 tbsp garlic paste (or minced garlic)
- 2 tbsp fresh parsley, finely chopped
- 1/4 cup (50g) grated parmesan cheese
- 2 tbsp olive oil (for brushing)
Necessary Tools 🔪
- Large mixing bowl
- Wooden spoon or spatula
- Rolling pin
- Baking dish
- Oven
- Clean kitchen towel
Ingredient Swaps & Additions
🌱 Want a vegan version? Use plant-based milk and butter substitutes.
🧀 Love cheese? Add shredded mozzarella for an extra cheesy garlic roll.
🌿 More herbs? Add fresh thyme, rosemary, or oregano for a flavorful twist.
🔥 Spicy kick? Sprinkle red chili flakes in the filling for a hint of heat!
Step-by-Step Instructions 👩🍳
1. Prepare the Dough
- In a large bowl, whisk together the flour, yeast, salt, and sugar.
- Slowly pour in warm milk and add the softened butter.
- Stir until a dough forms, then transfer to a floured surface.
- Knead for about 10 minutes until the dough is smooth and elastic.
- Place the dough in a greased bowl, cover with a kitchen towel, and let it rise for 1 hour (or until doubled in size).
2. Prepare the Garlic Filling
- In a small bowl, mix melted butter, garlic paste, parsley, and parmesan cheese.
3. Shape the Rolls
- Once the dough has risen, roll it out into a 12×16-inch rectangle.
- Spread the garlic filling evenly over the dough.
- Roll the dough into a tight log, then cut into 12 equal pieces.
- Arrange the rolls in a greased baking dish, leaving space between each.
4. Second Rise & Baking
- Cover and let the rolls rise for another 30 minutes.
- Preheat oven to 350°F (180°C).
- Brush the tops with olive oil and bake for 20-25 minutes, or until golden brown.
- Allow the rolls to cool slightly before serving warm. Enjoy!
Pro Tips for Success 🌟
- Use fresh garlic for maximum flavor.
- Warm milk should be around 100°F (38°C)—too hot can kill the yeast!
- Kneading is key—this develops gluten for soft, airy rolls.
- Let the dough rise properly for the fluffiest texture.
- Brush with butter after baking for extra richness.
Serving Suggestions 🍽️
- Serve with soups like creamy tomato or butternut squash.
- Enjoy as a side for pasta dishes such as spaghetti or fettuccine Alfredo.
- Pair with grilled meats or roasted vegetables.
- Spread some garlic butter on top for extra indulgence!
Storing & Reheating 🥡
- Room Temperature: Store in an airtight container for up to 2 days.
- Refrigerator: Keep for up to a week, reheating before serving.
- Freezing: Freeze rolls for up to 3 months. Thaw and reheat at 300°F (150°C) for 10 minutes.
FAQ ❓
Q: Can I make these rolls ahead of time?
Yes! Prepare the dough a day in advance and refrigerate after the first rise.
Q: Can I freeze unbaked rolls?
Absolutely! Freeze after shaping, then thaw and bake when ready.
Q: How do I make them extra soft?
Make sure to knead well and let the dough rise properly before baking.
Q: Can I use all-purpose flour instead of bread flour?
Yes, but bread flour gives a chewier texture due to its higher protein content.
Q: Can I make these rolls gluten-free?
You can use a gluten-free flour blend, but results may vary in texture.
Conclusion 🎉
These Garlic Swirl Rolls are a must-try for any bread lover! Their soft, fluffy texture combined with a rich, buttery garlic filling makes them an irresistible treat for any occasion. Whether you’re serving them alongside dinner or enjoying them as a snack, they’re bound to become a household favorite.
Give the Garlic Swirl Rolls recipe a try and let me know how it turns out! Don’t forget to tag me on Pinterest or Instagram—I’d love to see your creations. Happy baking! 🍞✨
Garlic Swirl Rolls
Ingredients
Method
- In a large bowl, whisk together the flour, yeast, salt, and sugar.
- Slowly pour in warm milk and add the softened butter.
- Stir until a dough forms, then transfer to a floured surface.
- Knead for about 10 minutes until the dough is smooth and elastic.
- Place the dough in a greased bowl, cover with a kitchen towel, and let it rise for 1 hour (or until doubled in size).
- In a small bowl, mix melted butter, garlic paste, parsley, and parmesan cheese.
- Once the dough has risen, roll it out into a 12×16-inch rectangle.
- Spread the garlic filling evenly over the dough.
- Roll the dough into a tight log, then cut into 12 equal pieces.
- Arrange the rolls in a greased baking dish, leaving space between each.
- Cover and let the rolls rise for another 30 minutes.
- Preheat oven to 350°F (180°C).
- Brush the tops with olive oil and bake for 20-25 minutes, or until golden brown.
- Allow the rolls to cool slightly before serving warm.