Thank you so much for stopping by! I’m genuinely thrilled to share today’s colorful, fizzy little gem of a project with you. This isn’t just a craft – it’s an experiment, an artwork, and a moment of pure wonder all rolled into one. Baking Soda Painting is one of those magical activities that lights up kids’ eyes and fills the room with giggles. (And yes – grown-ups, you’re going to love it too!)
Want more playful projects that blend creativity with learning? Be sure to subscribe and get new ideas delivered right to your inbox!
What Is Baking Soda Painting?
It’s a vibrant mix of painting and science, where every brushstroke comes to life with bubbly reactions. By combining baking soda paint with vinegar, you get not only beautiful patterns but also fizzing, popping textures that kids find endlessly fascinating!
Why You’ll Love This Activity:
- Easy and low-prep – with ingredients you already have!
- STEAM-approved – a perfect mix of art and science.
- Sensory and satisfying – with textures, colors, and bubbles.
- Customizable and open-ended – no rules, just creativity!
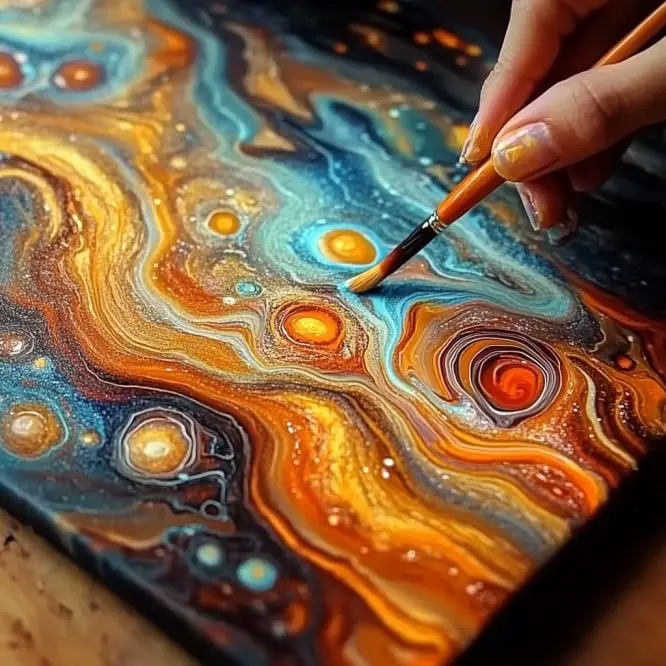
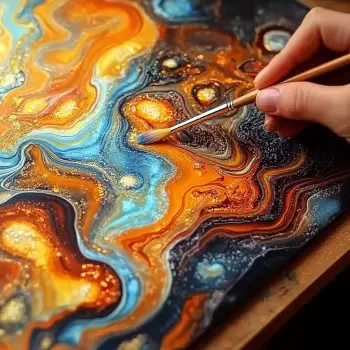
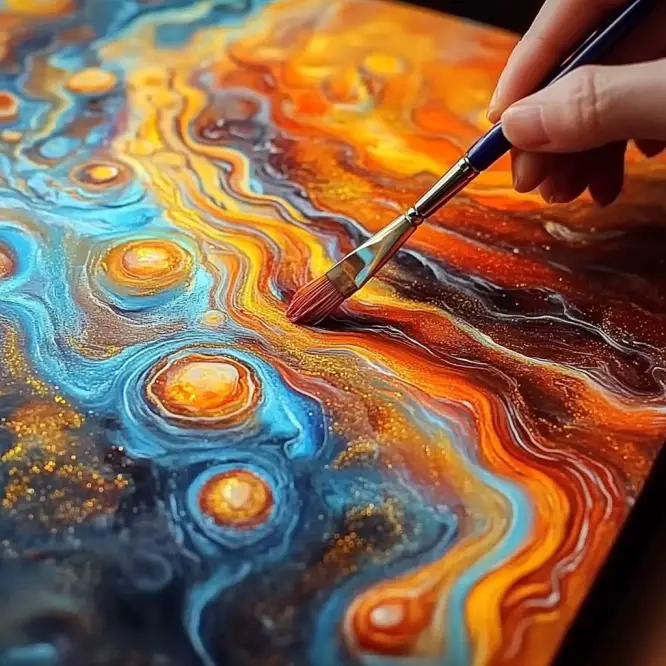
What It Looks Like
Bright splashes of color across thick paper, dotted with tiny craters and fizzed textures that make each piece completely unique. You’ll love watching the transformation as vinegar hits the “paint” – it’s like your artwork is alive.
Educational & Developmental Benefits
- Introduces basic chemical reactions (acid + base = fizz!)
- Encourages creativity and artistic expression
- Supports fine motor skills and hand-eye coordination
- Makes science fun and hands-on!
Ingredients & Materials
- ½ cup baking soda
- 2–4 tablespoons water
- Food coloring or liquid watercolors
- Small bowls or muffin tin
- Thick paper (cardstock or watercolor paper is best)
- Brushes, spoons, or popsicle sticks
- White vinegar
- Pipettes, droppers, or small spoons
- Tray or baking sheet (to catch spills)
Optional Sparkles & Extras
- Glitter ✨
- Sequins or confetti
- Essential oils (just a drop for a sensory twist!)
- Paint markers (for adding details after drying)
Step-by-Step Instructions
1. Mix Your Paint
In each bowl, combine 2–3 tablespoons of baking soda with enough water to get a thick, smooth, paint-like texture. Add food coloring or watercolors and stir. Tip: More baking soda = more fizz!
2. Set Up Your Canvas
Place your paper on a tray or baking sheet to catch the overflow – this project will get bubbly and messy (in the best way)!
3. Paint Your Design
Use brushes, spoons, or sticks to spread the baking soda mixture. Make bold swirls, dots, or full-on landscapes. Let creativity lead the way!
4. Add the Science!
Pour vinegar into small cups. Use droppers, pipettes, or tiny spoons to drip vinegar over the paint. Watch the fizz! Kids LOVE this part – the colors bubble, pop, and shift right before your eyes.
5. Let It Dry
Once the fizzing stops, let your painting dry flat for several hours or overnight. The final result? A one-of-a-kind textured piece of fizzy art!
6. Add Sparkle (Optional)
Before the artwork dries, sprinkle on some glitter for extra shine. You can also discuss what happened and why – a perfect intro to chemical reactions!
What To Do With Your Masterpieces
- Hang on the fridge or create a DIY art gallery wall
- Use them as homemade cards or gift tags
- Frame your favorites for a kid-made keepsake
- Create a science-art journal of experiments and results
Tips & Variations
- Play with consistency – thicker paints fizz more dramatically, thinner ones spread like watercolor.
- Try different papers – canvas boards, construction paper, and even coffee filters give different results.
- Add texture tools – toothpicks, sponges, and cotton swabs make fun patterns.
- Add scent! – A drop of peppermint or citrus oil can turn this into a multi-sensory experience.
Storage and Clean-Up
This craft is easy to clean – just wipe down your trays and tools with warm, soapy water. Finished art pieces are best stored flat and dry. They’ll last for weeks and make great mementos!
Frequently Asked Questions (FAQ)
Does this work with baking powder instead of baking soda?
Not quite! Baking soda gives the strongest reaction with vinegar, so stick with it for best results.
Can I use regular paper?
You can, but it might warp from the moisture. Thicker paper like cardstock or watercolor paper holds up better.
Is this safe for young children?
Yes, but always supervise. Vinegar and baking soda are non-toxic, but the activity involves small tools and possible spills.

Final Thoughts
Colorful, bubbly, and totally unforgettable – Baking Soda Painting is a brilliant blend of creativity and discovery. Whether it’s a rainy afternoon or a classroom science demo, this activity brings art to life in the most fun, fizzy way!
More Creative STEAM Activities:
- Rainbow Volcano Eruption
- DIY Puffy Paint with Shaving Cream
- Salt and Watercolor Magic Art
Share Your Fizz-tastic Art!
Did you try this? I’d love to see your bubbly masterpieces! Tag me on Pinterest or Instagram, or leave a comment with your favorite color combo. 💥🎨
Quick Craft Stats:
- Prep time: 5 minutes
- Activity time: 20–30 minutes
- Dry time: Several hours to overnight
- Ages: 3+ (with supervision)
- Cost: Under $5
Would you like a free printable version or a Pinterest graphic for this one? I’d be happy to create it for you!
Baking Soda Painting
Ingredients
Method
- In each bowl, combine 2–3 tablespoons of baking soda with enough water to get a thick, smooth, paint-like texture. Add food coloring or watercolors and stir.
- Tip: More baking soda = more fizz!
- Place your paper on a tray or baking sheet to catch the overflow – this project will get bubbly and messy (in the best way)!
- Use brushes, spoons, or sticks to spread the baking soda mixture. Make bold swirls, dots, or full-on landscapes.
- Let creativity lead the way!
- Pour vinegar into small cups.
- Use droppers, pipettes, or tiny spoons to drip vinegar over the paint. Watch the fizz!
- Kids LOVE this part – the colors bubble, pop, and shift right before your eyes.
- Once the fizzing stops, let your painting dry flat for several hours or overnight.
- The final result? A one-of-a-kind textured piece of fizzy art!
- Before the artwork dries, sprinkle on some glitter for extra shine.
- You can also discuss what happened and why – a perfect intro to chemical reactions!
Notes
Baking Soda Painting
Ingredients
Method
- In each bowl, combine 2–3 tablespoons of baking soda with enough water to get a thick, smooth, paint-like texture. Add food coloring or watercolors and stir. Tip: More baking soda = more fizz!
- Place your paper on a tray or baking sheet to catch overflow.
- Use brushes, spoons, or sticks to spread the baking soda mixture. Make bold swirls, dots, or full-on landscapes. Let creativity lead the way!
- Pour vinegar into small cups. Use droppers, pipettes, or tiny spoons to drip vinegar over the paint. Watch the fizz!
- Once the fizzing stops, let your painting dry flat for several hours or overnight.
- Before the artwork dries, sprinkle some glitter for extra shine.