First things first: thank you. Truly. Thank you for being the kind of grown-up who seeks out joyful, creative experiences for the little ones in your life. Whether you’re a parent, teacher, caregiver, or just someone with a soft spot for science-meets-art magic, this fizzy art project is going to bring big smiles and even bigger bubbles!
Looking for more crafts that combine fun, learning, and color? Subscribe to get fresh kid-friendly DIYs sent straight to your inbox—because creative memories should be just one click away.
What is Fizzy Art?
Fizzy art is a delightful STEAM (Science, Technology, Engineering, Art, and Math) activity that blends colorful creativity with the bubbling reaction of baking soda and vinegar. Think of it as a mini science experiment meets abstract painting. The fizzing, popping, color-mixing action is irresistibly fun to watch and even more fun to create!
Why You’ll Love This Activity
- ✨ Sensory and Visual Wonder – Watching the fizz is part of the fun!
- 🧠 STEAM Learning – Teaches chemical reactions and color theory.
- 🧽 Low Prep, Low Mess – Easy to set up and even easier to clean up.
- 🎨 Open-Ended Creativity – Every masterpiece is totally unique!
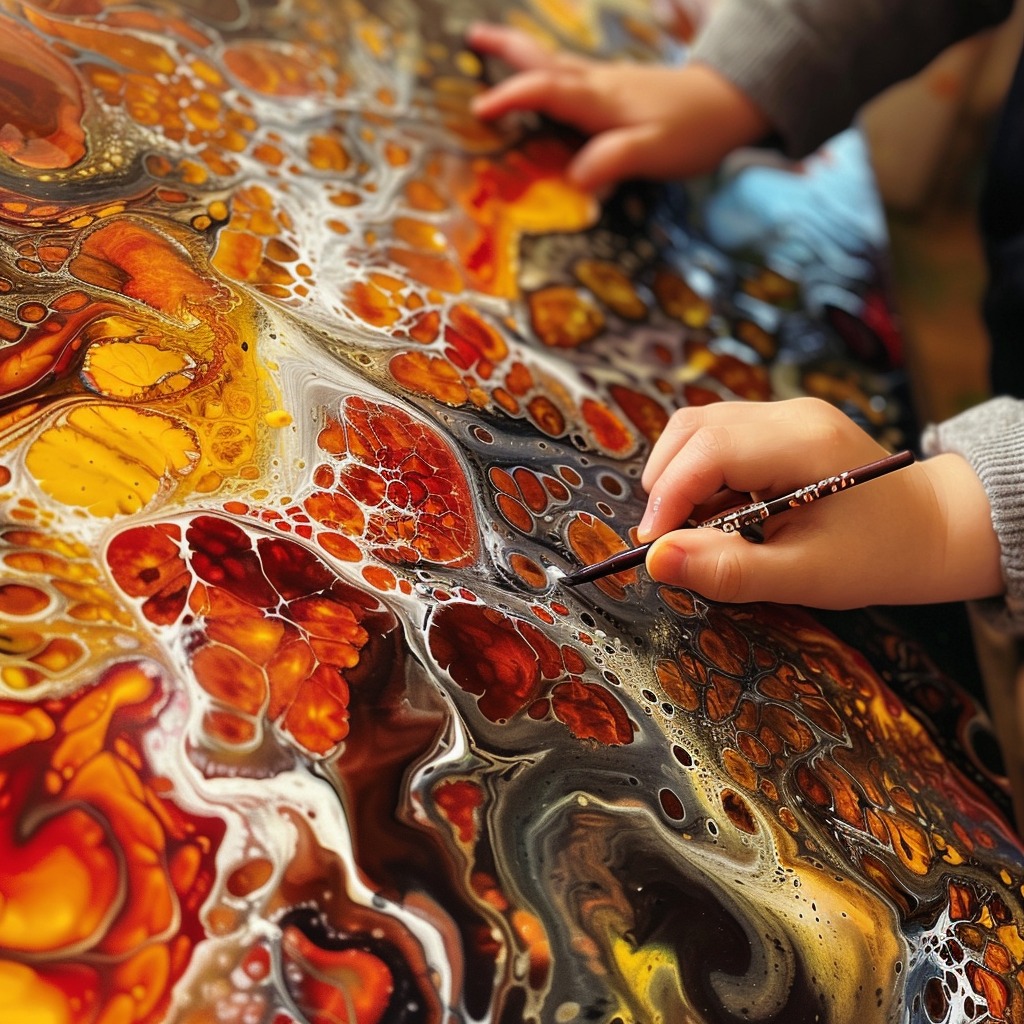
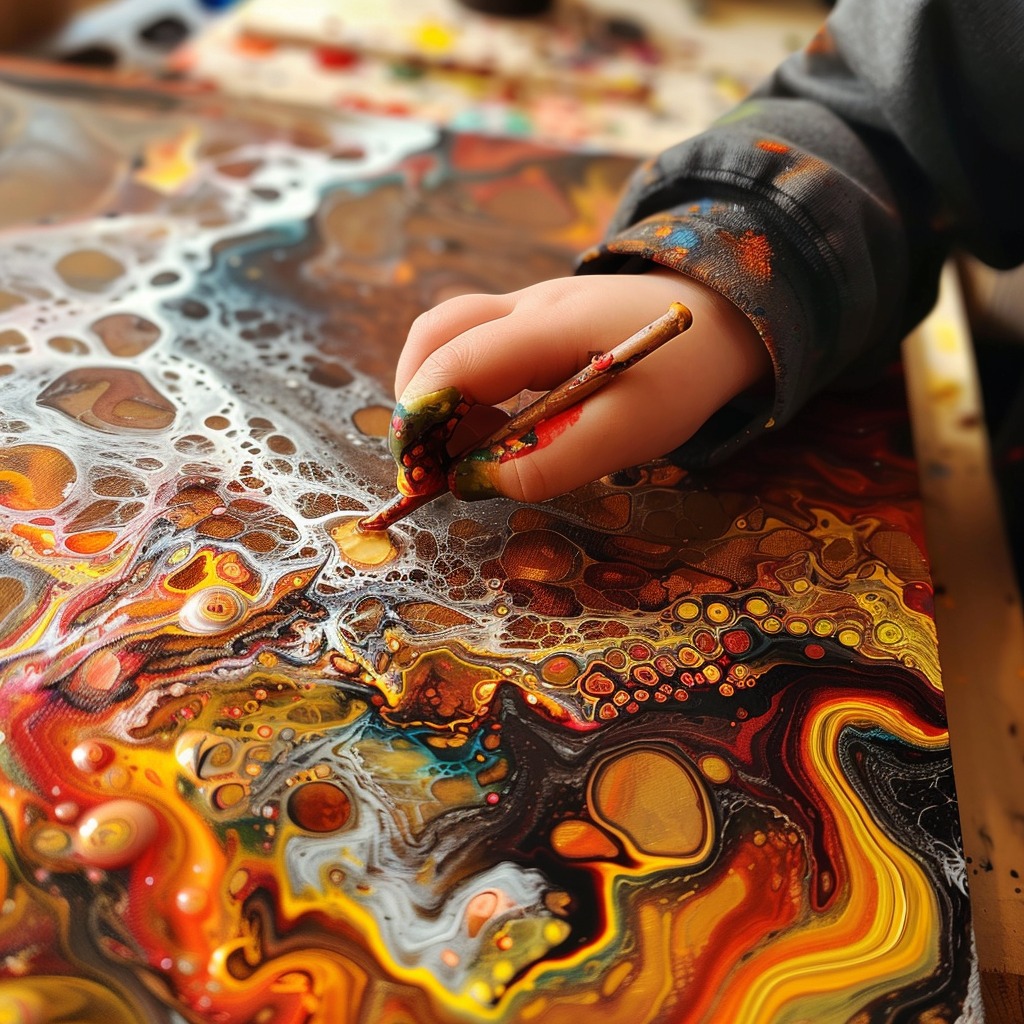
What Does It Look Like?
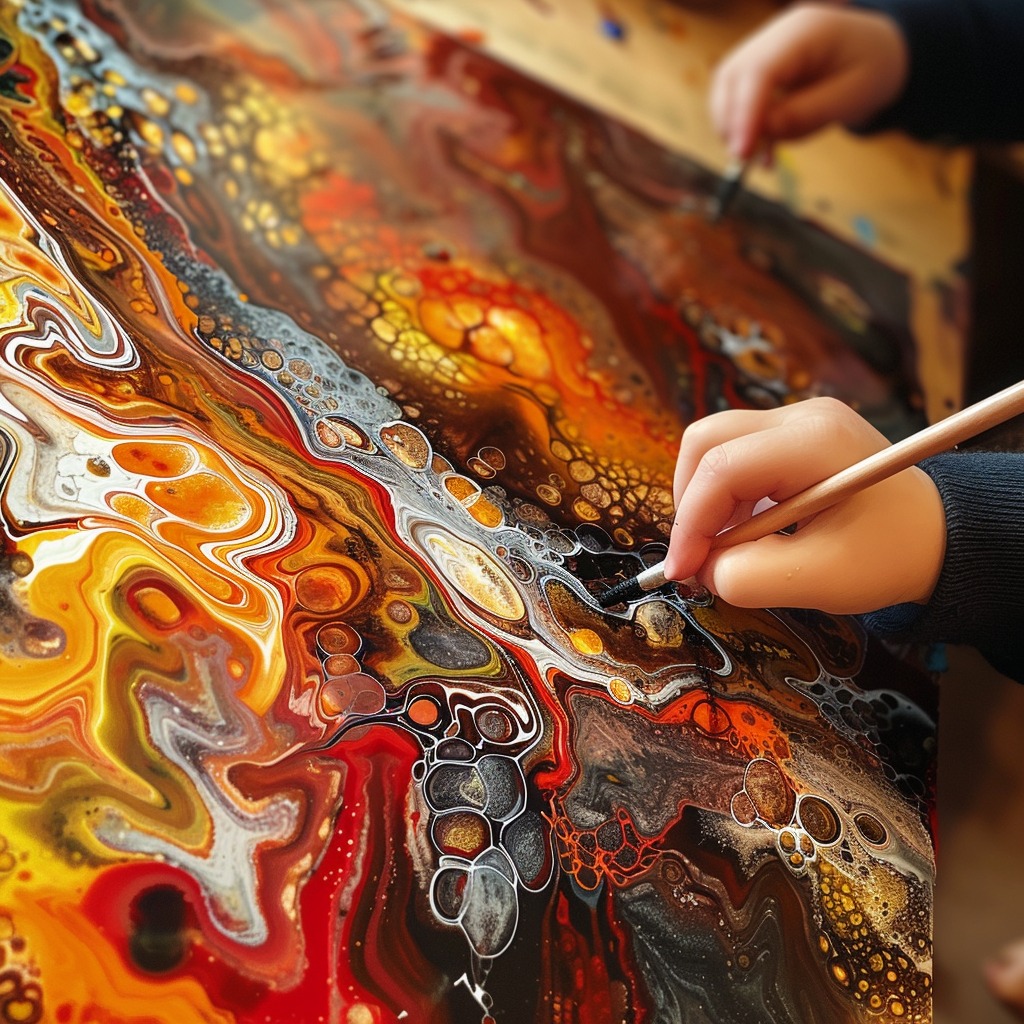
Picture this: vibrant bubbles foaming and swirling across a blank white canvas. Colors mix, fizz rises, and the whole thing looks a little like a galaxy of sherbet stars. Once dry, you’re left with textured artwork full of craters, splatters, and bursts of unexpected color.
Benefits of Fizzy Art
- Hands-on sensory play
- Introduces basic chemistry
- Encourages experimentation and self-expression
- Perfect for kids of all ages
- Minimal adult supervision required
Ingredients & Supplies You’ll Need
Ingredients:
- Baking soda
- White vinegar
- Liquid watercolors or food coloring
Tools:
- Small cups or bowls (for mixing colors)
- Pipettes, droppers, or small spoons
- White cardstock or watercolor paper (the thicker, the better)
- Tray or baking sheet (to catch spills and make cleanup easy)
- Optional: glitter for sparkle
Substitutions & Variations
- No watercolor? Mix food coloring with a bit of vinegar.
- No pipette? Use a straw, spoon, or even a paintbrush.
- Add soap to the vinegar mixture for extra bubbly foam.
- Try different color themes: pastels, brights, or even glow-in-the-dark for nighttime fun!
How to Make Fizzy Art – Step-by-Step
1. Set the Stage
Place a sheet of thick paper on a tray or baking sheet. This keeps the mess contained and makes transport easy.
2. Mix the Magic
In small cups, combine a few tablespoons of vinegar with your chosen liquid watercolor or food coloring. Stir gently.
3. Create the Canvas
Sprinkle baking soda over the entire paper surface—more is more here!
4. Start the Fizz!
Use a pipette, dropper, or spoon to drip the colored vinegar mixtures onto the baking soda. Watch the reaction bubble and pop in real time!
5. Optional Sparkle
Add glitter while the paint is still wet for a shimmer effect that kids adore.
6. Let It Dry
Once the fizzing stops, set the artwork aside to dry. This may take a few hours or overnight. The final result will have a textured, cratered look.
What to Pair With This Activity
This project works beautifully alongside:
- A mini science lesson on acids and bases 🧪
- Reading time with books about rainbows or space
- A color mixing experiment to discover how primary colors combine
- A “fizz race” where kids test different vinegar-to-baking-soda ratios
Tips for Fizzy Success
- Use a thick layer of baking soda for more fizz and color absorption.
- Try using metallic or neon colors for extra visual pop.
- Let kids experiment with where and how they place their drops—it’s all about exploration!
- Use ice cube trays or muffin tins to organize your paint mixtures easily.
Storage & Preservation
These artworks are best for short-term display as the baking soda texture may flake over time. To keep them longer:
- Let them dry completely and avoid moisture.
- Optional: spray with a light layer of clear fixative to preserve the colors.
Frequently Asked Questions
Can toddlers do fizzy art?
Absolutely! Just be sure to supervise closely, especially around small items like pipettes or glitter.
Will the colors stay vibrant after drying?
Yes! Once the vinegar evaporates, the color remains rich—especially if you use concentrated food coloring or liquid watercolor.
Can I use regular paper?
You can, but it might warp or tear. Stick with cardstock or watercolor paper for best results.
What’s the science behind the fizz?
It’s a reaction between baking soda (a base) and vinegar (an acid). They combine to form carbon dioxide bubbles—the same kind that make soda fizzy!
In a Fizz: Why You’ll Want to Do This Again and Again
This project is a crowd-pleaser in every sense. It’s interactive, educational, colorful, and totally joyful—from the satisfying sizzle to the gorgeous end result. You’ll find yourself pulling this one out again and again, and honestly? The kids will beg for it!
More Creative STEAM Activities You’ll Love
📸 Let’s Get Social!
Tried this fizzy art project? We’d LOVE to see it! Share your bubbly masterpieces on Pinterest or tag us—your creativity inspires so many others!
🧪 Fun Fact Instead of Nutrition
Did you know? The bubbles you see in fizzy art are the same chemical reaction that happens when you mix baking soda and vinegar to clean a sink drain. Art and cleaning—more connected than you think!
Thanks again for creating something beautiful today. Until next time, keep the colors bright, the bubbles fizzy, and the joy flowing! 💖
Fizzy Art
Ingredients
Method
- Place a sheet of thick paper on a tray or baking sheet to contain the mess.
- In small cups, combine a few tablespoons of vinegar with your chosen liquid watercolor or food coloring. Stir gently.
- Sprinkle baking soda over the entire paper surface.
- Use a pipette, dropper, or spoon to drip the colored vinegar mixtures onto the baking soda.
- Watch the reaction bubble and pop.
- Add glitter while the paint is still wet if desired.
- Set the artwork aside to dry, this may take a few hours or overnight.