Before we dive into this delightful DIY, let me just say—thank you for being here! Whether you stumbled across this by chance or you’ve been following my creative trail for a while, I’m truly grateful you’re sharing this moment of crafty joy with me. There’s something extra special about turning everyday items into magical little creations, and today’s project captures that spirit perfectly.
I promise you, this isn’t just another craft—it’s a cheerful, upcycled masterpiece that’s as fun to make as it is to display. Let’s turn those old whisks into whimsical dragonflies that will flutter their charm all over your garden, kitchen, or patio space!
🌟 Want more crafts like this delivered straight to your inbox? Subscribe here and never miss a project that sparks joy!
Why You’ll Love This DIY Whisk Dragonfly
This craft is charmingly simple, budget-friendly, and a beautiful way to reuse old kitchen tools. Whether you’re a seasoned crafter or a weekend DIY dabbler, making whisk dragonflies is a breeze. And here’s the kicker—each one turns out so uniquely cute that it’s hard to stop at just one!
The Whisk Dragonfly Has:
Whimsy
Color
Personality
Eco-friendly flair!
And the best part? It’s a great craft to do with kids, friends, or just a quiet afternoon to yourself.
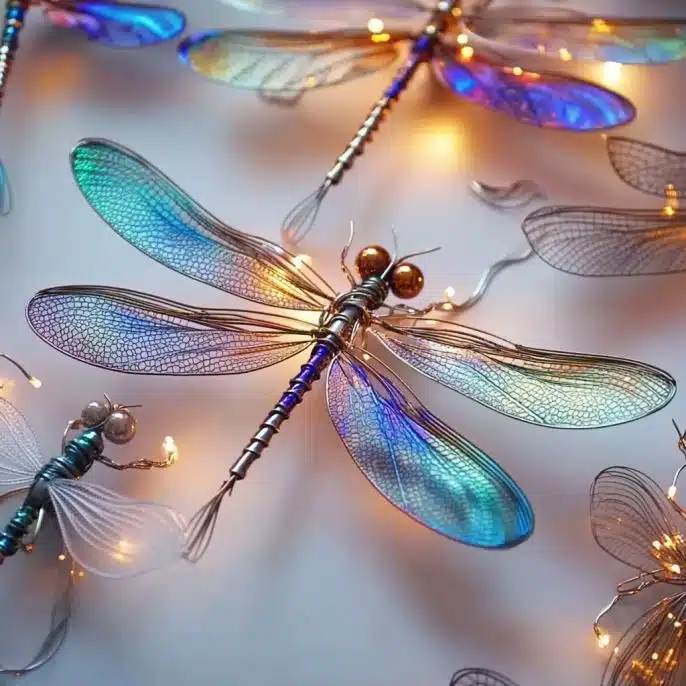
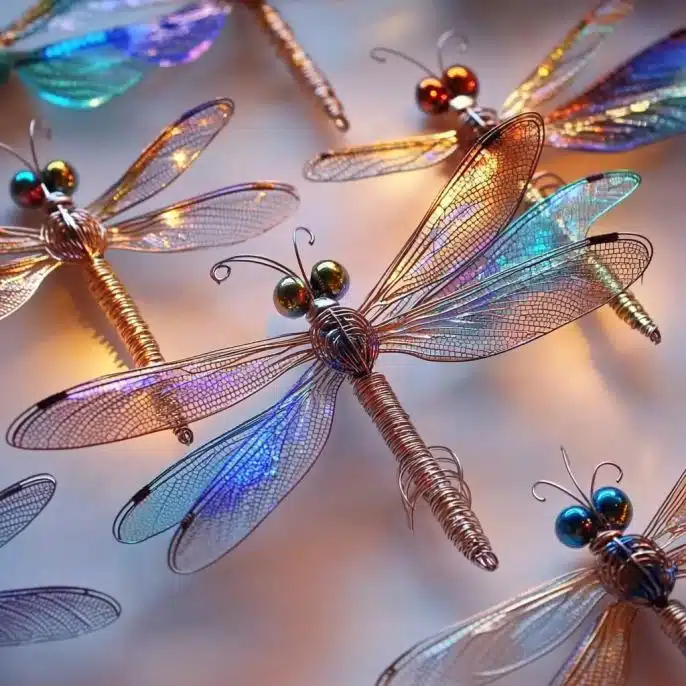
What Does a Whisk Dragonfly Look Like?
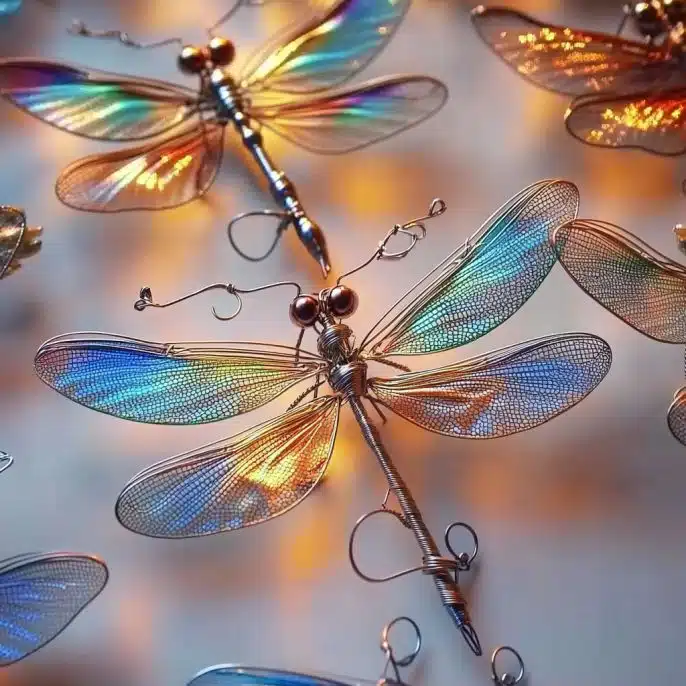
Picture this: gleaming metal loops spread out like delicate wings, brushed with dreamy hues of pastel or shimmer. At the tip, two googly eyes peer out with friendly curiosity, giving your little dragonfly a playful face. Add a twist of ribbon, a touch of sparkle, maybe even a dab of glow-in-the-dark paint—and boom! A one-of-a-kind garden guardian.
Benefits of This Craft
✅ Upcycles old kitchen tools—a win for your wallet and the planet!
✅ Customizable to any color scheme or décor style.
✅ Quick and kid-friendly—ideal for school breaks or weekend fun.
✅ Indoor or outdoor décor—it works just as well perched in a potted plant as it does hanging in a window.
Ingredients & Tools You’ll Need
🧂 Materials:
1 old metal whisk
Pliers
Acrylic paint or spray paint
Googly eyes, beads, or small buttons
Strong glue (hot glue gun or epoxy)
(Optional) Decorative wire, twine, or ribbon
🛠 Tools:
A flat surface for painting
Protective gloves or apron (recommended)
A place to hang or dry painted whisk
Ingredient Additions & Creative Variations
Feel like putting your own spin on things? Here are a few ideas to make your dragonfly truly yours:
🎨 Use metallic paint for a fairy-tale shimmer.
✨ Add sequins or glitter for a little sparkle.
🌌 Try glow-in-the-dark paint—your dragonfly will literally light up the night!
🌿 Use natural twine for a rustic look, or go full glam with velvet ribbon.
Step-by-Step Instructions
🐉 How to Make a Whisk Dragonfly:
Shape the Wings
Use your pliers to carefully bend and spread out the metal loops of the whisk. These loops will form the “wings” of your dragonfly. Don’t worry about being perfectly symmetrical—organic shapes add charm!Paint Your Dragonfly
Choose your paint! Spray paint works fast, but acrylics let you get creative with patterns. Stripes, ombré, or dots—anything goes! Let dry completely before moving on.Add the Face
Use strong glue to attach googly eyes, beads, or buttons to the tip of the whisk handle. Trust me, this part brings your dragonfly to life—mine looked instantly mischievous and adorable!Wrap and Decorate (Optional)
For some added style, wrap the handle with ribbon, yarn, or even tiny LED wire lights. You can also form a loop at the top with twine for easy hanging.Display Proudly
Hang it in your kitchen window, nestle it in a potted plant, or cluster several in your garden beds for a whimsical, “fluttering” effect.
What to Pair It With
Planning a craft afternoon? Here’s what pairs perfectly:
Fresh lemonade or iced tea 🍋
A good playlist (hello, 70s folk or lo-fi chill!) 🎶
Sunshine, shade, and an outdoor table ☀️🪴
Bonus: Let the kids paint mini pots or rocks while you make your dragonflies!
Tips for the Best Results
Wear gloves or use cardboard to avoid paint on your hands.
Let paint cure fully before gluing on eyes or embellishments.
If using hot glue, apply with care—metal conducts heat!
For extra sturdiness, use epoxy glue for outdoor dragonflies.
How to Store or Display
Indoors: Hang them from hooks, plant stakes, or window frames.
Outdoors: Coat with a clear acrylic sealer to help resist weathering.
To store between seasons, wrap in tissue and tuck them into a box—these little guys are delicate but worth protecting.
General Info
🕒 Craft time: 30–45 minutes (plus drying time)
🧒 Kid-friendly: Ages 6+ with adult supervision
💸 Cost: Under $5 if using recycled items!
FAQs About DIY Whisk Dragonflies
Q: Can I use a plastic whisk?
A: Metal is best—it holds shape better and is easier to paint and glue.
Q: Will spray paint stick to metal?
A: Absolutely! Just make sure it’s clean and dry first. A light sanding can help if the whisk is especially smooth.
Q: What glue is strongest for this?
A: Epoxy is strongest and weather-resistant. Hot glue works fine for indoor display or lightweight embellishments.
Wrapping Up: Craft a Little Joy 💖
These whisk dragonflies are anything but boring!! They’re colorful, quirky, and filled with personality—and I’m honestly kicking myself for not having made these sooner. Whether you create one or a whole swarm, each little dragonfly becomes a cheerful reminder that beauty is everywhere—even in an old kitchen drawer.
If you give this a try, I’d love to see your creations!
📌 Share your dragonflies on Pinterest and tag me!
📷 Drop a photo in the comments or send me a message—I might just feature your version in an upcoming post!
Looking for More Garden-Inspired Crafts?
Check out these reader favorites:
Nutritional Info
🧡 Just kidding—no calories here, just a whole lot of fun and creativity! 😄
Want more sweet, simple DIYs that spark joy?
👉 Subscribe here to get exclusive crafts straight to your inbox.
Let’s keep creating beautiful little things together. 💫

DIY Whisk Dragonfly
Equipment
- pliers
- paint (spray or acrylic)
- glue gun or epoxy glue
- decorative supplies (eyes, ribbon, beads)
- protective gloves or apron
- flat surface for painting
Materials
- 1 old metal whisk
- pliers
- acrylic paint or spray paint
- googly eyes, beads, or small buttons
- strong glue (hot glue gun or epoxy)
- Decorative wire, twine, or ribbon (optional)
Instructions
- Use your pliers to bend and spread out the whisk loops to create dragonfly wings. They don’t need to be perfect—organic shapes are great!
- Paint the entire whisk using spray paint or acrylics. Let it dry completely before moving on.
- Glue on googly eyes, beads, or buttons to create a face at the tip of the whisk handle.
- Wrap decorative twine or ribbon around the handle for extra flair. Add glitter or glow paint if desired.
- Hang your dragonfly in a window, planter, or garden. Seal with clear acrylic spray if displaying outside.