Before we get into the color-swirling fun, I just want to say thank you—thank you for choosing to spend time getting creative, especially with little hands by your side. Whether you’re a parent looking for a calm afternoon activity, a teacher planning a hands-on art station, or a grandparent making memories, this project is for you.
Today we’re making something truly magical: a DIY Suncatcher! It’s simple, sensory, and absolutely stunning when the light hits just right. If you’ve been craving a mess-free, color-packed project with minimal supplies and maximum wow, this one’s going to shine. 🌞✨
Want more easy crafts like this sent to your inbox? Subscribe below and get joyful, mess-friendly DIYs delivered right to you!
What Is a DIY Suncatcher?
A suncatcher is a colorful piece of art designed to reflect and scatter light when hung in a sunny window. This version uses clear school glue, food coloring, and a plastic lid to create a stained-glass effect that’s as fun to make as it is to display.
It’s part art project, part science experiment, and 100% sunshine in a craft!
Why You’ll Love This Craft
- 🌈 Easy and kid-friendly – safe, mess-resistant, and great for all ages
- 🧠 Boosts creativity and fine motor skills
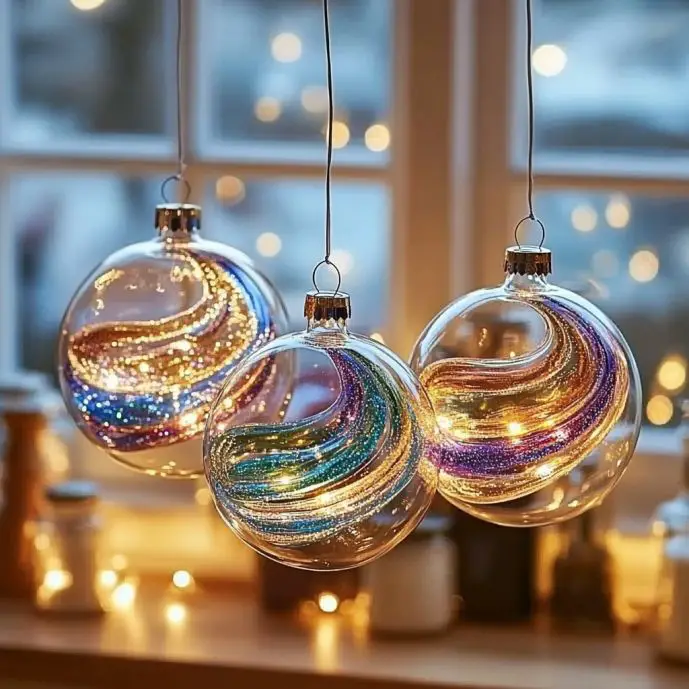
- 🪟 Makes gorgeous window art—watch how the sunlight dances through it!
- 🎨 Customizable—every suncatcher is completely one-of-a-kind
- 💫 No fancy tools needed—you likely already have everything at home
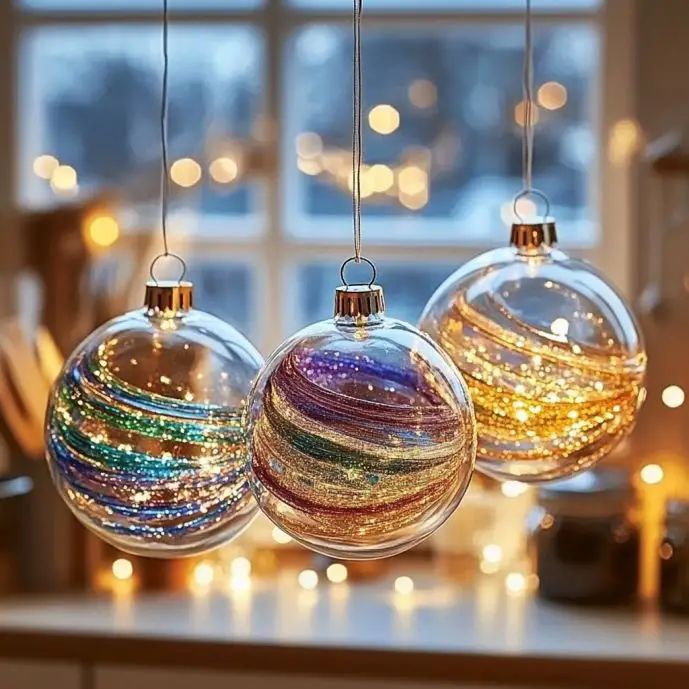
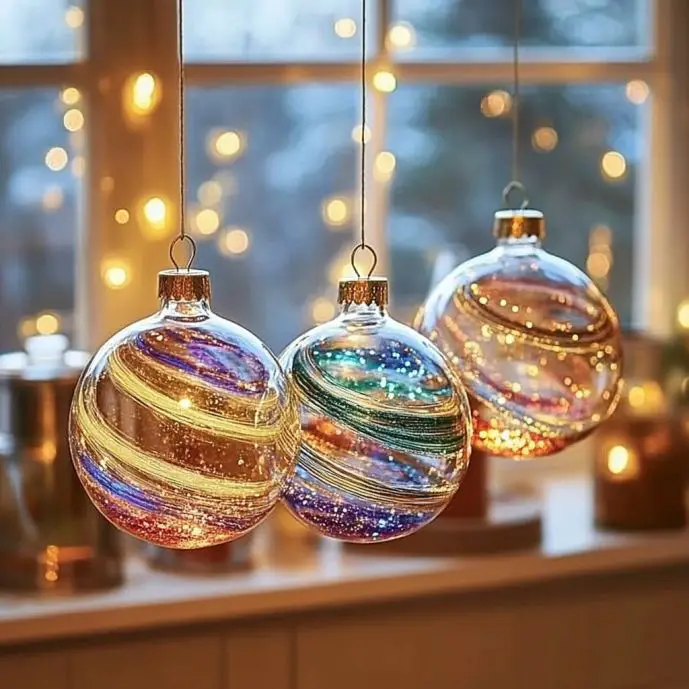
What Do Suncatchers Look Like?
Imagine a swirl of color suspended in clear magic. These suncatchers look like stained glass—vibrant and almost glowing when the sun shines through. You can go for bold tie-dye, soft pastels, or glittery spirals. The texture is smooth and flexible, and every piece feels like a small piece of art made with love.
I mean it—you’ll want to keep every one of them.
Ingredients & Supplies
You’ll Need:
- ✅ Clear school glue (the kind that dries transparent!)
- ✅ Food coloring or liquid watercolor paints
- ✅ Plastic lids (like from yogurt or sour cream containers) or clear plastic sheets
- ✅ Toothpicks or paintbrushes
- ✅ Optional: Glitter, sequins, mini beads for sparkle
- ✅ Optional: String, ribbon, or suction cup hooks for hanging
- ✅ Wax paper or tray (to protect your workspace)
- ✅ Scissors (to trim edges or punch holes)
Optional Add-Ons & Swaps
- Want a textured look? Place tissue paper under the glue for added dimension.
- Don’t have plastic lids? Cut out shapes from acetate sheets or repurpose clear packaging.
- Want even more color effects? Try using a straw to blow the paint around for a marbled swirl.
Step-by-Step Instructions for DIY Suncatchers
1. Prep Your Workspace
Cover your table with wax paper or a tray to catch any drips. Place out your plastic lids or clear plastic sheets.
2. Pour the Glue
Fill each lid with a ½–1 cm layer of clear school glue. Gently tilt the lid to spread it out evenly.
3. Add Color
Drop in your food coloring or liquid watercolors—just a drop of each color to start. You can always add more later! Add glitter, sequins, or tiny beads if you want extra sparkle.
4. Swirl & Create
Use a toothpick or paintbrush to swirl the colors around. Create patterns, blend shades, or go wild with abstract art. There’s no wrong way to design it!
5. Let It Dry
Leave the lids undisturbed for 24–72 hours, depending on humidity and thickness. Once it’s completely dry and see-through, you’re ready for the next step.
6. Peel It Out
Gently peel the suncatcher out of the lid. If the edges are rough, use scissors to carefully trim them.
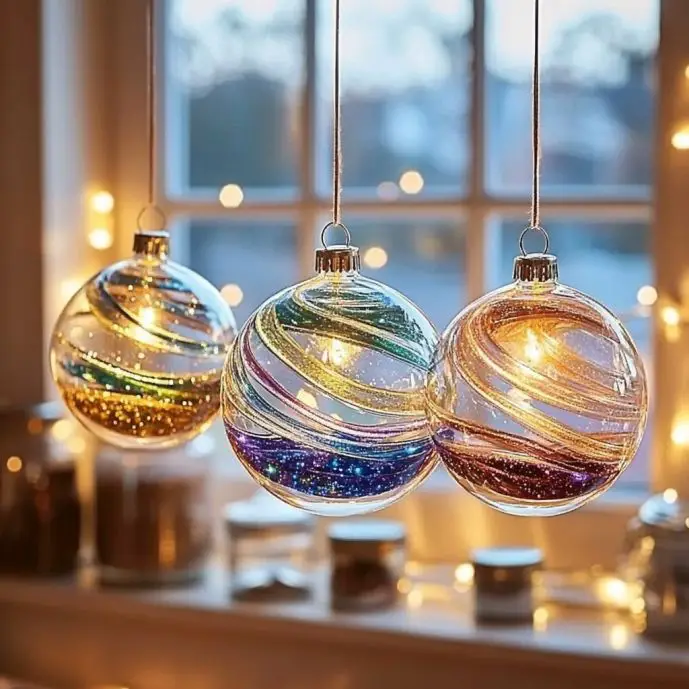
7. Hang & Shine
Punch a hole at the top and thread with string or ribbon, or attach a suction cup hook. Hang it in a sunny window and watch the colors glow!
Display Ideas & Pairings
- 🌼 Add your suncatcher to a seasonal nature table
- 🪟 Create a window garland with multiple small designs
- 💌 Attach to handmade cards or give as sun-filled gifts
- 📸 Photograph the light patterns it casts on the walls—so dreamy!
Tips for Best Results
- Thinner glue layers dry faster but may be more fragile—aim for at least ½ cm thickness.
- Avoid over-mixing the colors if you want distinct swirls.
- Use clear lids (like from takeout containers) for a full see-through effect.
- Dry in a dust-free area so your masterpiece stays clean and smooth.
Storage & Longevity
- Store flat between sheets of wax paper to avoid warping.
- Keep out of direct sunlight for extended periods to preserve the brightness.
- If edges curl, gently warm with a blow dryer and press flat under a book.
Frequently Asked Questions (FAQ)
Can I use regular white glue?
You can, but it won’t dry transparent. For the best stained-glass effect, stick with clear school glue.
Is this safe for toddlers?
Yes! As long as they’re supervised and not tasting the materials. It’s a fun sensory project for all ages.
What if my suncatcher won’t peel out?
It might not be fully dry. Wait another 12–24 hours and try again. Also make sure the glue layer isn’t too thin.
Can I make shapes instead of circles?
Definitely! Use cookie cutters or cut plastic sheets into hearts, stars, or flowers before adding glue and color.
Final Thoughts: Why This Craft Will Brighten More Than Just Windows
This DIY suncatcher isn’t just a project—it’s an experience. One filled with laughter, curiosity, and creativity. Watching your design catch the light for the first time is a special kind of magic, and it’s even better when shared.
Simple enough for beginners, dazzling enough for older kids, and meaningful for anyone who needs a little more color in their life. 💖
Looking for More Colorful Creations?
- 🌸 DIY Salt Paint Flowers
- 💎 Borax Crystal Pipe Cleaners
- ☀️ Sun Print Paper with Nature
Let me know which one you’d like next—I’d love to help you plan your next creative adventure!
Share Your Sunlit Masterpieces ☀️
Did you try this craft? Share your suncatchers on Pinterest and tag me!
Or leave a comment below with your photos and ideas—I love seeing your creativity shine. 🧡
“Nutritional” Value (Non-Edible Craft)
- 💡 100% Creativity
- ✋ 100% Hands-On Fun
- 🧼 0 Mess, All Magic
Thanks again for crafting with me. Here’s to more sunlit windows and joyful moments—one swirl of color at a time! 🌈
DIY Suncatcher
Ingredients
Method
- Cover your table with wax paper or a tray to catch any drips. Place out your plastic lids or clear plastic sheets.
- Fill each lid with a ½–1 cm layer of clear school glue. Gently tilt the lid to spread it out evenly.
- Drop in your food coloring or liquid watercolors—just a drop of each color to start. You can always add more later! Add glitter, sequins, or tiny beads if you want extra sparkle.
- Use a toothpick or paintbrush to swirl the colors around. Create patterns, blend shades, or go wild with abstract art. There’s no wrong way to design it!
- Leave the lids undisturbed for 24–72 hours, depending on humidity and thickness. Once it’s completely dry and see-through, you’re ready for the next step.
- Gently peel the suncatcher out of the lid. If the edges are rough, use scissors to carefully trim them.
- Punch a hole at the top and thread with string or ribbon, or attach a suction cup hook. Hang it in a sunny window and watch the colors glow!


