Hello again, lovely friend! 🌙✨
Today, I’m sharing a recipe that’s part science, part craft, and 100% hands-on fun. We’re making DIY Moon Sand—a soft, moldable, and totally mesmerizing sensory material that kids and grown-ups can’t stop playing with.
Whether you’re looking for a rainy-day activity, a quiet-time bin filler, or just a moment of simple joy, this moon sand is just the ticket. It takes minutes to make, uses only two ingredients, and feels like velvet beach sand in your hands. I’m kicking myself for not having tried it sooner!
💌 Want more sensory fun? Don’t forget to subscribe to get creative recipes and play ideas delivered straight to your inbox!
What Is Moon Sand?
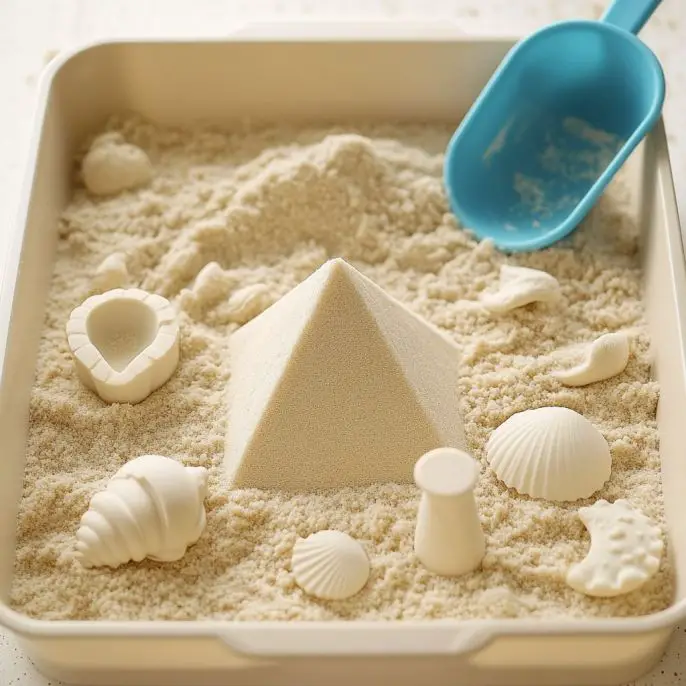
Moon sand (sometimes called cloud dough) is a soft, powdery material that holds its shape when compressed—just like wet sand at the beach. The magic happens when you combine flour and baby oil, creating a dough that’s squishable, sculptable, and oh-so-satisfying to play with.
It’s a tactile dream come true, and the perfect addition to any sensory bin, classroom center, or playroom.
Why You’ll Love Making Moon Sand
Only 2 simple ingredients
No cooking, no mess (and it smells great!)
Ready in minutes
Sensory-rich and calming—great for hands-on learning and focus
Easy to customize with color or scent
Budget-friendly, and easy to make in big batches
DIY Moon Sand
Ingredients
- 4 cups flour
- 1/2 cup baby oil
- optional: food coloring (1–2 drops)
Method
- Start by gathering all your ingredients and a large mixing bowl.
- Add the 4 cups of flour to the bowl.
- Pour in the 1/2 cup of baby oil.
- Using your hands or a spoon, begin to mix the flour and baby oil together.
- Continue blending until it feels like damp beach sand.
- If crumbly, gradually add more oil until the mixture is moldable.
- Optional: Add a drop or two of food coloring and mix thoroughly for color.
- Once ready, hand it over to kids for shaping, smashing, and sensory fun!
Notes
Tools You’ll Need
A large mixing bowl
Measuring cups
Spoon or spatula (or just your hands!)
Airtight container for storage
Step-by-Step Instructions
1. Mix Your Base
Start by adding 4 cups of flour to your mixing bowl.
2. Add the Baby Oil
Pour in ½ cup of baby oil over the flour. If you’re using scented baby oil, bonus—you just added a touch of aromatherapy!
3. Blend It Together
Use your hands or a spoon to mix the flour and oil. It will start to clump—keep going until it resembles damp beach sand.
4. Adjust Texture
If the mixture feels too dry or crumbly, add a little more baby oil—a tablespoon at a time—until you can squeeze it in your hand and it holds its shape.
5. Add Color (Optional)
For a colorful twist, add a drop or two of food coloring and mix thoroughly. (Note: food coloring may clump in the oil, so you can also mix it into the oil before combining with flour for more even color.)
6. Let the Fun Begin!
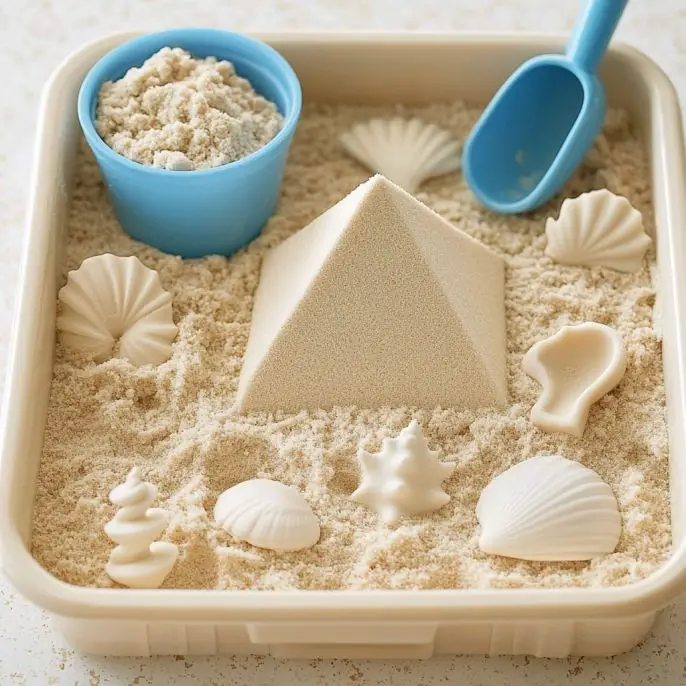
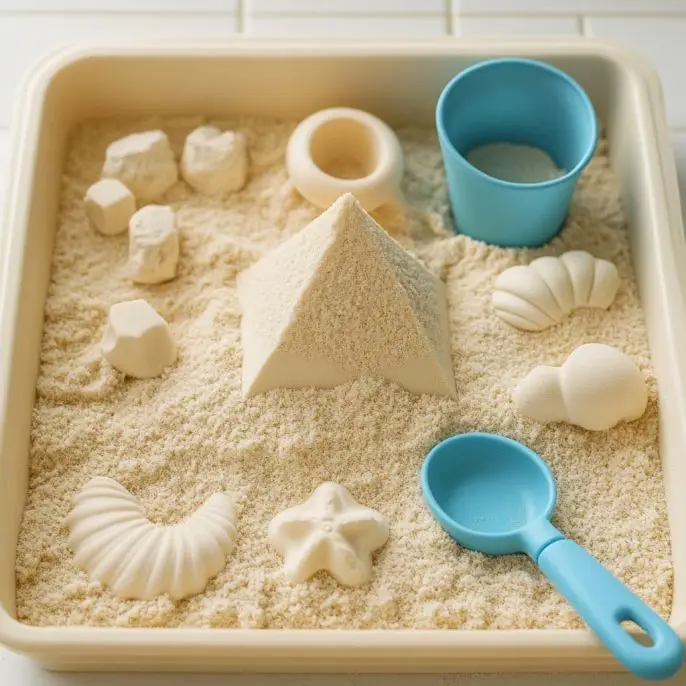
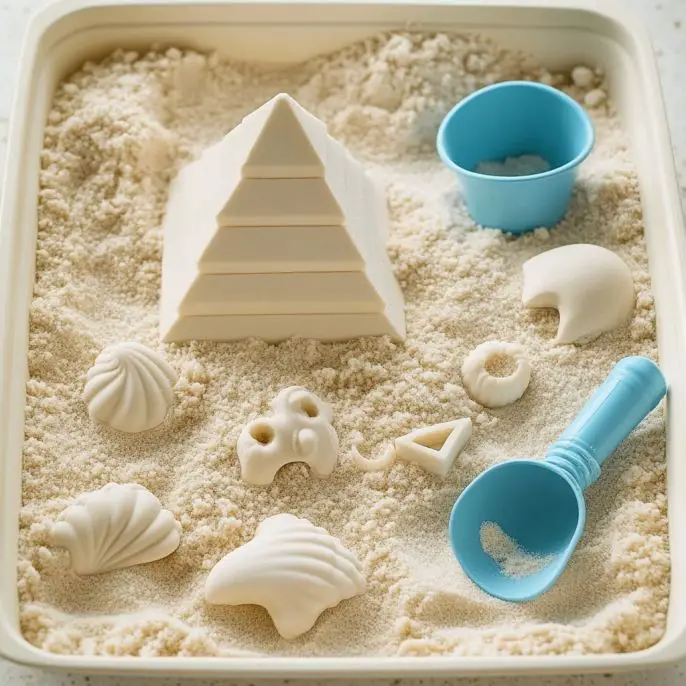
Your moon sand is now ready for shaping, scooping, squishing, and sculpting. Give it to your kiddos with cups, cookie cutters, toy animals, or mini diggers—and just watch their imaginations soar.
Tips & Variations
Mix in tiny toys or gems for an “excavation” activity
Use silicone molds to create moons, stars, or castles
Add glitter for a starry space-themed effect
Try scented oils like lavender or peppermint for calming or energizing play
Add beads or buttons for a sensory scavenger hunt
What to Know Before You Start
This activity is safe and non-toxic, but moon sand is not edible—supervise younger kids.
It can get a bit crumbly, so a tray or sensory bin underneath is helpful for easy cleanup.
The texture is soothing—great for fidgety hands, sensory processing, or just creative fun!
Storage Instructions
Store your moon sand in an airtight container or zip-top bag to keep it soft.
It stays fresh for weeks—just give it a quick knead before each use.
If it dries out, add a splash more oil and mix again to bring it back to life.
Frequently Asked Questions (FAQ)
Can I use coconut or vegetable oil instead of baby oil?
Yes! Just note that the scent and feel will be a little different. Coconut oil makes it extra smooth, but may harden if stored in a cold space.
Is it safe for toddlers?
With supervision—yes! It’s taste-safe (not tasty, though), and feels great for younger kids’ sensory play. Always watch to prevent mouths from joining the party.
Does the color stain?
Food coloring can stain hands slightly if used heavily. For less mess, you can skip color or use washable liquid watercolor instead.
Can I make it gluten-free?
You can try substituting cornstarch or gluten-free flour blends. The texture may be slightly different, but still fun!
Conclusion
This DIY Moon Sand is soft, squishable, and seriously soothing. Whether your kids are crafting castles, digging for treasure, or just letting the sand fall through their fingers, it’s a beautiful way to spark imagination and invite calm, creative play.
It’s one of those “why didn’t I do this sooner?” kind of activities—and I hope it becomes a favorite in your home or classroom too.
More Magical Sensory Recipes
Homemade Play Dough with Lotion
Colorful Bouncy Balls
Salt Volcano Science Experiment
DIY Slime Lab
Shaving Cream Puffy Paint
Let’s See Your Sand Sculptures!
Tried it out? I’d LOVE to see what you made! Share your moon sand moments on Pinterest or tag me in your sensory adventures. Let’s inspire more joyful play together! 🌙
Approximate Cost per Batch
$3–$5 depending on what you have on hand.
Thanks again for stopping by and getting playful with me today. Until next time, keep creating, keep exploring, and remember—sometimes the best things are made with just flour and a little imagination. 💛🖐✨
Let me know if you’d like a printable moon sand recipe card or classroom-friendly version!


