Looking to add a little sparkle and serenity to your windows? These beautiful blue suncatchers are the perfect hands-on craft for kids and adults alike. Made from simple materials you probably already have at home, this project transforms ordinary crayons into luminous, light-catching art. They’re especially magical when the sun hits just right—radiating soothing shades of blue throughout your room. ✨
Whether you’re decorating for spring, rainy days, or simply want to bring a pop of color indoors, these melted crayon suncatchers will make your windows shine!
🌞 What You’ll Love About This Project:
- ✔️ Super simple and kid-friendly
- ✔️ Uses up old or broken crayons (yay, no waste!)
- ✔️ Great color-mixing experiment
- ✔️ Customizable shapes and shades
- ✔️ A fun rainy-day or classroom activity
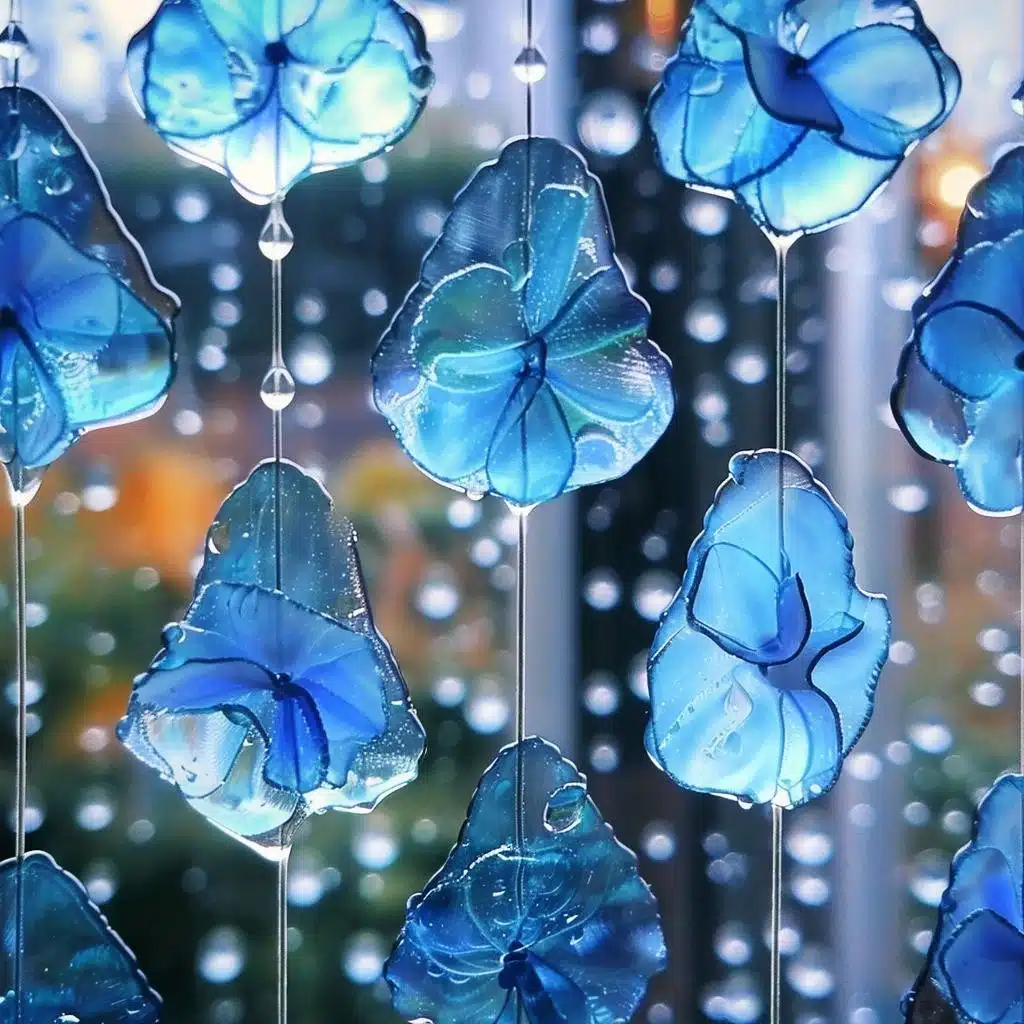
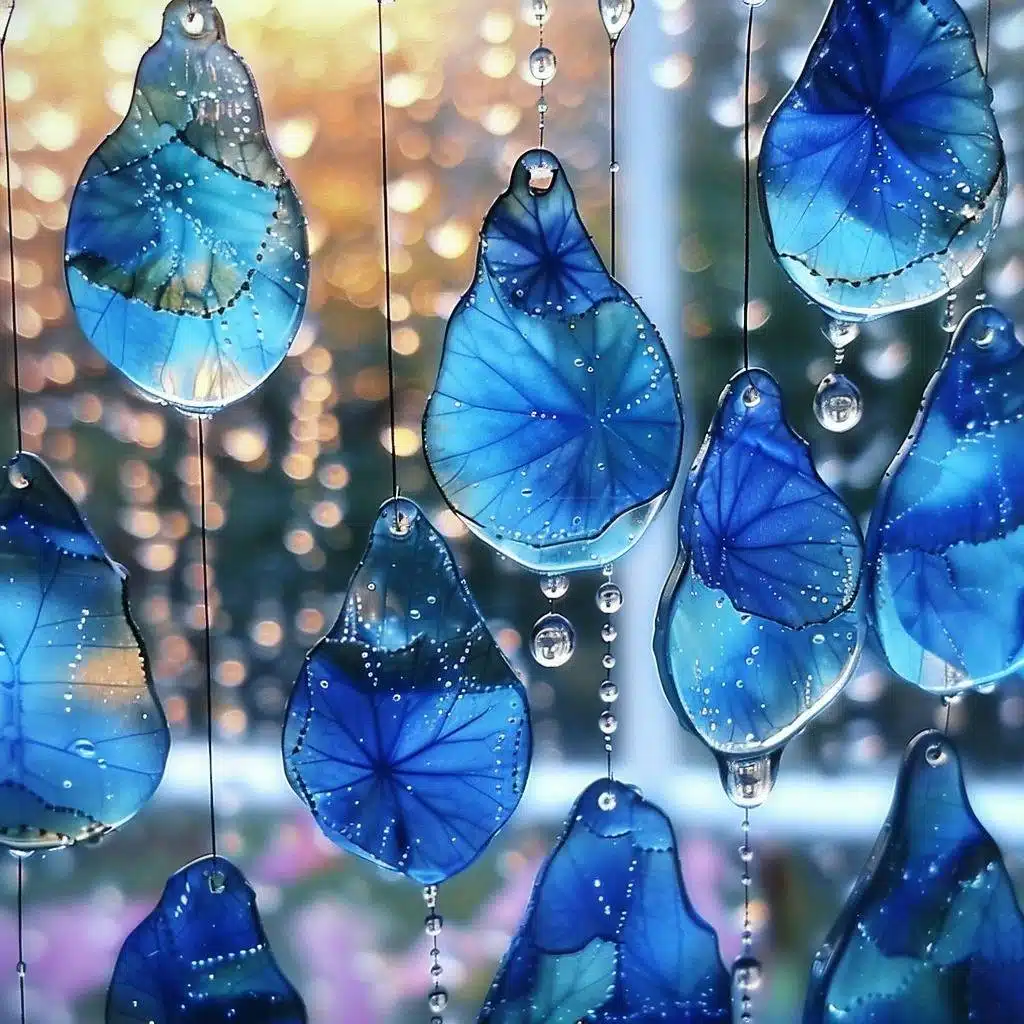
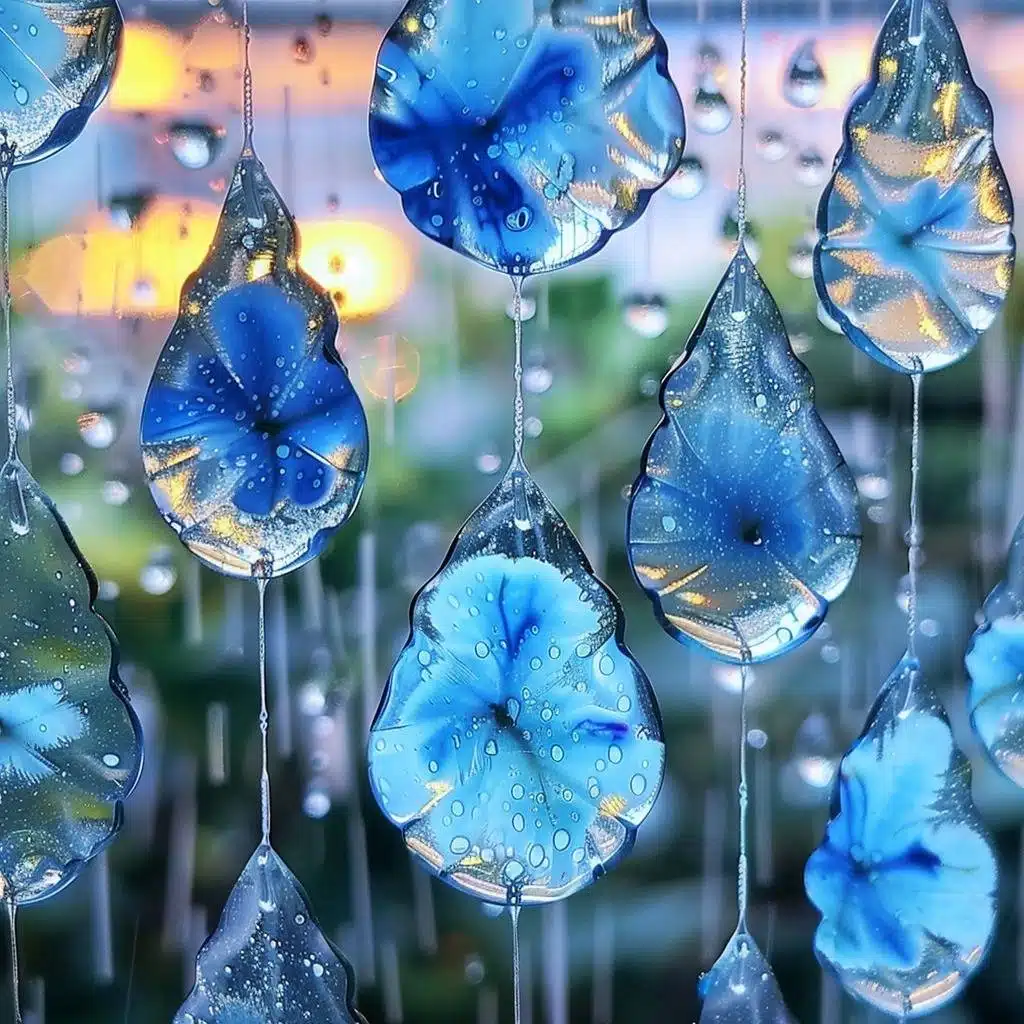
🎨 What Do Blue Suncatchers Look Like?
Imagine soft light glowing through delicate shades of blue—everything from pale sky tones to deep ocean hues. When you hang these raindrop-shaped suncatchers in a window, the colors dance and shift with the sun, creating a gentle, calming effect. They’re perfect for a weather-themed room, nursery, or just to add an artistic touch to your everyday view.
🧰 Supplies You’ll Need
- Blue crayons (a variety of light and dark shades works best)
- Crayon or pencil sharpener
- Waxed paper (2 sheets per suncatcher)
- Iron (for adult use only)
- Scissors
- Hole punch
- Embroidery floss, string, or thread (for hanging)
🧑🎨 Optional Extras:
- Try mixing in white or silver crayon shavings for a frosty effect.
- Use cookie cutters as templates for fun shapes like stars or hearts.
- Add a few glitter flakes between the sheets for extra sparkle.
🔧 Step-by-Step Instructions
1. Prep the Crayons
Peel the labels off your blue crayons. Use a sharpener to create a mix of fine and chunky shavings. Use different blue tones for a richer stained-glass effect.
2. Arrange the Shavings
Lay one sheet of waxed paper flat. Evenly sprinkle the crayon shavings on top, keeping them thinly spread and leaving a border around the edges.
3. Make the Crayon “Sandwich”
Place the second piece of waxed paper over the top, pressing gently so the edges align.
4. Melt the Crayons (ADULT STEP)
With the iron on its lowest setting (no steam!), gently press over the waxed paper. The heat will melt the shavings quickly. Glide the iron evenly and watch the magic happen! Stop once the colors have fused into a smooth, swirly sheet.
5. Cool and Cut
Let your masterpiece cool for a few minutes. Then, use a pencil to sketch raindrop shapes—or any design you love—right onto the waxed paper. Cut them out carefully.
6. Finish & Hang
Punch a hole near the top of each suncatcher. Thread with string or embroidery floss, and hang in a sunny window, across a branch, or from a mobile. Watch them glow!
🌈 Pro Tips
- Thin is better. Too much wax won’t let enough light through.
- Go multicolor! Try a rainbow version for even more fun.
- Layer colors. Light blue over dark gives depth and a stained-glass vibe.
- Use parchment paper on top of the wax paper while ironing to prevent residue on your iron.
☀️ Where to Display Your Suncatchers
- In your child’s bedroom or playroom
- On a window over the kitchen sink
- From a hanging branch as an indoor “mobile”
- In the classroom as a weather-themed craft
- On sliding doors or balcony windows for instant sunshine vibes!
💬 FAQs
Can I use other crayon colors?
Absolutely! Reds, yellows, and greens look beautiful too. You can even make full rainbows.
What if I don’t have waxed paper?
Parchment paper won’t work the same way. Waxed paper is needed for the crayon to melt into it. Try dollar stores or kitchen aisles.
Is it safe for kids to help?
Yes! Kids can peel, sharpen, arrange, and cut. The ironing should always be done by an adult.
How long do they last?
They’ll last for months if handled gently and kept indoors out of extreme heat.
🌟 Final Thoughts
There’s just something magical about watching sunlight filter through color. These DIY blue crayon suncatchers are a simple, joy-filled way to turn old crayons into new treasures. They brighten your space, inspire creativity, and offer a soothing reminder that even rainy days can be beautiful. 💙
✂️ More Kid-Friendly DIY Crafts:
- 🌈 [Melted Crayon Rainbow Hearts]
- 🍂 [Leaf Rubbing Suncatchers for Fall]
- 🌸 [Pressed Flower Window Art]
📸 Share Your Creations!
Tried this project? I’d LOVE to see what you made!
Tag your photos on Pinterest or Instagram and use #CrayonSuncatchers so I can admire your colorful windows!
✨ Let the light in—one crayon at a time! ✨
Blue Crayon Suncatchers
Ingredients
Method
- Peel the labels off your blue crayons. Use a sharpener to create a mix of fine and chunky shavings.
- Lay one sheet of waxed paper flat. Evenly sprinkle the crayon shavings on top.
- Place the second piece of waxed paper over the top, pressing gently to align the edges.
- With the iron on its lowest setting (no steam!), gently press over the waxed paper to melt the shavings.
- Stop once the colors have fused into a smooth, swirly sheet.
- Let the masterpiece cool for a few minutes. Sketch raindrop shapes or any design on the waxed paper.
- Cut them out carefully and punch a hole at the top of each suncatcher.
- Thread with string or embroidery floss and hang in a sunny window.