Before we get started, I just want to say—thank you for being here. Whether you’re looking to refresh your space, gift something meaningful, or just dive into a peaceful little project with your hands, I’m so glad you found this. Projects like these remind us that joy can come in small, fragrant packages—and sharing that with you truly makes my day. 💛
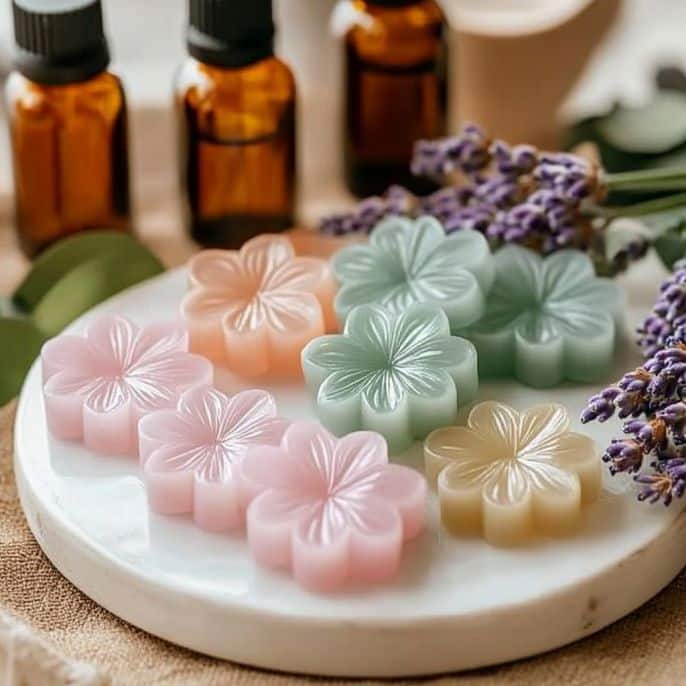
So let’s get into it—DIY Aroma Stones! These beauties are the perfect blend of natural fragrance, creativity, and calm. They’re like mini diffusers you can display anywhere—your bathroom, dresser, car, or even tucked in a drawer. And the best part? You made them yourself!
💌 Want this recipe delivered straight to your inbox? Subscribe below so you never miss a soothing DIY again!
Why You’ll Love These DIY Aroma Stones
This recipe is a total sensory treat. It’s easy, meditative, and full of cozy, spa-like vibes. The texture is so satisfying to work with, the essential oils smell divine, and the final result? Anything but boring!!
What Makes This DIY So Special:
🌿 All-Natural: No artificial fragrances—just pure, plant-based essential oils.
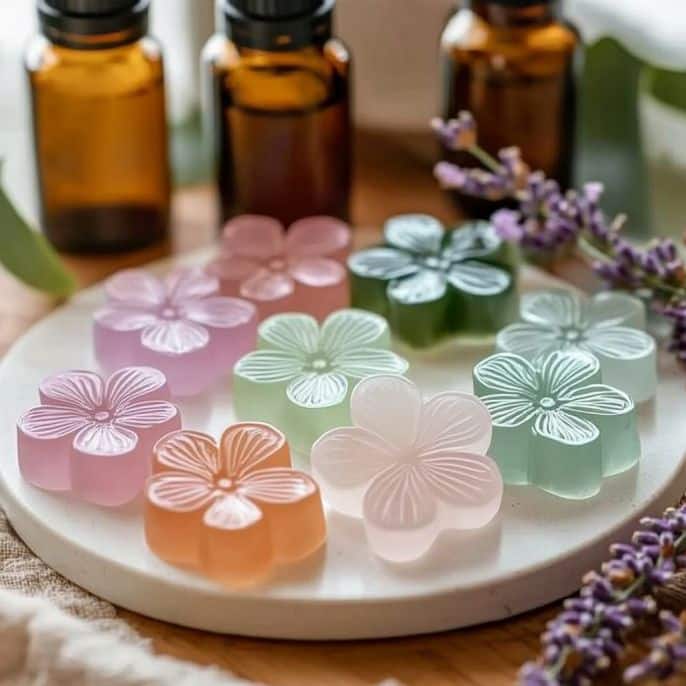
🎨 Customizable: Pick your scent, your colors, your shape—make it all you!
🧘♀️ Soothing Process: Mixing, molding, and scenting is therapeutic in itself.
🎁 Perfect for Gifts: A heartfelt handmade gift that feels luxurious and thoughtful.
What Do Aroma Stones Smell Like?
That’s the magic—you get to decide! Whether you love the relaxing calm of lavender, the clean zing of lemon, or the cozy freshness of eucalyptus, your stones will hold onto that scent and release it slowly over time. It’s like a candle without the flame—safe and always aromatic. ✨
Benefits of Making Your Own Aroma Stones
Supports mental wellness through calming essential oils
Adds natural scent to small spaces without artificial chemicals
Easy to make with simple pantry ingredients
Wonderful homemade gifts for birthdays, holidays, or self-care packages
Reusable—just refresh with a few more drops of oil anytime!
🧂 Ingredients List
Here’s what you’ll need:
1/2 cup baking soda
1/2 cup cornstarch
1/4 cup warm water
15–30 drops of essential oil (lavender, lemon, peppermint, eucalyptus, etc.)
(Optional) Natural coloring like mica powder or food coloring

🛠️ Tools You’ll Need
✔️ Mixing bowl & spoon
✔️ Silicone molds, cookie cutters, or ice cube trays
✔️ Parchment paper or drying tray
✔️ Dropper or pipette (for essential oils)
✔️ Airtight jars or sachets (for storing)
✨ Ingredient Additions & Substitutions
Want to get creative? Here are a few fun upgrades:
Dried herbs or petals (like lavender buds or rose petals) for a decorative touch
Clay powder (like kaolin) for extra structure
Use citrus zest for a more vibrant, natural color and a burst of scent
Switch up essential oils depending on your mood or the season (think cinnamon-orange for fall, or peppermint-lime for summer!)
🪨 How to Make DIY Aroma Stones
Step 1: Mix the Base
In a bowl, combine 1/2 cup baking soda and 1/2 cup cornstarch. Gradually stir in 1/4 cup warm water until a thick, clay-like dough forms. If the dough is too sticky, add more cornstarch. Add your coloring now, if using, and knead until it’s evenly tinted.
Step 2: Shape the Stones
Press the dough into silicone molds or flatten it and use cookie cutters to shape. Smooth the surface with your fingers if needed. Carefully pop the shapes out and place on parchment paper or a drying tray.
Step 3: Dry the Stones
Let them air-dry for 24–48 hours until completely hardened. Flip them halfway through to help them dry evenly. The wait is the hardest part—but trust me, it’s worth it!
Step 4: Add the Scent
Once fully dry, use a dropper to add 3–5 drops of your favorite essential oil to each stone. Let the scent absorb for 1–2 hours before using or gifting.
🕯️ What to Pair With This DIY?
These stones go beautifully with:
A DIY bath soak or salt scrub
Handmade soy candles
Dried floral sachets
A cute gift box for a friend or as part of a spa basket
Or pair them with your meditation practice, yoga flow, or even your work-from-home desk setup. Instant calm, wherever you are.
🌿 Tips for Perfect Aroma Stones
Start with a little water—you can always add more if the dough is dry.
Want strong scent? Use more essential oil or layer scents (like lemon + eucalyptus).
Keep unused stones in a sealed jar to retain scent longer.
Re-scent anytime by adding another drop or two to the stone’s surface.
Avoid essential oils that are photosensitive (like bergamot) if placing in sunlight.
🗃️ Storage Instructions
Once dry and scented, store your aroma stones in an airtight container when not in use. If the scent fades, just add a fresh drop or two of essential oil. They’re totally reusable and customizable.

🙋♀️ Frequently Asked Questions
How long do aroma stones hold their scent?
Usually a few days to a week, depending on the oil used. You can refresh the scent anytime by adding more drops!
Can I use fragrance oils instead of essential oils?
Yes—but keep in mind, fragrance oils aren’t natural. If you want a cleaner option, stick to essential oils.
Are these safe for kids and pets?
They’re non-toxic, but some essential oils can be irritating—especially for pets. Always check oil safety and keep stones out of reach of small children and animals.
Do they get moldy over time?
Nope! Once dry, they’re completely moisture-free and shouldn’t develop mold. Just keep them in a cool, dry place.
🧡 Final Thoughts
There’s something truly special about creating something with your own two hands—and when it smells this good? Even better. These DIY Aroma Stones are easy, affordable, and totally unique to you.
Whether you’re making a batch for yourself or a friend, I hope this little project brings you a big breath of joy and calm. 🌸
🧼 Want More Handmade Goodness?
If you loved this project, check out:
📸 Share Your Creations!
I’d love to see your stones!
📌 Pin this post and tag me with your final product.
💬 Drop a comment with your favorite essential oil blend!
❌ Nutritional Information
🛑 Not edible! These are for fragrance only—no matter how cute or candy-colored they look. But they do feed your soul with every deep breath. 💆♀️
Thanks for crafting with me today. Here’s to more scent-filled, stress-free moments in your day—and plenty of creativity to go around. 💖


