Dinosaur cakes transcend being mere desserts; they represent a journey into a prehistoric world, a creative expression that brings joy to any child’s (or adult’s) face. Whether it’s for a birthday party or a delightful baking project, these cakes seamlessly combine the thrill of dinosaurs with the sweet delight of cake. In this comprehensive guide, we’ll walk you through everything from planning and baking to decorating your very own dinosaur-themed cake. So, let’s dive into this exciting adventure and create a roaring masterpiece !
Introduction to Dinosaur Cakes
Dinosaur cakes are a fantastic way to add some prehistoric fun to any celebration. They’re not just cakes; they’re edible art that can transport us back to the Jurassic era. Whether you’re a seasoned baker or a newbie, these cakes are a great way to unleash your creativity and bring a smile to everyone’s face.
The Popularity of Dinosaur-Themed Cakes
Why are dinosaur cakes so popular? The answer lies in their perfect blend of adventure and sweetness! Dinosaurs have consistently captured our imagination, and when intertwined with the universal love for cake, you create a party centerpiece that is both eye-catching and delicious. From the fierce T-Rex to the gentle Brontosaurus, these cakes can be as diverse and varied as the dinosaurs themselves.
In the next part, we’ll explore the essential considerations you need to keep in mind before starting your dinosaur cake adventure. Stay tuned!
In the next part, we’ll delve into the planning phase of your dinosaur cake, covering everything from choosing the right recipe to conceptualizing your cake’s design. Stay tuned for more !
Planning Your Dinosaur Cake
Before diving into the mixing and baking process, a bit of planning can significantly contribute to ensuring your dinosaur cake turns out both stunning and scrumptious. Let’s delve into the essentials of planning your prehistoric masterpiece. For more baking inspiration and ideas, check out Recipes by Savory Splash.
Essential Considerations Before Baking Dinosaur Cake
First things first, let’s discuss the foundation of any great cake – the recipe and ingredients. To begin with, selecting the right recipe is crucial. Do you prefer a classic chocolate cake that resembles the muddy grounds of a prehistoric landscape, or perhaps a vanilla cake that can be easily colored to match a more vibrant dinosaur theme? Remember, the flavor should be as delightful as the design.
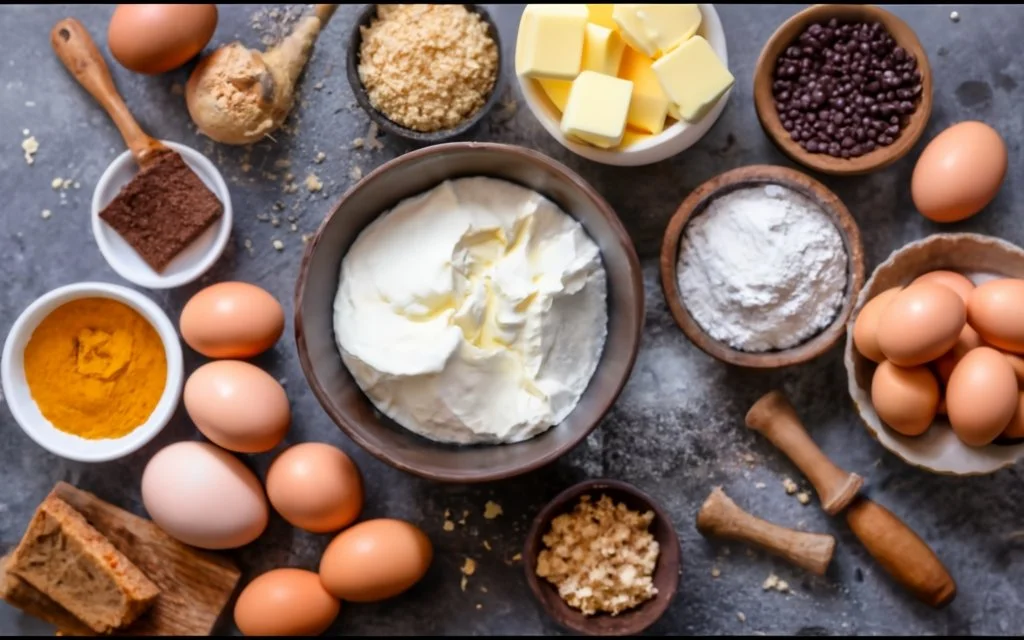
Moving on, let’s talk about ingredients. Moreover, high-quality ingredients can make a significant difference in taste. Opt for fresh eggs, real butter, and the finest chocolate you can find – these choices will elevate your cake from good to dino-mite!
Choosing the Right Recipe and Ingredients
When selecting a recipe, consider the cake’s structure. If you’re planning to sculpt your cake into a 3D dinosaur, opt for a denser cake, such as a pound cake, that can hold its shape well. For a simpler design, a basic sponge cake might suffice.
Design and Decoration Ideas of Dinosaur Cake
Now, let’s delve into the design. Are you envisioning a ferocious T-Rex bursting out of a volcano, or perhaps a serene scene with herbivores peacefully grazing? Sketch your ideas or seek inspiration online. Remember, the sky (or should we say, the Cretaceous period?) is the limit !
In the next section, we’ll move on to the exciting part – baking your dinosaur cake. We’ll cover everything from mixing your batter to getting your cake oven-ready. So, grab your apron, and let’s get baking!
Stay tuned as we dive into the baking process, where we’ll share tips and tricks to ensure your dinosaur cake is not only a feast for the eyes but also for the taste buds!
Step-by-Step Baking Guide
Now that we’ve planned our dinosaur cake adventure, it’s time to roll up our sleeves and start baking! Follow these steps to create a cake that’s as delicious as it is impressive.

Preparing Your Batter and Baking Dinosaur Cake
Begin by preheating your oven to the correct temperature – a crucial step for achieving that perfect bake. Next, meticulously mix your ingredients according to your chosen recipe. Whether you’re using a hand mixer or opting for the traditional route with a whisk, ensure that your batter is smooth and free of lumps.
Pour the batter into your prepared cake pan. If you’re sculpting your cake, consider baking in a rectangular or square pan for easier cutting and shaping. Bake until a toothpick inserted into the center comes out clean. Remember, patience is key – avoid opening the oven too often, as it can cause the cake to collapse!
Cooling and Prepping for Decoration
Once your cake is baked, allow it to cool completely. Rushing to decorate a warm cake can result in melting frosting and slipping decorations – a definite no-no in the world of cake decorating.
After cooling, if your design calls for it, take the opportunity to trim and shape your cake. This could involve carving out a simple dinosaur shape or creating layers for a more complex structure. A bit of cake sculpting can indeed go a long way in bringing your dinosaur to life!
In the next part, we’ll unleash our creativity even further with some decorating tips that will make your dinosaur cake stand out. Get ready to transform your baked creation into a prehistoric work of art!
Stay tuned for the next part where we’ll dive into the world of frosting, colors, and decorations to bring your dinosaur cake to its full, majestic glory !
Decorating Your Dinosaur Cake
With your cake baked and shaped, it’s time to breathe life into it with creative decorating! This is the stage where you can truly let your imagination run wild and have some fun.

Applying Frosting and Colors
Begin by selecting the right frosting. Buttercream is a versatile choice, ideal for both spreading and piping. If you’re aiming for a more textured look, resembling dinosaur skin, you might want to experiment with a star or grass tip using your piping bag.
Color plays a significant role in bringing your dinosaur cake to life. Mix food coloring to achieve the perfect shades. Consider earthy greens, browns, and perhaps even a splash of vibrant color for a more whimsical dinosaur. Additionally, make sure to apply your base layer of frosting smoothly – this serves as your canvas.
Adding Dinosaur-Themed Decorations
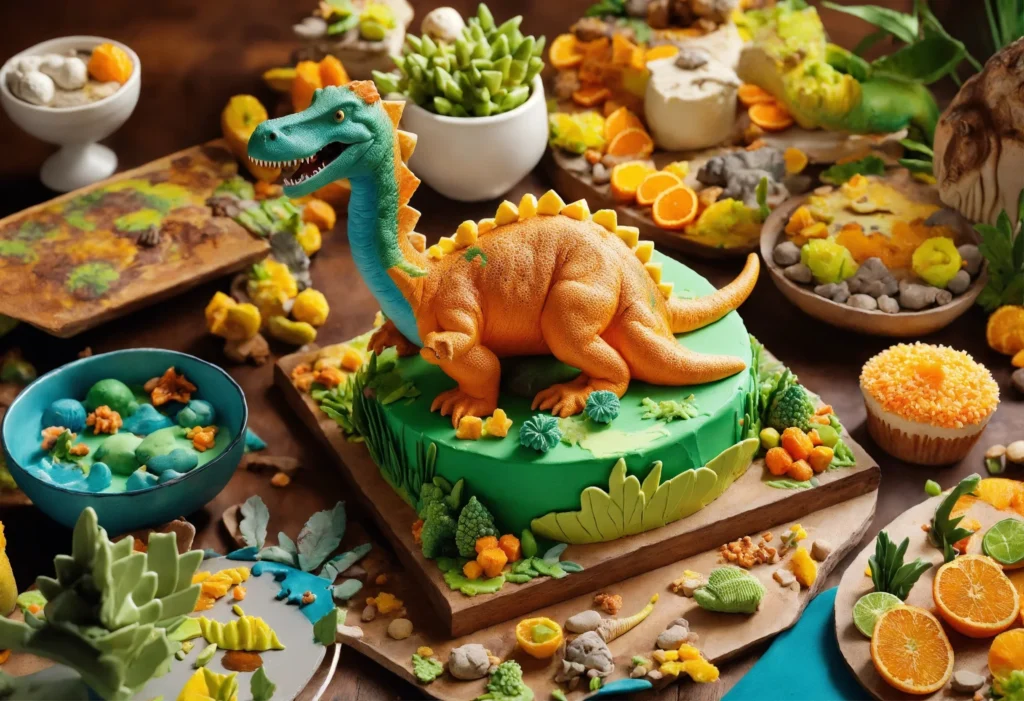
Now, onto the fun part – adding details! This can range from incorporating edible leaves and trees to craft a prehistoric scene, to including candy rocks for a rugged terrain effect. For those feeling adventurous, consider using fondant to fashion more intricate decorations such as dinosaur bones or footprints.
Remember, the key to achieving a truly great decoration lies in the details. Those small touches, such as adding texture to your frosting or creating a water effect with piping gel, can genuinely make your cake stand out.
In the upcoming section, we will explore some advanced decoration tips for those looking to elevate their dinosaur cake to the next level. Get ready to step into the world of cake artistry !
Stay tuned as we delve into advanced decorating techniques, where we’ll share tips on using molds, 3D elements, and hand-painting to create a dinosaur cake that’s a true showstopper! For more detailed guidance on enhancing your culinary skills, explore our Bang Bang Sauce Guide: Recipes, Tips, and Nutritional Insights.
Advanced Decoration Tips
For those eager to elevate their dinosaur cake to a masterpiece, these advanced decoration tips will add that extra wow factor. Let’s explore how to seamlessly incorporate professional techniques into your cake design.
Using Molds and 3D Elements
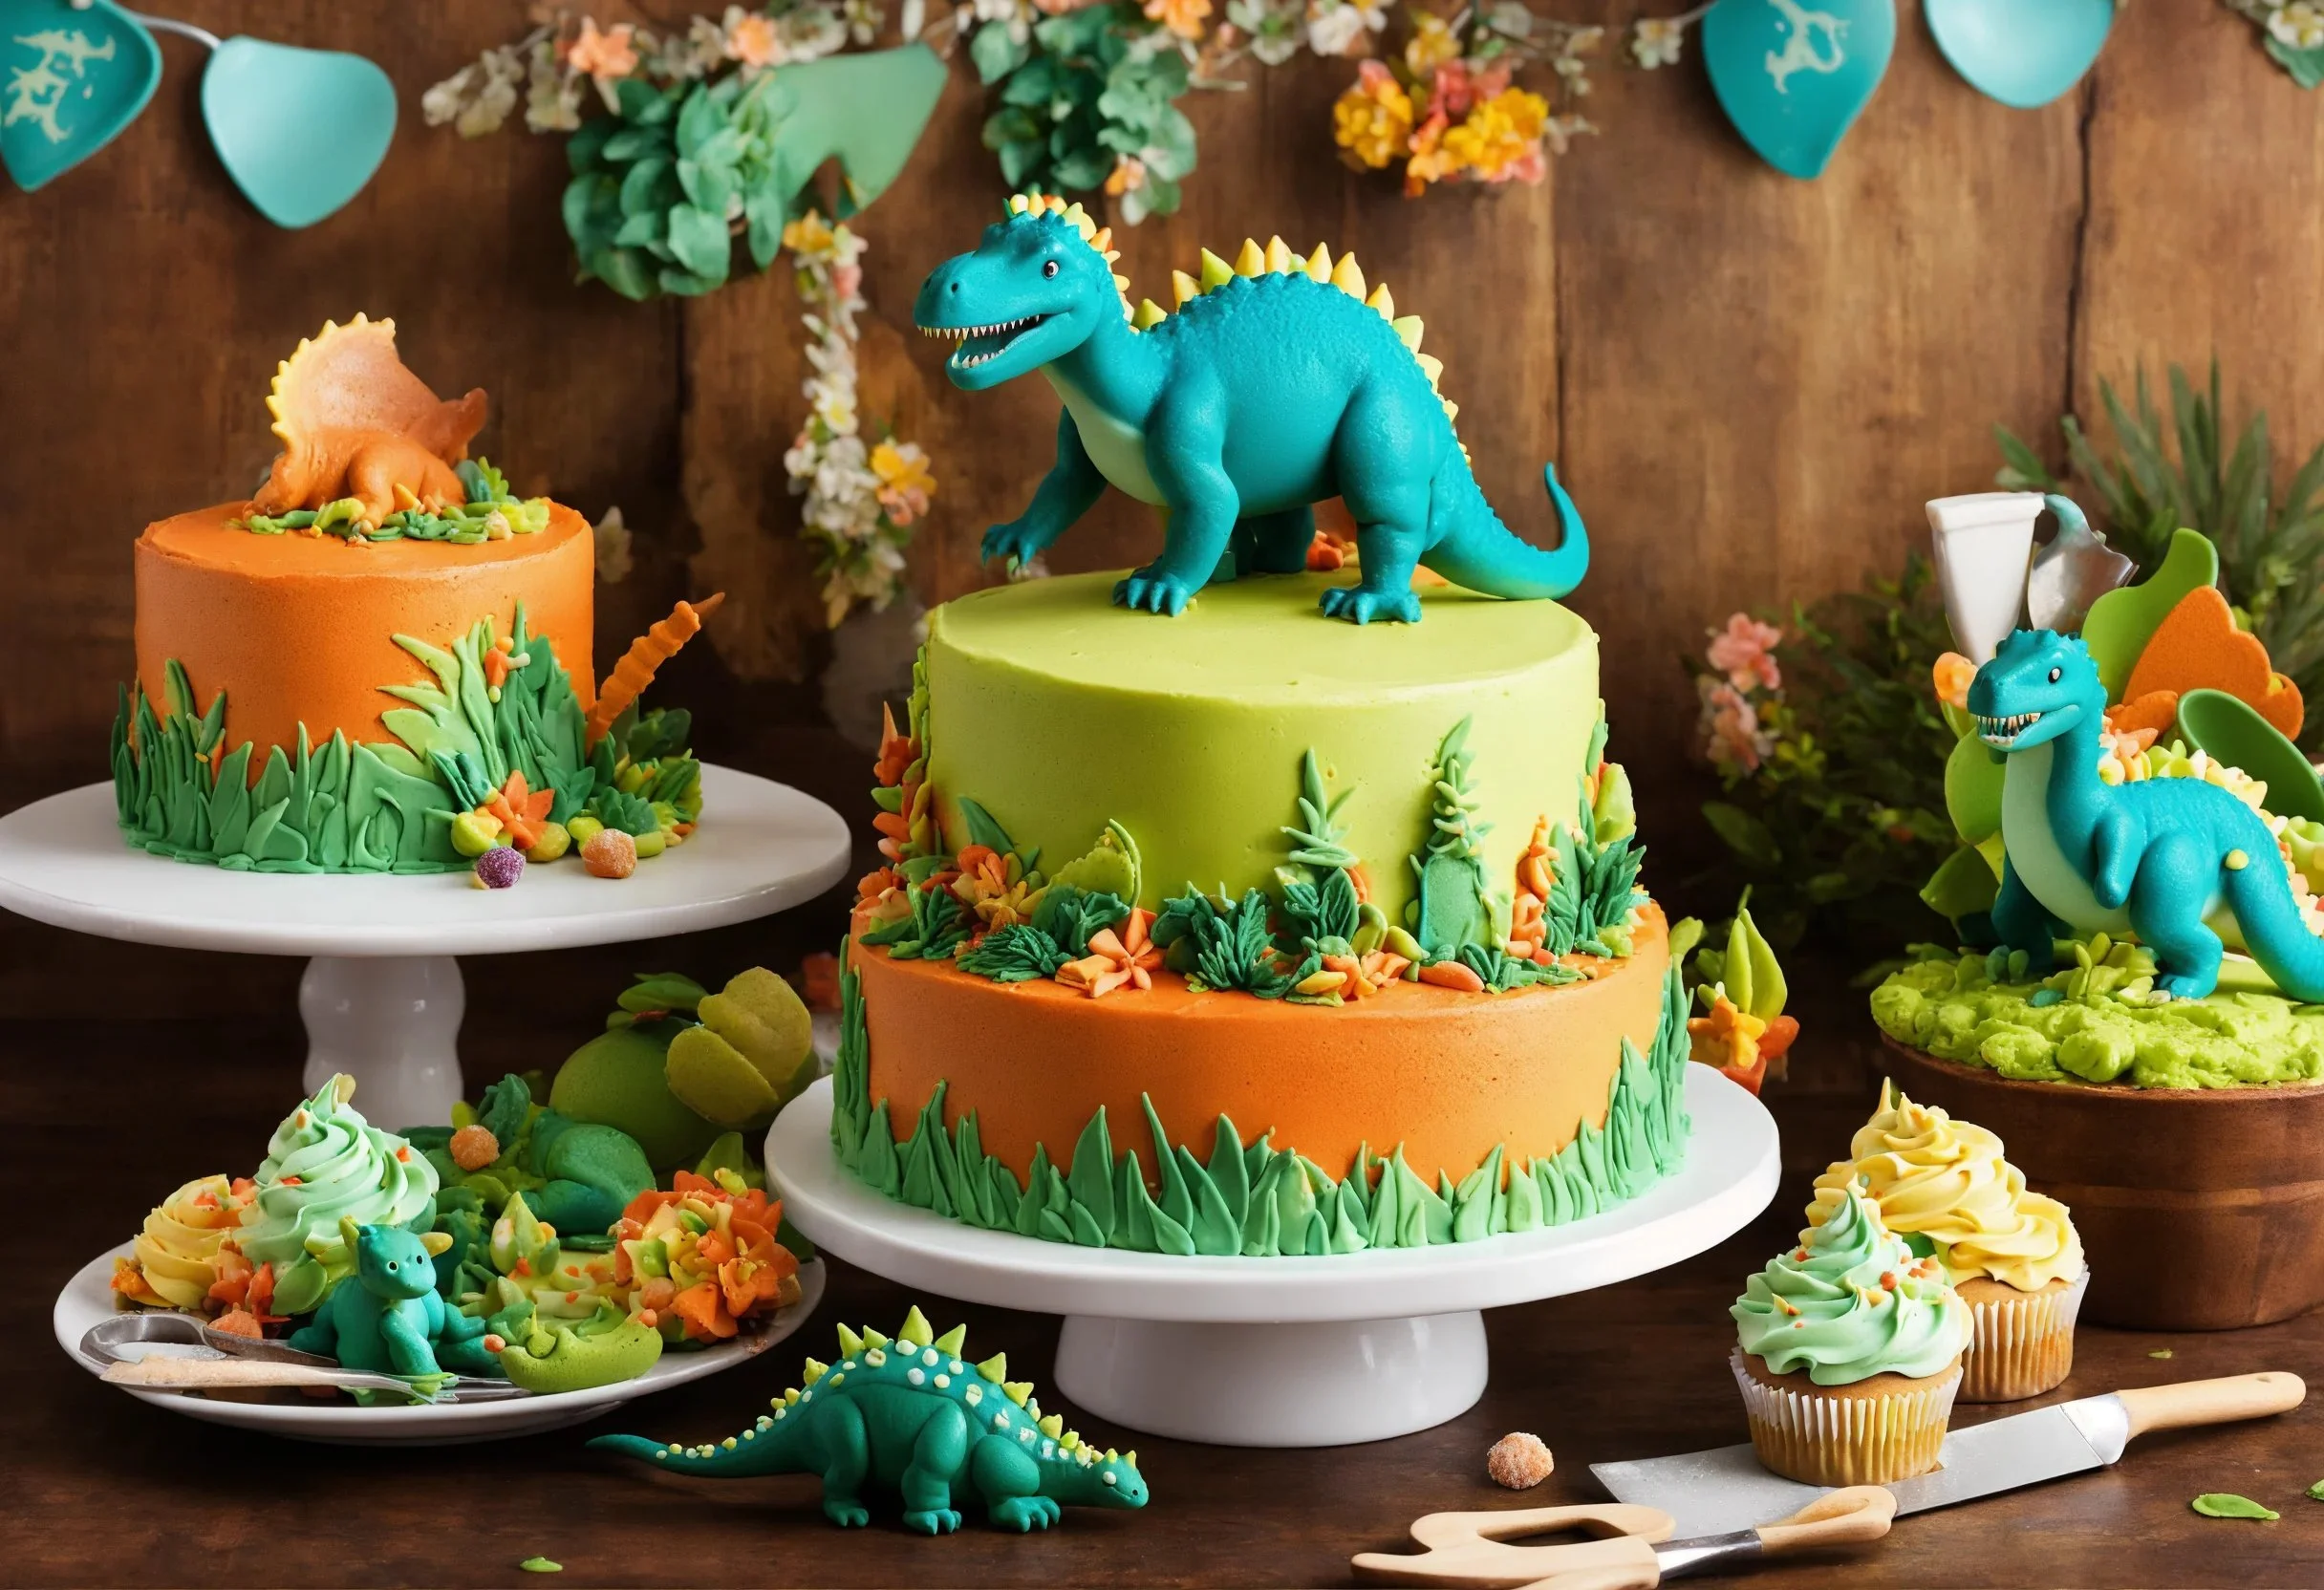
Molds can truly be a game-changer when it comes to creating realistic 3D elements. Whether it’s dinosaur figures or intricate foliage, silicone molds provide an easy way to incorporate detailed decorations. Consider the option of creating a 3D dinosaur to sit atop your cake, or explore using molds to craft prehistoric plants and trees for added thematic flair.
When working with fondant or gum paste in molds, it’s advisable to dust them lightly with cornstarch to prevent sticking. Once you’ve carefully removed the shapes, utilize edible glue or a small dab of water to securely adhere them to your cake.
Hand-Painting and Detailing Techniques
For individuals with a steady hand and an eye for detail, it’s worth noting that hand-painting your cake can truly elevate it to the next level. Additionally, you can utilize food-grade paints or a small amount of food coloring mixed with vodka or lemon extract to create the paint.
This technique is particularly ideal for incorporating intricate details like scales, shadows, and highlights to enhance the overall appearance of your dinosaur creation.
Remember, less is more when it comes to hand-painting. Start with a light touch and gradually build up the color. This method requires patience, but the results can be truly stunning.
In the next section, we’ll answer some frequently asked questions about dinosaur cake making. Whether you’re curious about the best frosting to use or how to store your cake, we’ve got you covered!
Stay tuned for our FAQ section, where we’ll address common queries and provide helpful tips to ensure your dinosaur cake is a roaring success!
Frequently Asked Questions
In this section, we’ll address some of the most common questions about making a dinosaur cake. Whether you’re a first-timer or looking to refine your skills, these FAQs will help guide you through the process.
Common Queries About Dinosaur Cake Making
Q: What’s the best type of frosting to use for a dinosaur cake?
A: Buttercream is often the go-to choice due to its versatility and ease of coloring. For more texture, consider using a combination of buttercream and fondant.
Q: How can I make my dinosaur cake more stable for sculpting?
A: Using a denser cake, such as a pound cake, can provide a sturdier base for sculpting. Additionally, chilling your cake before carving can make it easier to shape.
Q: Can I make my dinosaur cake in advance?
A: Certainly! You can choose to bake the cake a couple of days in advance and store it in an airtight container. If you’re including fondant decorations, it’s advisable to add them closer to the time of serving to preserve their texture.
Q: What are some creative ideas for dinosaur cake decorations?
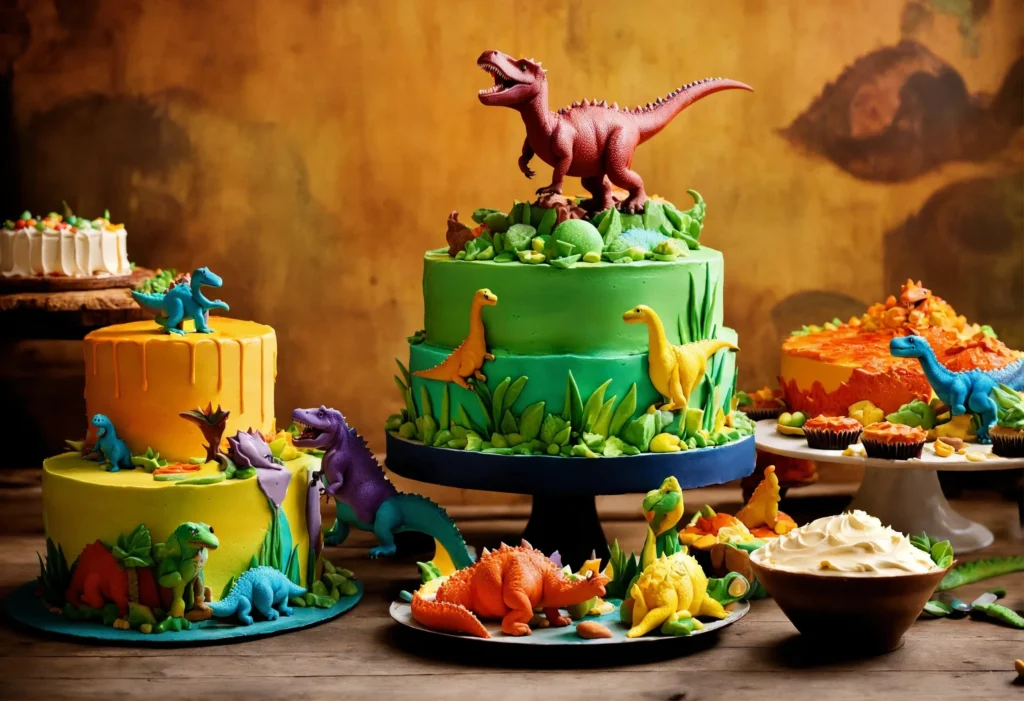
A: Think beyond the cake – incorporate cookie crumbles for a dirt-like texture, candy rocks to create a rugged terrain, and even use toy dinosaurs as decorative toppers. Edible paints can also be employed to add realistic details to enhance the overall look of your cake.
Q: How do I store my dinosaur cake?
A: Store your cake in a cool, dry place. If it’s frosted with buttercream, it can be kept at room temperature for a short period. For longer storage, refrigerate it, especially if it has perishable fillings.
In the concluding part of our guide, we’ll bring our dinosaur cake adventure to a close by summarizing key points and inspiring you to commence your own baking journey.
Stay tuned for our concluding section, where we’ll bring together all the tips and tricks you’ve learned to help you embark on your exciting dinosaur cake-making adventure !
Wrapping Up Your Dinosaur Cake Adventure
As we wrap up our exploration into the world of dinosaur cakes, let’s recap the key points and prepare to embark on your own cake-making adventure. Keep in mind, creating a dinosaur cake is not solely about baking and decorating; it’s about unleashing your creativity and bringing joy to others.

Conclusion and Key Takeaways
- Start with a Plan: Before diving into baking, plan your design and choose the right recipe and ingredients. This preparation sets the foundation for a successful cake.
- Baking Basics: Follow your recipe carefully, and remember to let your cake cool completely before decorating.
- Decorating with Flair : Utilize frosting, colors, and decorations to breathe life into your dinosaur theme. Don’t hesitate to let your creativity run wild with your designs.
- Advanced Techniques : For those seeking a challenge, explore the possibilities by experimenting with molds, 3D elements, and hand-painting techniques to infuse intricate details into your creation.
- FAQs for Troubleshooting : Consult the FAQs for swift solutions and helpful tips to address common challenges encountered in cake-making.
Creating a dinosaur cake seamlessly blends baking artistry with the thrill of prehistoric adventures. Whether for a birthday, special event, or just for fun, rest assured that your dinosaur cake is sure to impress.
So, what’s holding you back? Don your apron, gather ingredients, and embark on an exciting journey into the world of dinosaur cake making. Happy baking, and may your creation be as successful as the magnificent creatures that inspire it!
In conclusion, this guide serves as both inspiration and empowerment for crafting your edible prehistoric masterpiece. Happy baking, and may your culinary adventure be as thrilling as the dinosaurs themselves!


5 thoughts on “Dinosaur Cake : Creative Baking & Decorating Tips”