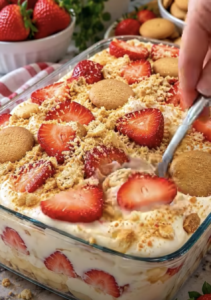
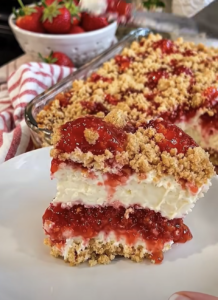
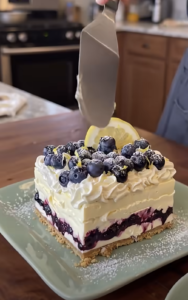
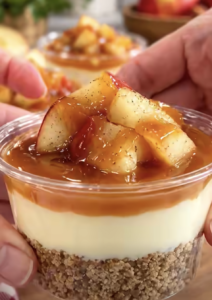
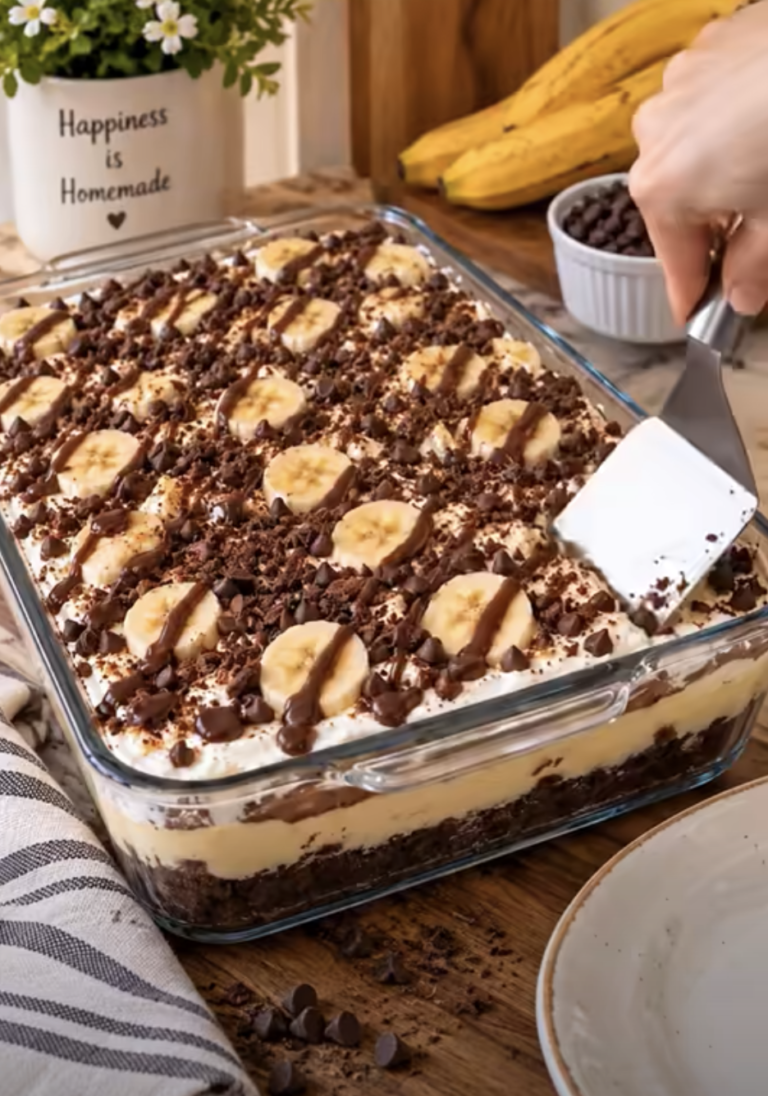
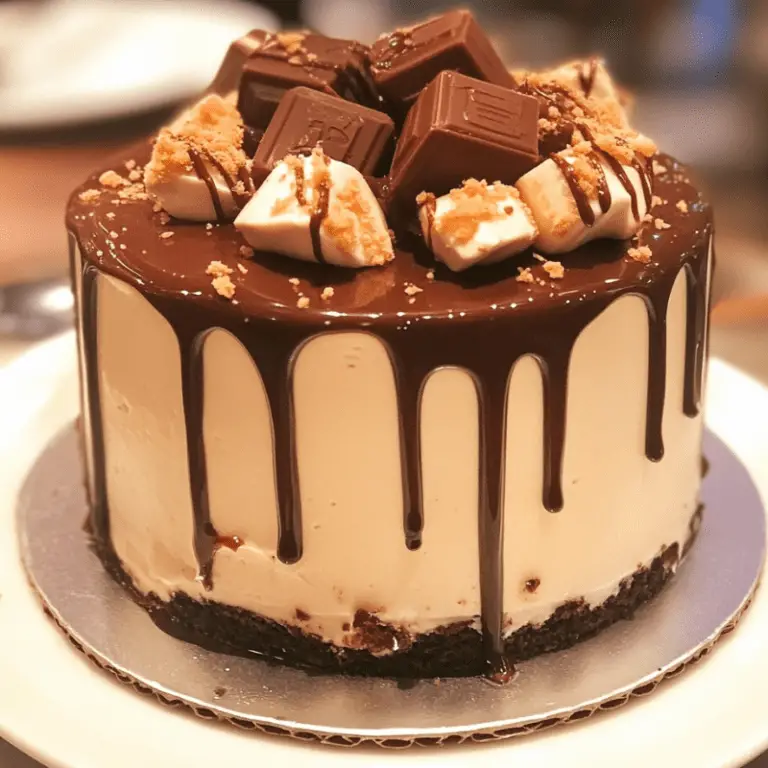
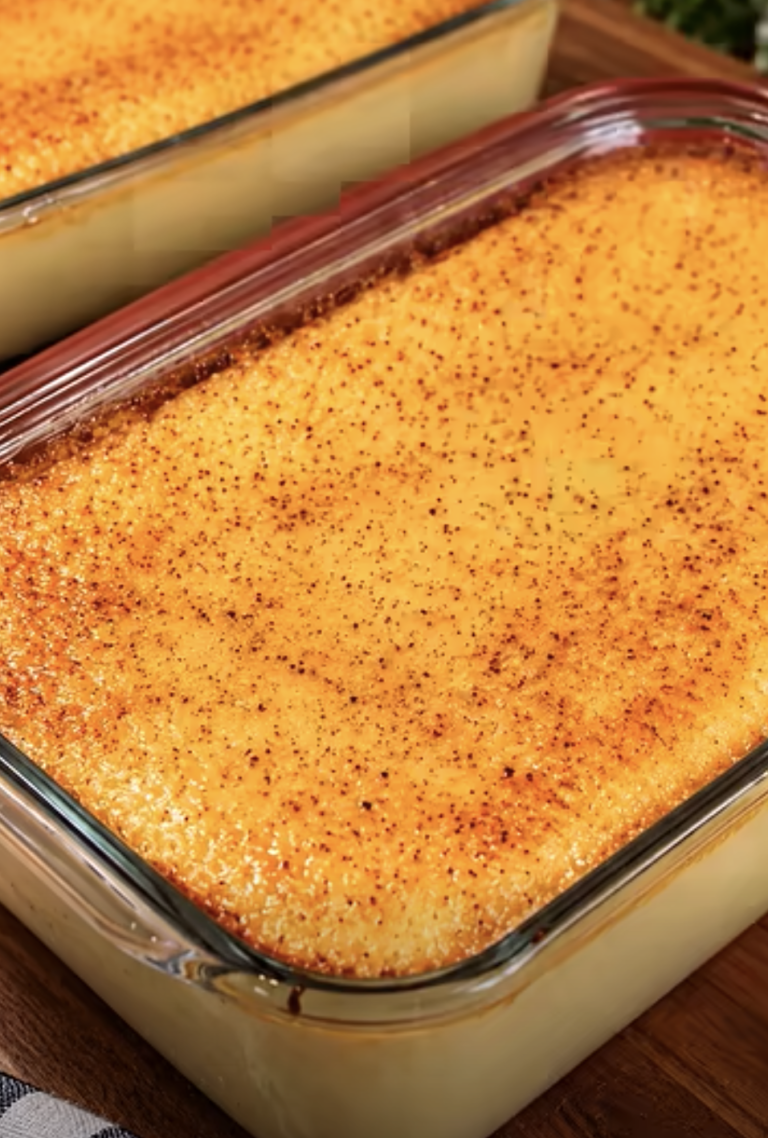
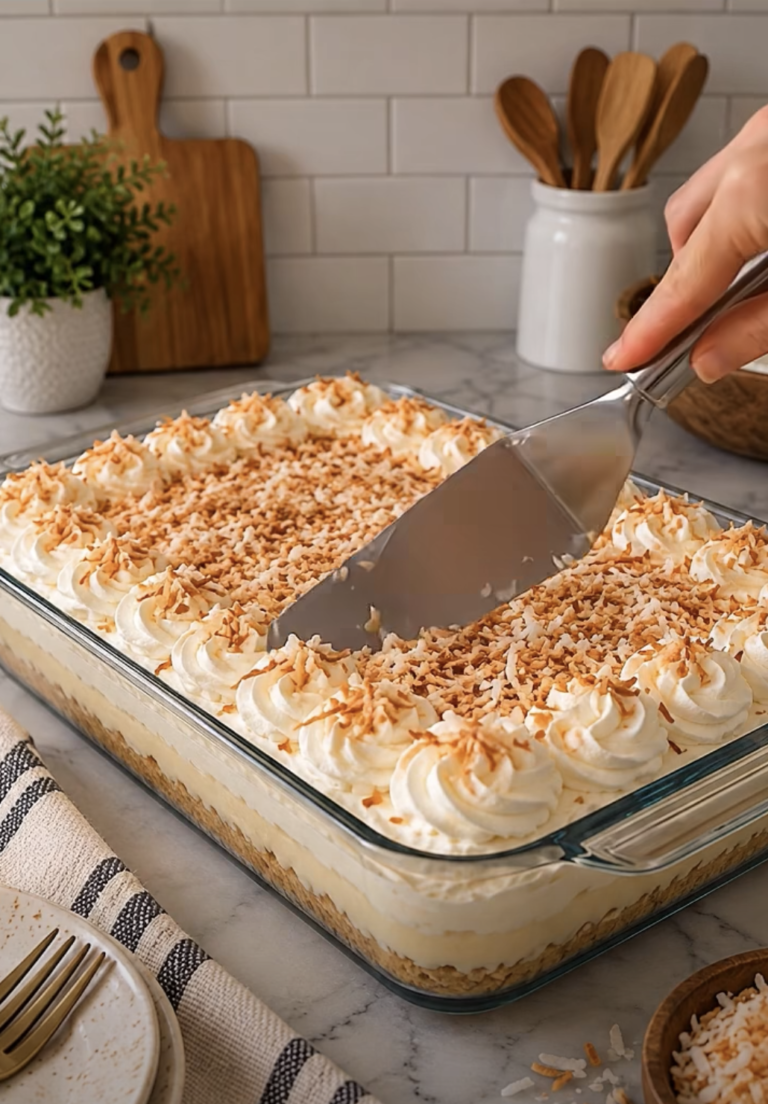
Creamy No-Bake Pineapple Cheesecake Dream Dessert combines a buttery graham cracker crust, fluffy pineapple cheesecake filling, and a cloud-like whipped topping in one refreshing tropical treat. Best of all, you never need to turn on the oven.
Sweet crushed pineapple brings bright tropical flavor to the rich cream cheese filling. Meanwhile, whipped topping keeps each layer light and airy. A final garnish of pineapple, toasted coconut, or graham cracker crumbs makes every chilled square look as inviting as it tastes.
Creamy No-Bake Pineapple Cheesecake Dream Dessert works beautifully for summer gatherings, potlucks, family dinners, and make-ahead celebrations. Prepare it several hours before serving, or refrigerate it overnight for the firmest texture and cleanest slices.
I especially like desserts that can be completely finished before guests arrive, and this one fits that plan perfectly. The first time I made a pineapple cheesecake-style dessert, I underestimated how important draining the pineapple could be. Once I started pressing out the extra juice thoroughly, the filling became noticeably lighter and held its shape much better. I also stopped trying to rush the chilling time. Leaving the pan in the refrigerator overnight makes slicing so much easier the next day. The combination of the cold creamy filling, buttery graham cracker crust, and little pieces of pineapple makes every square feel refreshing without requiring complicated preparation.

Creamy No-Bake Pineapple Cheesecake Dream Dessert
Ingredients
Equipment
Method
- Combine the graham cracker crumbs, melted butter, and granulated sugar until evenly moistened.
- Press the crumb mixture firmly into the bottom of a 9×9-inch baking dish and refrigerate for 20 to 30 minutes.
- Beat the softened cream cheese, powdered sugar, and vanilla extract until completely smooth and creamy.
- Reserve 1/2 cup of the well-drained crushed pineapple for the topping. Gently fold the remaining pineapple into the cream cheese mixture.
- Gently fold 2 cups of whipped topping into the pineapple cream cheese mixture until light and fluffy.
- Spread the pineapple cheesecake filling evenly over the chilled graham cracker crust.
- Spread the remaining 1 1/2 cups whipped topping evenly over the cheesecake filling.
- Garnish with the reserved crushed pineapple and optional toasted shredded coconut or graham cracker crumbs.
- Cover and refrigerate for at least 4 to 6 hours, preferably overnight, until thoroughly chilled and firm.
- Cut into squares and serve chilled. Keep leftovers covered in the refrigerator for 2 to 3 days.
Notes
Building the Graham Cracker Crust
Combine the Crumbs, Butter, and Sugar
Place 2 cups graham cracker crumbs in a medium mixing bowl.
Add 2 tablespoons granulated sugar and stir briefly to distribute it through the crumbs.
Next, pour in ½ cup melted unsalted butter.
Mix until all the graham cracker crumbs look evenly moistened. The texture should resemble damp sand and should hold together when you press some between your fingers.
The butter binds the crumbs while the small amount of granulated sugar adds sweetness.
Because Creamy No-Bake Pineapple Cheesecake Dream Dessert doesn’t require baking, the crust depends entirely on firm pressing and refrigeration to hold its shape.
Therefore, take a moment to make sure no large pockets of dry crumbs remain before transferring the mixture to the baking dish.
Press and Chill the Crust
Transfer the graham cracker mixture to a 9×9-inch baking dish.
Spread it evenly across the bottom.
Then use the bottom of a measuring cup or a flat spatula to press the crumbs firmly into an even layer.
Pay particular attention to the corners and edges because loose crumbs in those areas can make the finished squares harder to lift cleanly.
Once you’ve compacted the crust, refrigerate it for 20 to 30 minutes.
Chilling allows the melted butter to firm up and helps create a stable foundation for the pineapple cheesecake layer.
Meanwhile, soften the cream cheese if necessary and prepare the pineapple.
A properly chilled crust makes assembling Creamy No-Bake Pineapple Cheesecake Dream Dessert much easier because the crumbs stay in place when you spread the filling.
Making the Pineapple Cheesecake Filling
Beat the Cream Cheese Until Smooth
Place 16 ounces softened cream cheese in a large mixing bowl.
Add ¾ cup powdered sugar and 1 teaspoon vanilla extract.
Beat the mixture until completely smooth and creamy.
Starting with properly softened cream cheese makes this step much easier. Cold cream cheese can leave small lumps throughout the filling, while softened cream cheese blends smoothly with the powdered sugar.
Scrape the sides and bottom of the bowl as necessary so everything mixes evenly.
If you want an even stronger pineapple note, you can add a very small amount of pineapple extract at this stage.
However, the crushed pineapple already provides plenty of tropical flavor.
Fold in Pineapple and Whipped Topping
Drain one 20-ounce can of crushed pineapple extremely well.
Reserve ½ cup of the drained pineapple for decorating the finished dessert. Use the remaining pineapple in the cheesecake filling.
Removing excess juice matters because too much liquid can make the filling loose or watery.
Gently fold the pineapple into the cream cheese mixture.
Next, add 2 cups thawed whipped topping.
Fold rather than vigorously stirring. Gentle movements preserve the airiness of the whipped topping and create the fluffy texture that makes Creamy No-Bake Pineapple Cheesecake Dream Dessert so light.
Continue folding until the pineapple and whipped topping look evenly distributed.
The finished mixture should feel creamy and airy while remaining thick enough to spread over the chilled crust.
Assembling the Pineapple Dream Dessert
Spread the Cheesecake Filling Evenly
Remove the chilled graham cracker crust from the refrigerator.
Spoon the pineapple cheesecake filling over the crust.
Instead of dropping all the filling into one spot, distribute several spoonfuls around the pan. Then gently spread them together.
This approach makes it easier to create an even layer without disturbing the chilled crust underneath.
Use an offset spatula or the back of a spoon to smooth the surface.
Work all the way into the corners so each finished square contains a balanced amount of crust and filling.
At this stage, the dessert already has its three key flavors: buttery graham crackers, tangy cream cheese, and sweet pineapple.
Add the Whipped Topping and Garnish
Spread 1½ cups whipped topping over the pineapple cheesecake layer.
Use light pressure so the layers remain distinct.
Next, scatter the reserved ½ cup well-drained crushed pineapple across the top.
For extra texture, sprinkle with ¼ cup toasted shredded coconut.
You can also finish the dessert with additional graham cracker crumbs.
Both garnishes are optional, so you can use one, both, or neither.
The coconut adds another tropical note, while the graham cracker crumbs visually connect the topping with the buttery crust.
Once garnished, cover the baking dish before placing Creamy No-Bake Pineapple Cheesecake Dream Dessert into the refrigerator.
Chilling and Serving the Dessert
Refrigerate Until Firm
Refrigerate the assembled dessert for at least 4 to 6 hours.
However, overnight chilling gives the layers even more time to firm.
The cream cheese filling becomes easier to slice as it chills, while the crust settles into a more stable base.
Avoid rushing this stage. Although the dessert may look ready immediately after assembly, adequate refrigeration makes a noticeable difference when you cut it.
Keep the pan covered during chilling so the surface remains protected.
If you’re preparing Creamy No-Bake Pineapple Cheesecake Dream Dessert for a gathering, making it the evening before can simplify your schedule while improving the finished texture.
Cut Clean Squares and Serve Chilled
When you’re ready to serve, remove the dessert from the refrigerator.
For cleaner portions, use a sharp knife and wipe the blade between cuts.
Slice the dessert into squares and lift each portion carefully from the pan.
Serve immediately while chilled.
If desired, add a final sprinkle of toasted coconut or graham cracker crumbs to individual servings.
Keep any remaining dessert covered in the refrigerator.
For the best texture and freshness, enjoy leftovers within 2 to 3 days.
The cool temperature, creamy filling, pineapple pieces, and buttery crust make this dessert especially refreshing when served straight from the refrigerator.
Ingredients
For the Crust
- 2 cups graham cracker crumbs
- ½ cup unsalted butter, melted
- 2 tablespoons granulated sugar
For the Pineapple Cheesecake Filling
- 16 ounces cream cheese, softened
- ¾ cup powdered sugar
- 1 teaspoon vanilla extract
- 1 can (20 ounces) crushed pineapple, very well drained, with ½ cup reserved for topping
- 2 cups whipped topping, thawed
For the Topping
- 1½ cups whipped topping
- ½ cup reserved crushed pineapple, well drained
- ¼ cup toasted shredded coconut, optional
- 2 tablespoons graham cracker crumbs, optional
Instructions
- Combine the graham cracker crumbs, melted butter, and granulated sugar until evenly moistened.
- Press the crumb mixture firmly into the bottom of a 9×9-inch baking dish. Refrigerate for 20 to 30 minutes.
- Beat the softened cream cheese, powdered sugar, and vanilla extract until completely smooth and creamy.
- Reserve ½ cup of the well-drained crushed pineapple for topping. Gently fold the remaining pineapple into the cream cheese mixture.
- Fold 2 cups whipped topping into the pineapple cream cheese mixture until light and fluffy.
- Spread the pineapple cheesecake filling evenly over the chilled graham cracker crust.
- Spread 1½ cups whipped topping over the cheesecake filling.
- Garnish with the reserved crushed pineapple and optional toasted coconut or graham cracker crumbs.
- Cover and refrigerate for at least 4 to 6 hours, preferably overnight.
- Cut into squares and serve chilled. Store leftovers covered in the refrigerator for 2 to 3 days.
Frequently Asked Questions
Why does the pineapple need to be drained so well?
Excess pineapple juice can loosen the cream cheese mixture and create a watery filling. Thorough draining helps the dessert maintain a thick, creamy texture and produce cleaner slices.
Can I make Creamy No-Bake Pineapple Cheesecake Dream Dessert overnight?
Yes. In fact, overnight refrigeration gives the dessert plenty of time to firm and makes cutting clean squares easier.
Can I add more pineapple flavor?
Yes. You can add a small amount of pineapple extract to the cream cheese mixture. Start with a very small quantity so it doesn’t overpower the other flavors.
Do I have to use toasted coconut?
No. Toasted shredded coconut is optional. You can use graham cracker crumbs instead, combine both garnishes, or simply decorate the top with well-drained crushed pineapple.
How long can I keep this pineapple cheesecake dessert?
Keep the dessert covered in the refrigerator and enjoy it within 2 to 3 days. Serve it chilled for the best consistency.
Conclusion
Creamy No-Bake Pineapple Cheesecake Dream Dessert layers tropical flavor and creamy texture over a simple buttery graham cracker crust.
The filling combines smooth cream cheese, powdered sugar, vanilla, crushed pineapple, and fluffy whipped topping. Another layer of whipped topping finishes the dessert, while pineapple, toasted coconut, or graham cracker crumbs provide an easy decorative touch.
Most importantly, drain the pineapple thoroughly and give the finished dessert enough time to chill. Four to six hours works well, while overnight refrigeration produces an especially firm texture for slicing.
Whether you’re planning a summer party, potluck, holiday meal, or easy family dessert, Creamy No-Bake Pineapple Cheesecake Dream Dessert offers a cool and refreshing treat without requiring any oven time.