Introduction
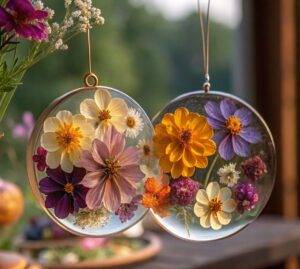
Imagine capturing the delicate beauty of flowers and the shimmering warmth of sunlight in a simple yet stunning handmade decoration. That’s exactly what a clear glue flower suncatcher allows you to do. Whether you’re looking to add a splash of nature to your windows, entertain kids with a creative afternoon activity, or craft a heartfelt gift, this DIY project is the perfect blend of art and nature. With a few household items and pressed flowers, you’ll be able to transform ordinary materials into luminous works of art that brighten any space.
This project is not only enjoyable and affordable but also a fantastic way to preserve the natural beauty of flowers in a way that’s timeless and enchanting. Let’s explore how you can make your very own clear glue flower suncatcher and fill your home with color and creativity.
Why You’ll Love This Craft
The clear glue flower suncatcher stands out because it’s:
- Eco-Friendly: It reuses household materials like plastic lids and dried flowers.
- Kid-Friendly: Safe and simple enough for children to help with or complete on their own.
- Budget-Conscious: Most of the supplies are inexpensive or already on hand.
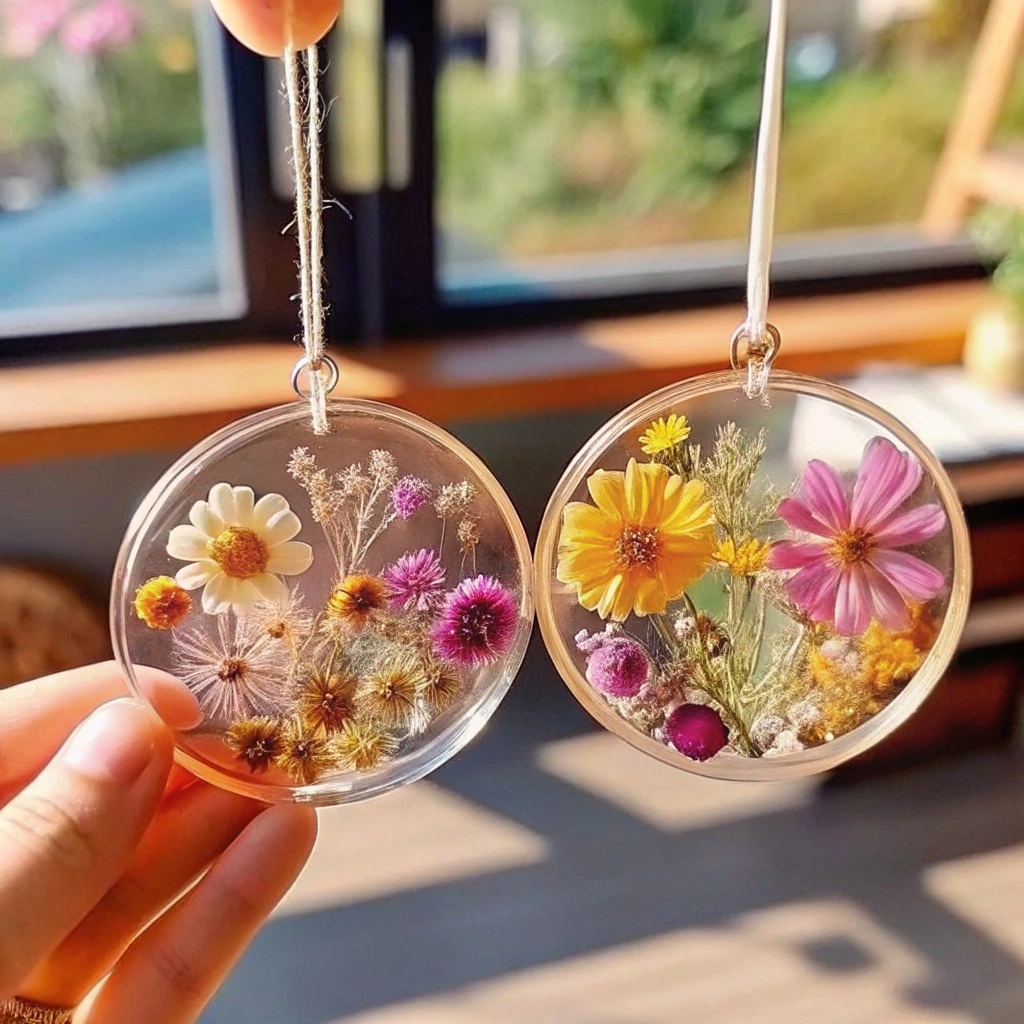
- Visually Stunning: It produces vibrant, light-catching results that look like stained glass.
- Customizable: You can tailor colors, shapes, and added elements like glitter or tissue paper.
Whether you’re creating seasonal home décor, a classroom craft, or personalized window art, this project is sure to bring joy and color to your day.
Ingredients
- Clear school glue (like Elmer’s or similar)
- Plastic lid (from yogurt or takeout containers) or clear acetate sheet
- Pressed flowers (store-bought or homemade)
- Optional: Tissue paper scraps, glitter, sequins, or dried leaves
- String or suction cup hook (for hanging)
- Scissors
- Wax paper or parchment paper (to protect your workspace)
- Optional: Black marker or construction paper (for a decorative frame)
Necessary Tools
- Workspace protector (wax/parchment paper)
- Scissors
- Plastic lid or acetate sheet
- Hole punch (for hanging)
- Optional: Skewer or pin for detailing
Ingredient Swaps and Additions
Want to personalize your flower suncatcher? Here are some creative swaps and additions:
- Instead of pressed flowers, use dried herbs like lavender or rosemary for a fragrant twist.
- No acetate sheet? A recycled CD case cover or report cover can substitute.
- Skip flowers altogether and create abstract designs with layered tissue paper or glitter shapes.
- Add color to your glue by mixing in food coloring or watercolor paint.
- Create themes: Autumn leaves and gold glitter for fall; red and green tissue bits for the holidays.
This flexibility ensures that every suncatcher is a unique masterpiece.
Step-by-Step Instructions
1. Prepare Your Workspace
Lay down parchment or wax paper to keep your table mess-free. Place your plastic lid or acetate sheet on top, ensuring it’s secure.
2. Pour the Glue Base
Pour a thin, even layer of clear glue into the lid or over the acetate—about 1/4 inch thick. Tap gently to remove air bubbles. This will form the base of your suncatcher.
3. Arrange the Florals
While the glue is still wet, carefully press your dried flowers, leaves, glitter, or tissue bits into the glue. Spread them out evenly, allowing light to pass through between elements.
4. Dry Completely
Leave your artwork flat in a warm, undisturbed spot for 24–48 hours. It’s ready once the glue is entirely dry and peels off in one solid, clear sheet.
5. Peel & Finish
Carefully remove your suncatcher from the mold. Trim the edges if needed. Optionally, frame it with black construction paper for a faux stained-glass look.
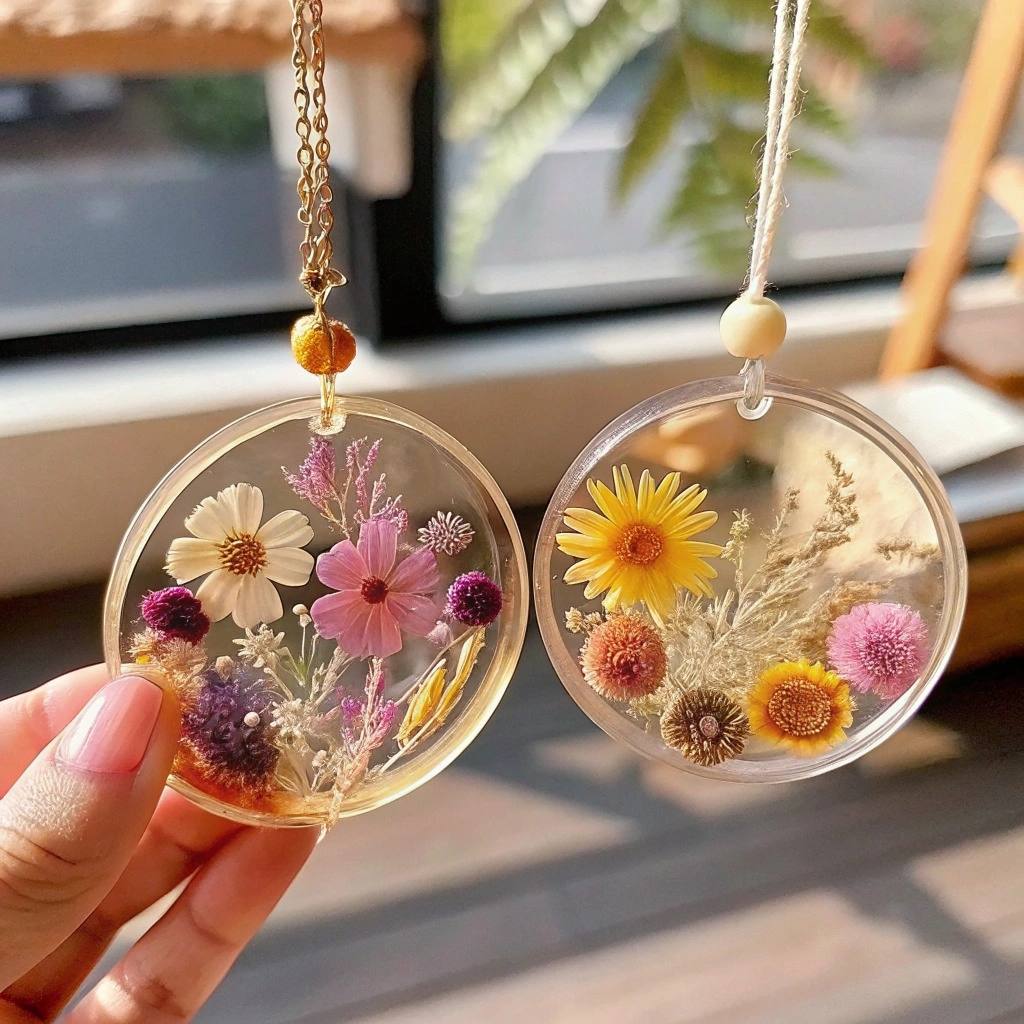
6. Hang and Enjoy
Punch a hole near the top, thread with string, and hang in a sunny window or on a porch. Watch as sunlight brings your creation to life!
Pro Tips for Success
- Use thin glue layers to prevent cloudiness.
- Avoid overcrowding your design to keep it light-friendly.
- Press flowers flat before using for best results.
- Use toothpicks or tweezers to adjust small items within the glue.
- Keep the area dust-free to ensure clarity.
Creative Uses and Variations
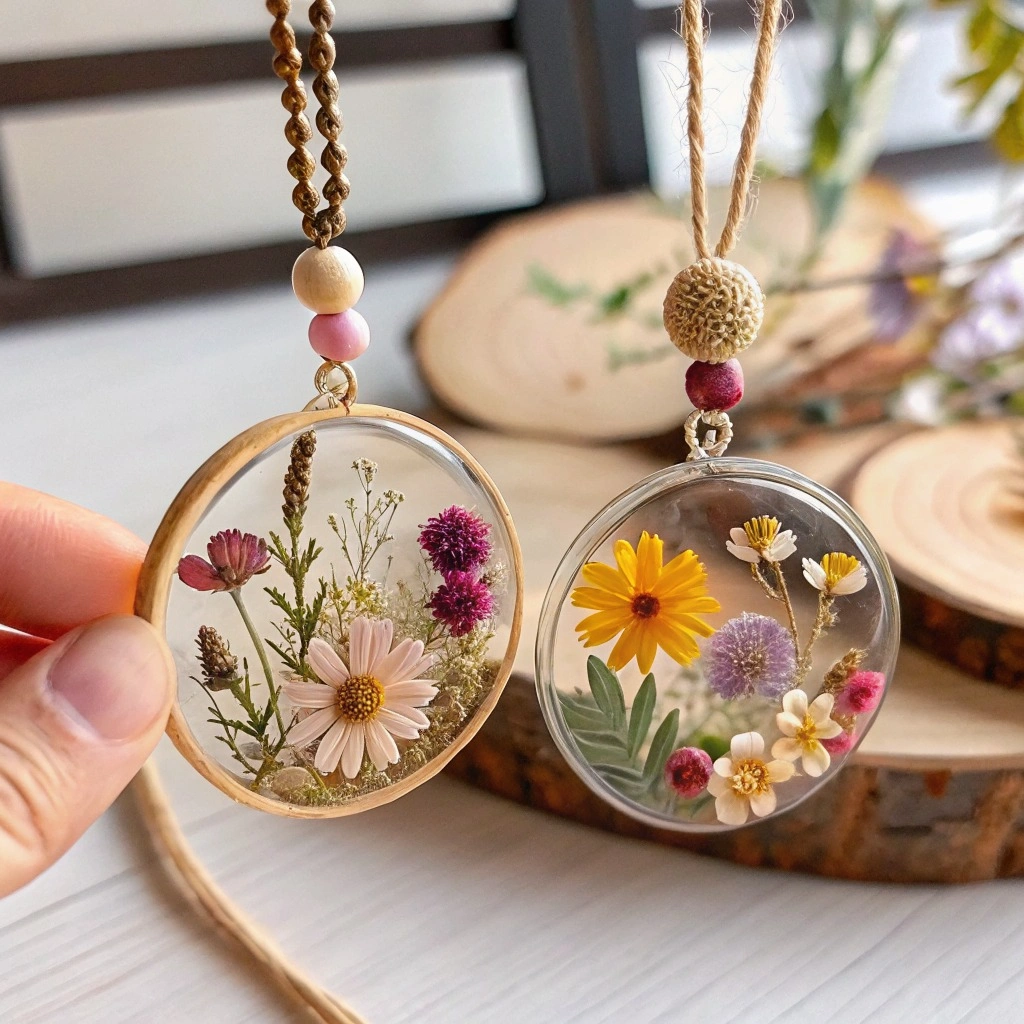
- Gift Tags: Cut into smaller shapes and use as botanical-themed tags.
- Garland: Make multiple mini suncatchers and string them together.
- Ornaments: Shape into stars or hearts for holiday décor.
- Classroom Activity: Great for teaching kids about light, nature, and art.
Storing and Reheating (Adapted for Crafting)
While this isn’t a food recipe, here’s how to store and maintain your finished suncatcher:
- Storage: Keep in a flat, dry box with tissue paper between pieces.
- Avoid Heat: Direct heat may soften or warp the glue base.
- Dusting: Wipe gently with a soft cloth; avoid water.
FAQs
1. Can I use white glue instead of clear glue? Clear glue is essential for the see-through effect. White glue will dry cloudy and opaque.
2. Where can I find pressed flowers? You can make your own with books or purchase pressed flower sets online or at craft stores.
3. How long will the suncatcher last? With care, they can last for years. Avoid moisture and excessive heat.
4. Can I make shapes other than circles? Yes! Use cookie cutters on acetate or trim the edges with scissors.
5. What age group is this craft best for? It’s suitable for kids 6 and up with adult supervision. Teens and adults will love it too!
Conclusion
The clear glue flower suncatcher is more than just a craft—it’s a radiant expression of creativity that lets the light in, literally and figuratively. Whether you’re crafting with your kids, decorating your home, or giving a homemade gift, this project is sure to leave a lasting impression. Let your imagination bloom and turn everyday materials into something truly magical.