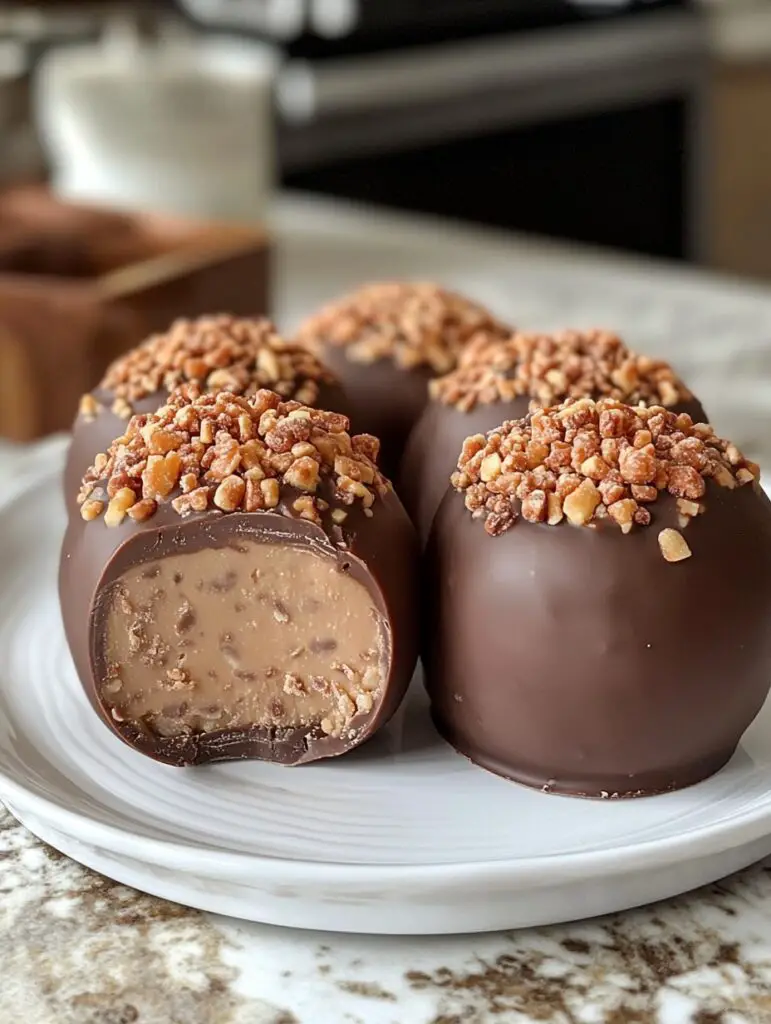
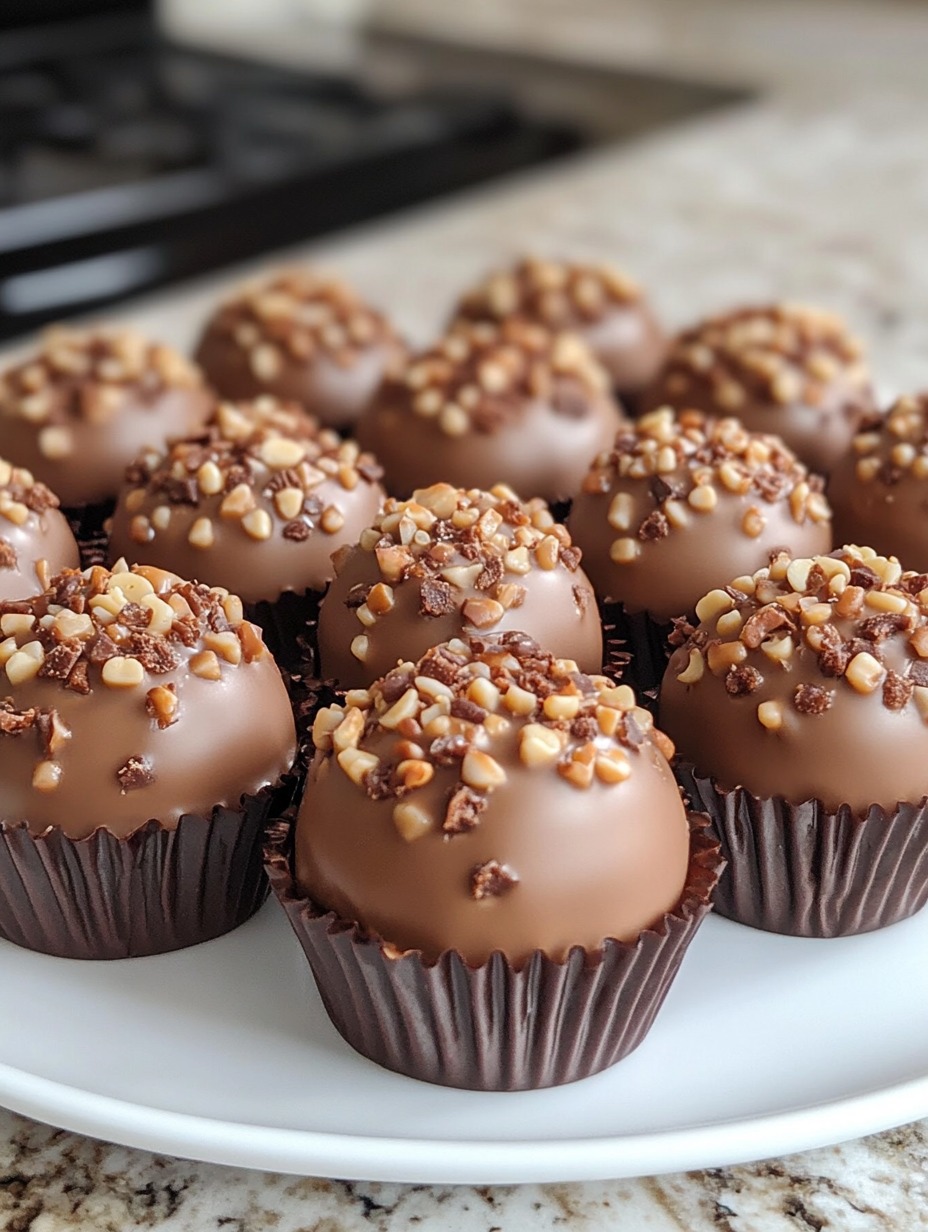
Craving something irresistibly sweet and packed with peanut butter goodness? Let me introduce you to Butterfinger Peanut Butter Bombs! These bite-sized treats combine the creamy, dreamy flavors of peanut butter, buttery graham crackers, and a delightful crunch from Butterfinger candy bars—all wrapped up in a smooth milk chocolate coating. These bombs are perfect for parties, movie nights, or just indulging your sweet tooth at home. Once you try them, you’ll want to make them again and again!
Subscribe to our newsletter to stay updated with even more mouthwatering recipes like this one!
Why You’ll Love Butterfinger Peanut Butter Bombs
These Butterfinger Peanut Butter Bombs bring together everything you love in a single bite:
- Rich and creamy peanut butter base, balanced with a hint of buttery sweetness.
- Crunchy crushed Butterfinger pieces for a fun texture and flavor twist.
- Smooth chocolate coating that gives each bomb a melt-in-your-mouth finish.
- No baking required—perfect for quick and easy assembly!
Plus, they’re super customizable—try them with dark or white chocolate for even more delicious options!
Ingredients You’ll Need
Here’s what you’ll need to make these chocolatey-peanut butter delights:
- 1 cup creamy peanut butter 🥜
- 1/2 cup unsalted butter, softened 🧈
- 1 cup powdered sugar 🍬
- 1 cup graham cracker crumbs 🍪
- 1 cup Butterfinger candy bars, crushed (about 4-5 bars)
- 2 cups milk chocolate chips 🍫
- 1 tablespoon coconut oil (optional, for smoother melted chocolate)
Tools You’ll Need
- Mixing bowl
- Parchment-lined baking sheet 📜
- Microwave-safe bowl
- Cookie scoop (or your hands, for rolling)
- Optional: fork or spoon for dipping bombs in chocolate
Step-by-Step Instructions
Step 1: Mix the Peanut Butter Base
In a large mixing bowl, combine the creamy peanut butter and softened butter. Mix until smooth and well blended.
Step 2: Add the Dry Ingredients
Gradually add the powdered sugar and graham cracker crumbs to the peanut butter mixture, mixing well after each addition. The mixture should be thick and easy to mold.
Step 3: Incorporate the Butterfinger
Fold in the crushed Butterfinger candy bars until they’re evenly distributed throughout the peanut butter mixture. The crunch of the Butterfinger adds a delicious texture and flavor twist!
Step 4: Shape the Peanut Butter Bombs
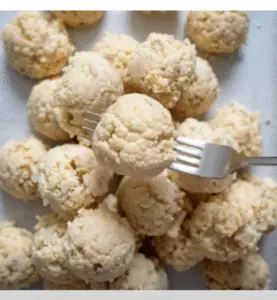
Use a cookie scoop or your hands to form the mixture into small balls, about 1 inch in diameter. Place each bomb onto a parchment-lined baking sheet, spacing them slightly apart.
Step 5: Chill the Bombs
Pop the baking sheet into the refrigerator for about 30 minutes, or until the bombs are firm and easy to handle.
Step 6: Melt the Chocolate
While the bombs are chilling, melt the milk chocolate chips in a microwave-safe bowl. Microwave in 30-second intervals, stirring after each, until the chocolate is fully melted and smooth. If you like, add a tablespoon of coconut oil to make the chocolate even smoother and shinier.
Step 7: Dip the Peanut Butter Bombs
Remove the chilled peanut butter bombs from the fridge and dip each one into the melted chocolate, ensuring they’re fully coated. Use a fork or spoon to lift them out, letting any excess chocolate drip off before placing them back on the parchment-lined baking sheet.
Step 8: Set the Chocolate
Allow the chocolate coating to set at room temperature, or speed up the process by refrigerating the bombs for 15-20 minutes. The chocolate will harden to a beautiful, glossy finish!
Tips for Perfect Peanut Butter Bombs
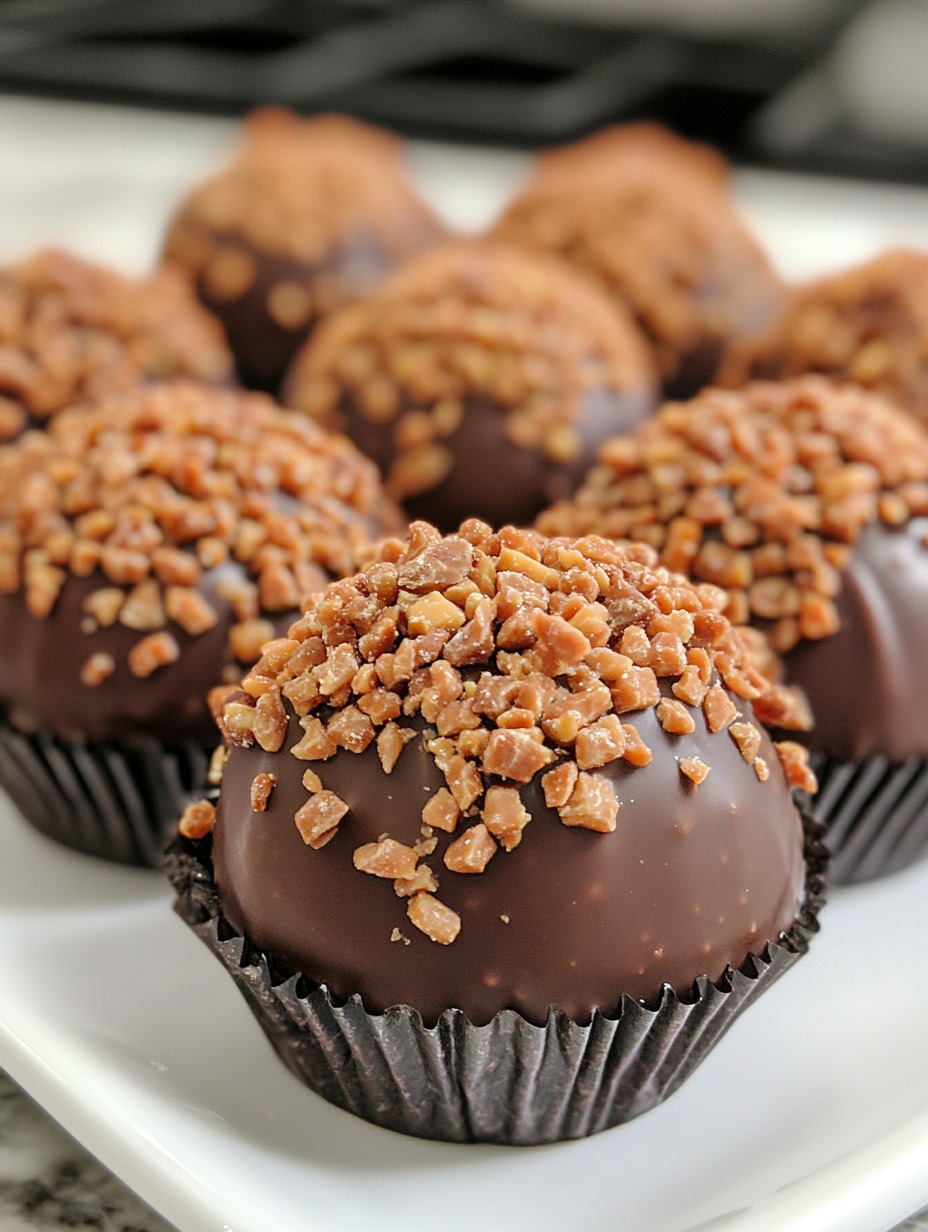
- Drizzle Decor: For an extra-special look, drizzle some melted white or dark chocolate over the tops after dipping. It adds an eye-catching decorative touch!
- Chocolate Variations: Prefer a richer taste? Try dark chocolate for a less sweet alternative, or mix things up with white chocolate.
- Storage: Keep your Butterfinger Peanut Butter Bombs fresh by storing them in an airtight container in the fridge for up to a week. These also freeze well—just thaw for a few minutes before serving.
Frequently Asked Questions (FAQ)
Can I use crunchy peanut butter instead of creamy?
Yes! Crunchy peanut butter will add even more texture, making each bite even more exciting.
Can I make these vegan?
Absolutely! Substitute the butter with vegan margarine, use dairy-free chocolate chips, and choose a vegan peanut butter. Just be sure to check the ingredients on your Butterfinger substitute to ensure it’s vegan-friendly.
What if I don’t have graham cracker crumbs?
No problem! Crushed digestive biscuits or even vanilla wafers work as a tasty alternative to graham crackers.
Final Thoughts: Why Butterfinger Peanut Butter Bombs are a Must-Make
These Butterfinger Peanut Butter Bombs are pure bliss for anyone who loves chocolate and peanut butter. The creamy, slightly salty peanut butter pairs perfectly with the sweetness of the chocolate, while the graham cracker crumbs add a bit of texture and the Butterfinger pieces bring that delightful crunch. They’re easy, fun, and utterly irresistible!
If you give these a try, let me know how they turn out! Don’t forget to leave a comment, share your creations on Pinterest, or tag me on social media. Enjoy your sweet treat!
Nutritional Information (Approx. per bomb)
- Calories: 220
- Fat: 15g
- Carbohydrates: 22g
- Protein: 3
