Before we dive into this wonderfully puffy world of creativity, let me take a moment to thank you—yes, you! Whether you’re here for a quick rainy-day activity, an art project with your kids, or just something new and fun to try, I’m so glad you’re joining me today!
We’re making Easy Homemade Puffy Paint—a quick, low-mess, high-impact craft that takes basic kitchen ingredients and turns them into three-dimensional works of art. And the best part? It puffs up right before your eyes in the microwave. It’s science and art rolled into one delightfully squishy masterpiece!
💌 Want more quick crafts and magical recipes like this? Subscribe here to get new DIYs delivered straight to your inbox.
What Is Homemade Puffy Paint?
Homemade puffy paint is a DIY paint made from self-rising flour, salt, a splash of water, and food coloring. The mixture is thick, gooey, and perfect for drawing bold, fun shapes. But the real magic? When you microwave it for just 30 seconds, it rises and puffs into a soft, foamy texture that you can touch!
It’s perfect for little hands, crafty hearts, and curious minds.
Why You’ll Love This Puffy Paint Project
🎨 Quick to mix with simple kitchen ingredients
🌈 Customizable with any color (and even glitter!)
🧪 Combines art and science in the most satisfying way
👩👧 Perfect for kids, classrooms, or creative adults
🖐 Encourages fine motor skills, creativity, and sensory exploration
What It Looks & Feels Like
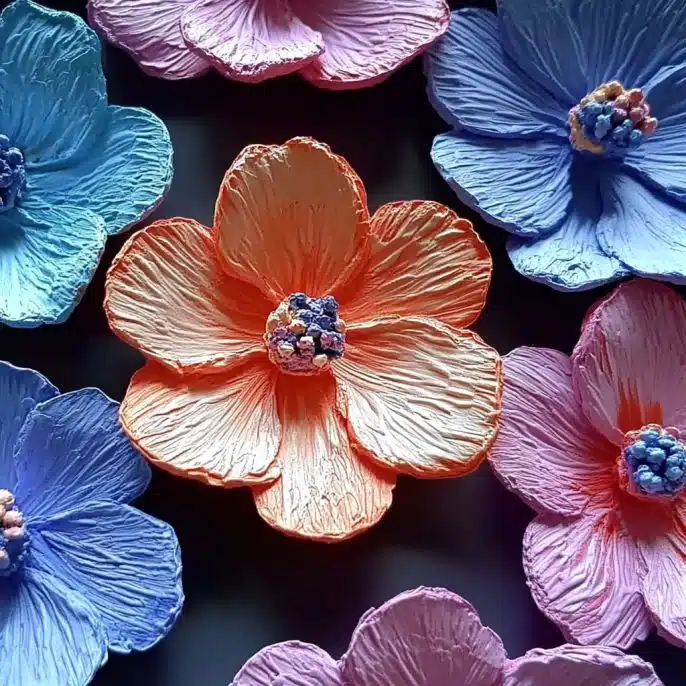
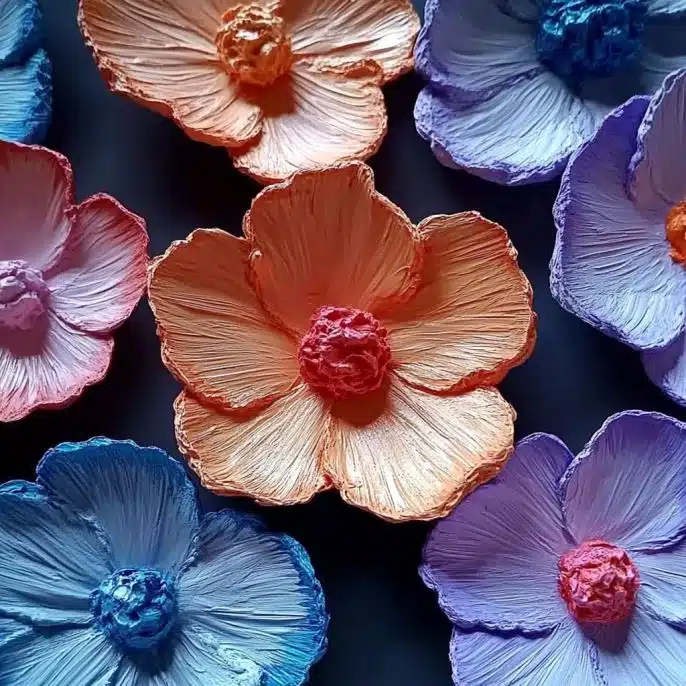
Once microwaved, the paint puffs into soft, spongy peaks—like little clouds of colorful foam! The texture is dry and slightly squishy, and the finished result holds its shape beautifully. Add glitter or use different colors, and it looks like a cross between frosting and foam art!
Benefits of Puffy Paint
🧠 Encourages STEM learning through cause-and-effect play
✨ Creates tactile, textured artwork with instant results
📚 Easy to pair with seasonal or themed learning activities
👨👩👧 Fun bonding project for family craft time or preschool lessons
Ingredients & Tools
🧂 Ingredients:
1 tbsp self-rising flour
1 tbsp salt
A little bit of water (start with about 1 tsp and add slowly)
Food coloring (any color, or mix for custom hues)
🧰 Supplies:
Small mixing bowl
Spoon or stir stick
Paintbrush, cotton swab, or squeeze bottle
Microwave-safe cardstock or cardboard
Microwave (for puffing magic!)
Optional Additions & Variations
✨ Add fine glitter to the mixture for sparkling puffy art
🌈 Try mixing two-tone or ombré colors in the same batch
💧 For thicker texture, use less water or extra flour
💡 Use squeeze bottles for more detailed designs or 3D writing
How to Make Homemade Puffy Paint
🎨 Step-by-Step Instructions:
Mix the Dry Ingredients
In a small bowl, stir together 1 tbsp self-rising flour and 1 tbsp salt until combined.Add Water Gradually
Slowly add a few drops of water at a time, stirring until you have a thick, creamy texture—not runny! You want it to hold its shape when spread.Add Color
Stir in a few drops of food coloring. Mix until the color is smooth and even. Repeat for as many colors as you’d like to create.Paint Your Design
Use a paintbrush, cotton swab, or fingers to apply your puffy paint to cardstock or cardboard. Let the creativity flow—swirls, shapes, smiley faces, rainbows—anything goes!Microwave to Puff
Place your artwork in the microwave for 30 seconds. Watch closely! The paint will rise and puff into a soft, foamy texture.Cool & Admire
Let your masterpiece cool for a moment, then touch and admire your one-of-a-kind puffy painting!
What to Pair It With
Make puffy paint part of a larger creative session:
☁️ Cloud and weather-themed crafts
🎄 Holiday cards with raised snow or ornaments
🎨 Color theory lessons using mixable paint batches
📚 Storytime art prompts (paint the scenes!)
Tips for Puffy Paint Success
Microwave in short bursts if unsure—every microwave is different!
Don’t oversaturate with water; it should feel like thick icing
Store leftover paint in small containers for up to 24 hours
Use cardstock or cardboard only—not regular paper—it won’t hold up in the microwave!

How to Store & Reuse
This paint is best used fresh, but:
Store leftovers in an airtight container
Stir before reuse—it may thicken slightly over time
If it dries out, add just a drop of water and stir again
Frequently Asked Questions (FAQ)
Q: Can I use regular flour instead of self-rising?
A: You can, but it won’t puff up nearly as much. Self-rising flour is key to the magical texture!
Q: Is it safe for kids?
A: Yes! This paint is non-toxic and made with kitchen ingredients. Always supervise young children during microwave steps.
Q: Can I use paper instead of cardstock?
A: No—regular paper may burn or wilt in the microwave. Stick with cardstock, poster board, or cardboard.
Q: Can I use this on fabric?
A: It’s best for paper crafts only. For fabric, try a fabric-safe puffy paint alternative.
Final Thoughts – Puffy Paint Perfection in 30 Seconds! 🎨☁️
There’s something truly magical about watching your artwork rise before your eyes. This Easy Homemade Puffy Paint is playful, satisfying, and the perfect way to add dimension to your art. Whether you’re crafting with your kids, teaching a class, or just looking for a new creative outlet—it’s guaranteed to puff up your day!
📸 Tried this craft? I’d love to see your creations!
Tag me on Pinterest or leave a photo in the comments so we can admire your beautiful, fluffy masterpieces together!
More Artsy DIYs You’ll Love
Nutritional Info
🍦 Not edible—but it looks good enough to be frosting! Safe and fun for all ages.
👉 Want more colorful crafts and creative fun?
Subscribe here to get family-friendly recipes, sensory play, and DIY joy delivered to your inbox.
Let’s keep painting the world—one puff at a time! 💙

Easy Homemade Puffy Paint
Equipment
- small mixing bowl
- spoon or stir stick
- paintbrush or cotton swab
- microwave-safe cardstock or cardboard
- microwave
Materials
- 1 tbsp self-rising flour
- 1 tbsp salt
- 1 tsp water (adjust as needed)
- food coloring (any color)
Instructions
- Mix 1 tablespoon self-rising flour and 1 tablespoon salt in a small bowl.
- Slowly add 1 teaspoon water, mixing until thick and creamy. Add more water if needed, but don’t make it runny.
- Add a few drops of food coloring and stir until evenly mixed. Repeat for multiple colors.
- Paint on microwave-safe cardstock or cardboard using a brush, cotton swab, or squeeze bottle.
- Microwave artwork for 30 seconds. The paint will puff up and dry into a 3D texture.
- Let your puffy painting cool. Then touch and admire your soft, foamy masterpiece!