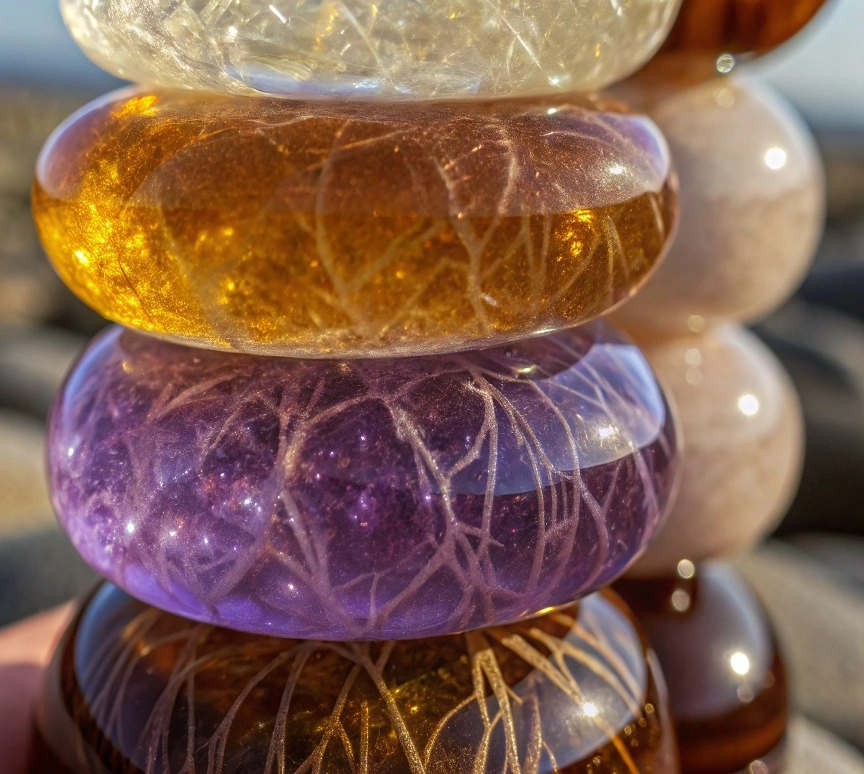
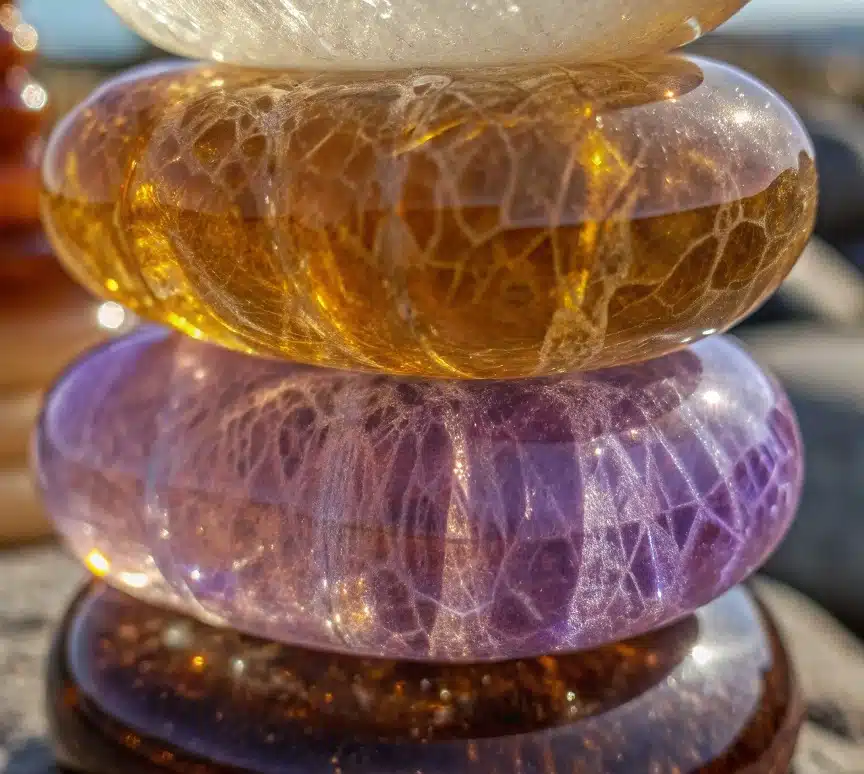
In our fast-paced world filled with constant stimulation, finding simple, grounding activities to relieve stress has become more important than ever—especially for kids and adults alike. Whether you’re homeschooling, managing a sensory-sensitive child, or just looking for a mindful weekend project, these DIY Worry Stones are a magical, glittery craft that offers calm, creativity, and tactile satisfaction.
Made from common pantry staples like flour, salt, and water, these worry stones are soothing to create and hold. Add a pop of color and a sprinkle of sparkle, and you’ve got a calming tool that doubles as a beautiful, hand-crafted treasure. Whether used as a fidget toy, meditation object, or gift of love, this easy project delivers emotional comfort and creative joy.
Why You’ll Love This Craft
This isn’t just another craft activity—DIY worry stones offer a whole experience. Here’s what makes them a must-try:
- Sensory-rich: The texture of the dough, the sparkle of the glitter, and the act of molding shapes all engage the senses.
- Stress-reducing: Pressing your thumb into a smooth stone is a calming tactile ritual—especially for anxious or busy minds.
- Customizable: Choose colors that match your mood or glitter that makes you smile. Every stone is uniquely yours.
- Eco-friendly and budget-conscious: Made with simple kitchen ingredients, these stones are affordable and low-waste.
- Great for all ages: Whether you’re crafting with toddlers, teens, or just for yourself, worry stones are a wonderful outlet for creative expression and mindfulness.
If you’ve ever looked for a therapeutic, screen-free, hands-on activity that’s as fulfilling as it is fun—this is it.
Ingredients
Here’s what you’ll need to make your very own DIY Worry Stones:
- 2 parts all-purpose flour
- 2 parts salt
- 1 part warm water
- Gel food coloring (any color that lifts your mood)
- Sparkly glitter (fine or chunky—optional, but adds magic!)
Tip:
For a typical batch, use 1 cup flour, 1 cup salt, and ½ cup water. This will yield about 10–12 worry stones depending on size.
Necessary Tools
Gather these tools to make the process smooth and enjoyable:
- Mixing bowl
- Wooden spoon or spatula
- Measuring cups
- Gloves (optional, for less mess)
- Parchment paper or baking tray
- Toothpicks or sculpting tools (for details or imprint designs)
- Plastic wrap (for leftover dough)
- Airtight container (for storing finished stones)
Ingredient Swaps and Additions
Want to experiment a little? Here are some creative and sensory-friendly substitutions:
Swaps:
- Whole wheat flour: Adds a grainier texture for extra sensory feedback.
- Cornstarch (replace 1/4 of the flour): For a smoother dough feel.
- Natural food coloring: Use beet juice, turmeric, or spirulina for a plant-based color palette.
Additions:
- Essential oils: A drop or two of lavender or chamomile for a calming scent.
- Dried herbs or flower petals: Mix in lavender buds or rose petals for a nature-inspired aesthetic.
- Tiny stones or beads: Press them in gently for texture and decoration.
Step-by-Step Instructions
Let’s dive into the simple, rewarding process of making your own worry stones.
1. Mix the Dry Ingredients
In a large mixing bowl, stir together 2 parts flour and 2 parts salt until fully combined. The salt gives the stones their signature firmness and slight grainy texture.
Pro tip: Use a fine-grain salt for smoother stones. Coarse salt can give a more rustic, textured finish.
2. Add Water Gradually
Slowly pour in 1 part warm water, stirring as you go. The dough will start to come together. Don’t worry if it looks a bit dry at first—keep kneading and it’ll smooth out.
- If the dough feels sticky: Add a tablespoon of flour at a time.
- If it’s too dry: Add a few drops of water gradually.
3. Color the Dough
Add a few drops of gel food coloring to the dough. Knead it until the color is smooth and evenly distributed. You can mix colors for fun effects—like blending blue and red to make a calming purple.
Note: Use gloves or knead inside a plastic bag if you’re concerned about food coloring staining your hands.
4. Add the Sparkle
Sprinkle in your chosen glitter—a little or a lot! Knead the dough until the glitter is well mixed in. This step is always a hit with kids!
5. Shape the Stones
Break off small portions and roll them into:
- Smooth ovals
- Pebble shapes
- Thumb-sized disks
Then, press your thumb into the center of each stone to create a signature indent—just like traditional worry stones.
Creative tip: Use stamps, lace, or even leaves to imprint patterns for a textured look.
6. Dry Time
Lay the stones on a tray lined with parchment paper. Allow them to air-dry:
- Overnight for thin stones
- 24–48 hours for thicker shapes
If you’re in a hurry, place them in an oven at 200°F (93°C) for 1–2 hours, flipping halfway. Let cool completely before use.
Pro Tips for Success
- Use warm water: It helps the salt dissolve slightly, creating a smoother dough.
- Don’t over-knead: Just until smooth—overworking the dough can make it crumbly.
- Create a calm space: This craft is perfect for mindful moments. Play soft music or nature sounds while crafting.
- Label & personalize: Use permanent markers or tiny stickers to add names, affirmations, or doodles.
Serving Suggestions (a.k.a. Creative Uses)
While you don’t serve these like food, here’s how to put your worry stones to good use:
- Fidget aid: Keep one in your pocket for on-the-go stress relief.
- Mindfulness practice: Use as a tactile tool during meditation or breathing exercises.
- Backpack charm: Add a small hole before drying and loop with twine.
- Gift idea: Create sets in calming colors and gift to friends, teachers, or therapists.
- Desk companion: Keep one at your workspace to squeeze during long Zoom calls.
Storing and Reheating
Storing:
Once dried, keep your worry stones in an airtight container or decorative pouch. Store in a cool, dry place to prevent cracking or moisture damage.
Reheating/Refreshing:
Worry stones don’t require reheating, but if one cracks or breaks:
- Repair with a drop of school glue.
- Consider sealing finished stones with a thin layer of mod podge or clear nail polish for durability.
Nutritional Information (for sensory-safe awareness)
While not edible, it’s helpful to know what’s inside, especially for households with curious toddlers or sensory-sensitive children.
- Flour: All-purpose, wheat-based
- Salt: Non-toxic but not for consumption
- Water: Clean, warm
- Food coloring: Gel-based, typically non-toxic
- Glitter: Choose biodegradable or cosmetic-grade glitter if concerned
⚠️ Note: These are NOT food-safe. Always supervise small children to prevent ingestion.
Frequently Asked Questions
1. Can I bake the worry stones to dry them faster?
Yes! Bake at 200°F (93°C) for 1–2 hours depending on thickness. Flip halfway through for even drying.
2. Are worry stones safe for toddlers?
Yes, with supervision. The ingredients are non-toxic but not edible. For under-threes, omit glitter and use natural food coloring.
3. How long do DIY worry stones last?
If stored properly, they can last for months or even years. Sealing them with Mod Podge helps extend their lifespan.
4. Can I reuse the dough later?
Yes! Wrap any leftover dough tightly in plastic wrap and store in an airtight container in the fridge. Use within 3–5 days.
5. My dough is too crumbly/sticky—what do I do?
Adjust with tiny amounts: Add a teaspoon of water if crumbly, or a pinch of flour if sticky. Knead thoroughly to balance it out.
Conclusion
These DIY Worry Stones are more than just a fun craft—they’re an emotional anchor, a sensory tool, and a spark of creativity all rolled into one. Whether you’re making them with your kids, for yourself, or as a thoughtful handmade gift, they offer a soothing, screen-free escape that nurtures mindfulness and joy. Try them out, explore your favorite colors and textures, and let your stress melt away with every thumb-pressed stone.
Looking for more calming, hands-on activities? Explore the wonders of simple, natural crafts that bring peace and connection back into your day.

DIY Worry Stones
Ingredients
Method
- In a large mixing bowl, stir together 2 parts flour and 2 parts salt until fully combined.
- Slowly pour in 1 part warm water, stirring as you go until the dough comes together.
- Add gel food coloring until the desired color is achieved.
- Sprinkle in glitter and knead until well mixed.
- Break off small portions of dough and roll them into the desired shapes.
- Press your thumb into the center of each stone to create an indent.
- Lay the stones on a tray lined with parchment paper.
- Allow them to air-dry overnight for thin stones or 24–48 hours for thicker shapes.
- Alternatively, bake at 200°F (93°C) for 1–2 hours, flipping halfway.