There’s something magical about the smell of peanut butter cookies wafting through the kitchen, isn’t there? It’s like a warm hug from childhood—a reminder of after-school snacks and Grandma’s cookie jar. Thank you so much for sharing this recipe with me! It’s a treasure, and I can’t wait to walk you through every step to recreate these soft, chewy, peanut butter-packed delights. Trust me, your family (and your future self) will thank you! Psst… Want the recipe sent straight to your inbox? Drop your email below, and I’ll make sure you never lose it!
Why You’ll Love This Recipe
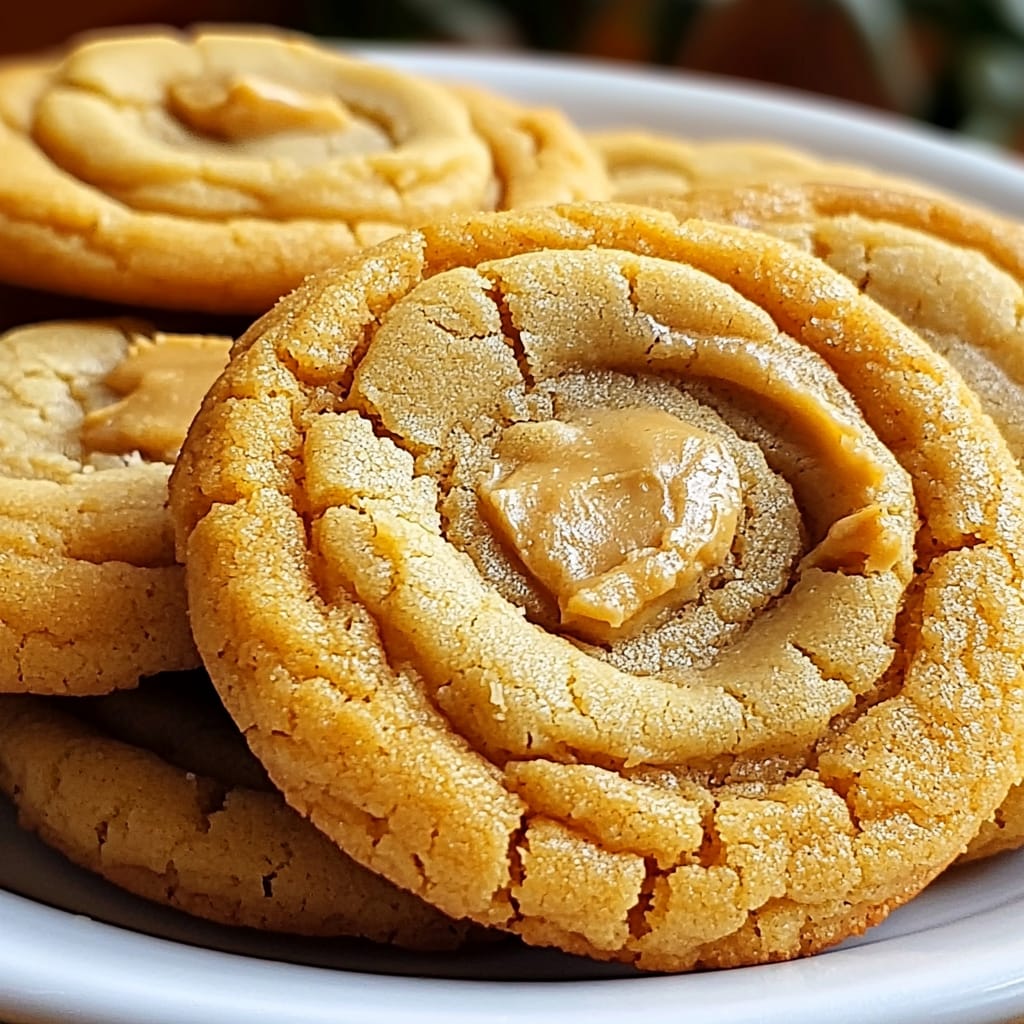
Oh, where do I begin? These cookies are the ultimate blend of nostalgia and simplicity. They’re thick enough to sink your teeth into, chewy in the center, and just crispy enough at the edges to keep you reaching for “just one more.” Plus, they come together in under 30 minutes! Whether you’re a baking newbie or a seasoned pro, this recipe is foolproof, family-approved, and guaranteed to fill your home with that irresistible peanut butter aroma.
Ingredients
- 1 cup creamy peanut butter (go for the classic jar—no natural varieties here!)
- 1/2 cup unsalted butter, softened (salted works in a pinch, but skip the added salt later)
- 1 cup packed brown sugar (hello, molasses richness!)
- 1/2 cup granulated sugar (for that golden crunch)
- 2 large eggs (room temperature is key!)
- 1 tsp vanilla extract (the secret depth booster)
- 1 1/2 cups all-purpose flour (spooned and leveled, please!)
- 1 tsp baking soda (for lift)
- 1/2 tsp baking powder (extra chewiness!)
- 1/4 tsp salt (balances the sweetness)
Necessary Tools
- Electric mixer (or strong arms and a whisk!)
- Mixing bowls (one for wet, one for dry)
- Baking sheets
- Parchment paper or silicone mats (no sticking allowed!)
- Fork (for that iconic crisscross pattern)
- Wire rack (patience is a virtue—let them cool!)
Ingredient Swaps and Additions
- Peanut butter swap: Use crunchy peanut butter for added texture, or almond butter for a nutty twist (though the flavor will change).
- Flour alternatives: Swap all-purpose flour 1:1 with gluten-free flour for dietary needs.
- Sugar options: Replace brown sugar with coconut sugar for a deeper caramel note.
- Add-ins: Fold in chocolate chips, chopped peanuts, or a sprinkle of sea salt before baking!
Step-by-Step Instructions
- Preheat & Prep: Fire up your oven to 350°F (175°C) and line your baking sheets. Pro tip: Use light-colored pans to avoid over-browning!
- Cream It Up: Beat the peanut butter, softened butter, brown sugar, and granulated sugar until fluffy (2–3 minutes). This step is crucial for that melt-in-your-mouth texture!
- Eggs & Vanilla: Add eggs one at a time, mixing fully after each. Stir in vanilla until the batter glistens.
- Dry Team Unite: Whisk flour, baking soda, baking powder, and salt in a separate bowl. No lumps allowed!
- Combine with Care: Gradually mix dry ingredients into the wet until just combined. Overmixing = tough cookies. Sad cookies. Don’t do it!
- Scoop & Smoosh: Roll 2-tbsp dough balls, place 2” apart, and press with a fork for that classic look. Bonus: Dip the fork in sugar to prevent sticking!
- Bake to Perfection: Bake 10–12 minutes. They’ll look underdone—that’s okay! Let them cool on the sheet for 5 minutes (they’ll firm up beautifully).
Serving Suggestions
Pair these cookies with a cold glass of milk for the ultimate throwback snack, or crumble them over vanilla ice cream for a decadent dessert. Hosting friends? Stack them on a vintage plate with a ribbon—instantly charming!
Pro Tips for Success
- Butter Temperature: Softened butter should dent when pressed, not melt. Microwave it for 5-second bursts if needed!
- Chill Time: If dough feels sticky, refrigerate for 30 minutes. Cold dough = thicker cookies!
- Golden Edges: Pull cookies out when edges are just golden. Centers will set as they cool.
Storing and Reheating
Store in an airtight container at room temp for up to 5 days. Freeze dough balls or baked cookies for up to 3 months! To revive day-old cookies, microwave for 8 seconds or pop them in a 300°F oven for 2 minutes.
FAQ Section
- Can I use natural peanut butter? Not recommended—it’s too oily and will spread too thin. Stick to conventional!
- Why no fork marks? The dough might be too dry. Add a tsp of milk or water next time!
- Gluten-free option? Yes! Use a 1:1 GF flour blend.
Conclusion
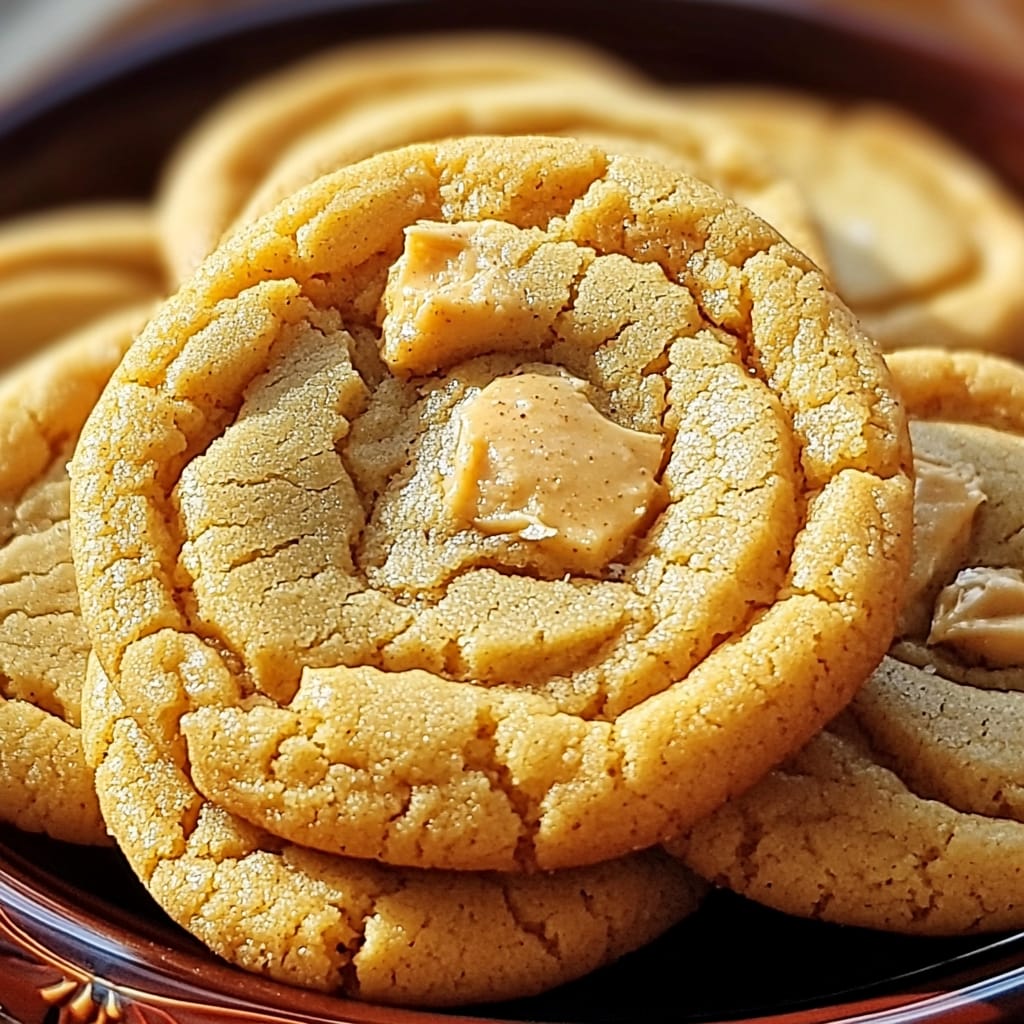
These Thick and Chewy Peanut Butter Cookies are more than a recipe—they’re a memory in the making. Simple, comforting, and utterly irresistible, they’re proof that the best things in life are buttery, sugary, and sprinkled with love. Bake a batch, snap a pic, and tag me on Instagram or Pinterest. I’d adore seeing your crisscross masterpieces!
Nutritional Information
Per cookie: 220 kcal • 12g fat • 25g carbs • 3g protein • 15g sugar
Thick and Chewy Peanut Butter Cookies
Ingredients
Method
- Preheat your oven to 350°F (175°C) and line your baking sheets.
- Beat the peanut butter, softened butter, brown sugar, and granulated sugar until fluffy (2–3 minutes).
- Add eggs one at a time, mixing fully after each. Stir in vanilla until the batter glistens.
- Whisk flour, baking soda, baking powder, and salt in a separate bowl.
- Gradually mix dry ingredients into the wet until just combined.
- Roll 2-tbsp dough balls, place 2” apart, and press with a fork for that classic look.
- Bake for 10–12 minutes. Let cool on the sheet for 5 minutes.