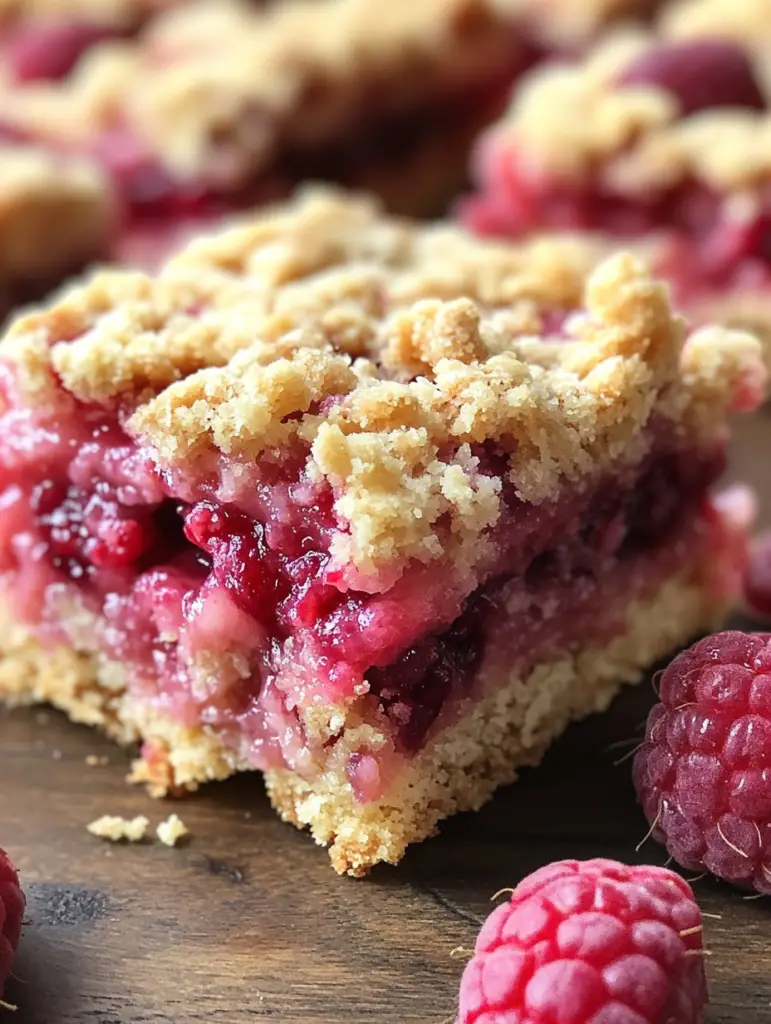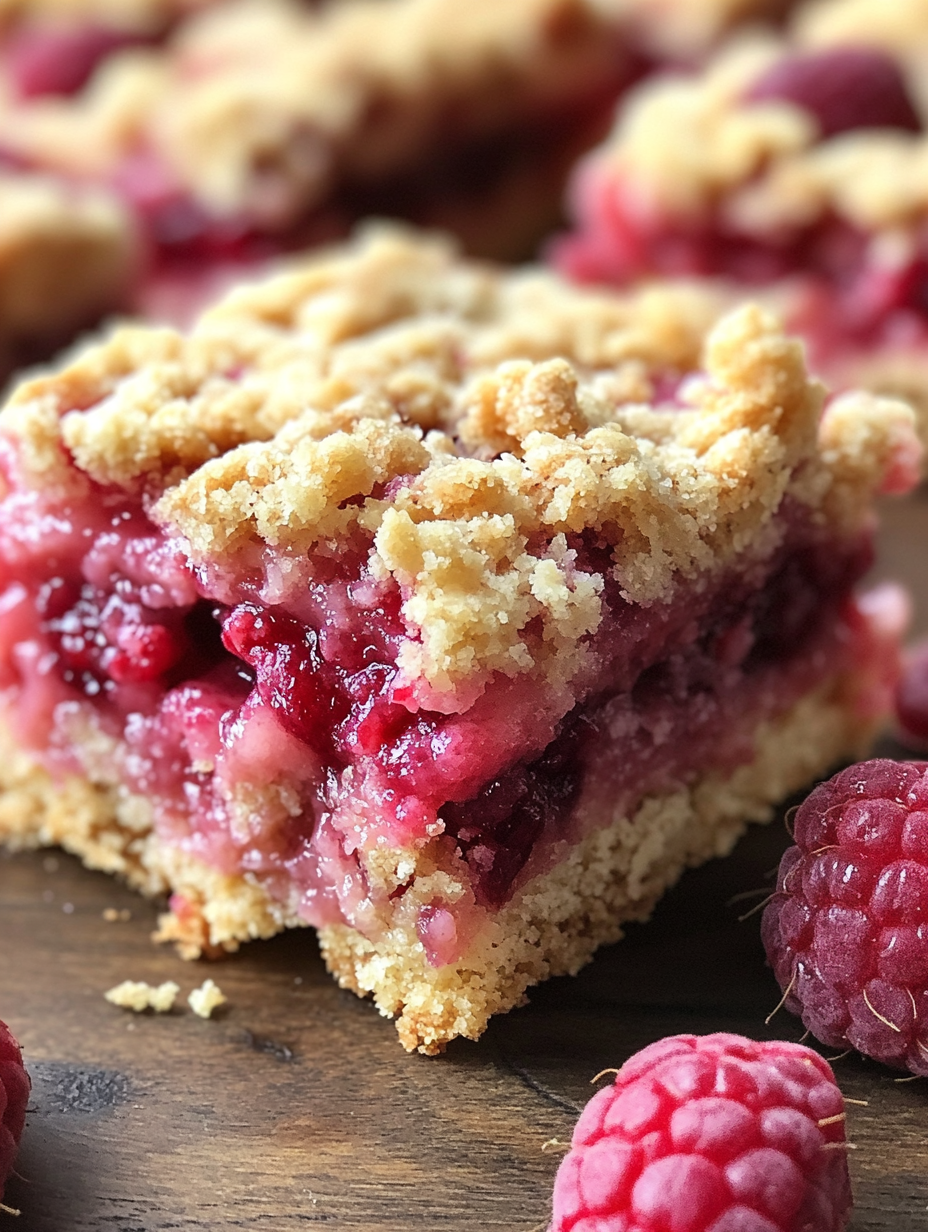
Raspberry Oatmeal Crumble Bars offer a delightful combination of buttery oat crust and sweet raspberry filling, making them a versatile dessert that can be enjoyed throughout the year. Whether you are planning a gathering with friends and family or indulging in a sweet treat on your own, these bars promise to be a hit with their delightful flavors and easy preparation.
With just the right balance of flavors and textures, these bars are sure to satisfy any sweet tooth. The combination of a crumbly base and a gooey raspberry center gives these bars their distinct charm. Below, you’ll find a comprehensive guide to making Raspberry Oatmeal Crumble Bars from scratch, including detailed ingredients and instructions.
Ingredients
To create these mouth-watering bars, you’ll need the following ingredients:
– 1 cup all-purpose flour
– 1 cup old-fashioned oats
– 1/2 cup packed brown sugar
– 1/4 teaspoon baking soda
– 1/4 teaspoon salt
– 1/2 cup unsalted butter, melted
– 1 teaspoon vanilla extract
– 1 cup raspberry jam or preserves
– 1/2 cup fresh raspberries
Each ingredient plays a key role in achieving the perfect texture and taste for your Raspberry Oatmeal Crumble Bars. The combination of flour and oats forms a sturdy yet crumbly base, while the brown sugar and butter add sweetness and richness. Raspberry jam and fresh raspberries provide a burst of fruity flavor, making these bars truly irresistible.
Cooking Information
With these ingredients in hand, here’s an overview of the time commitment required for this recipe:
Prep Time: 15 minutes
Cook Time: 35 minutes
Total Time: 50 minutes
Yield: 9 bars
Detailed Instructions
Let’s dive into the detailed steps for making Raspberry Oatmeal Crumble Bars:
1. **Preheat the Oven:** Begin by preheating your oven to 350°F (175°C). This ensures that your bars cook evenly throughout.
2. **Prepare Baking Dish:** Grease an 8×8-inch baking dish and line it with parchment paper, leaving an overhang on the sides. This step will make it easier to remove the bars once they’ve cooled.
3. **Mix Dry Ingredients:** In a large mixing bowl, combine the all-purpose flour, old-fashioned oats, brown sugar, baking soda, and salt. Stir to blend the dry ingredients thoroughly.
4. **Incorporate Wet Ingredients:** Add melted butter and vanilla extract to the dry mixture. Mix until the mixture becomes crumbly. The crumbly texture is essential for both the crust and the topping.
5. **Press the Crust:** Take 2/3 of the oat mixture and press it into the prepared baking dish to form an even and firm crust. This will form the base layer of your bars.
6. **Add Raspberry Filling:** Spread the raspberry jam evenly over the prepared crust. Distribute the fresh raspberries on top of the jam for an added burst of freshness and texture.
7. **Top with Crumble:** Take the remaining oat mixture and crumble it over the raspberry layer, ensuring an even distribution to cover the jam completely.
8. **Bake:** Place the baking dish in the preheated oven and bake for 30-35 minutes, or until the top appears golden brown and the raspberry filling starts bubbling.
9. **Cooling and Cutting:** Once baked, remove the dish from the oven and let it cool completely in the pan on a wire rack. When cool, use the parchment overhang as handles to lift the bars from the pan. Cut the slab into nine squares.
10. **Serve or Store:** The Raspberry Oatmeal Crumble Bars are now ready to be enjoyed. They can be stored in an airtight container at room temperature for up to three days.
Notes
– You can use a 9×13-inch pan if you want thinner bars, and adjust the baking time accordingly.
– If fresh raspberries are not available, you can substitute them with frozen raspberries. Make sure to thaw and drain them well before using.
Cooking Techniques
– Crumbing: Achieving a crumbly topping is key. Mix the dry ingredients with butter until the mixture resembles coarse sand. This ensures a tender and crunchy topping.
– Layering: Ensuring an even distribution of both the crust and the topping is crucial for balancing the texture of the bars.
– Baking: Keeping an eye on the bars during baking will prevent over-browning. You’re looking for a golden hue and bubbling edges as indicators of doneness.
Frequently Asked Questions
**Can I use other types of berries?**
Yes, feel free to substitute raspberries with other berries such as blueberries, strawberries, or blackberries. Adjust the sweetness of the filling as needed.
**How do I store leftovers?**
Leftover bars can be kept in an airtight container at room temperature for up to three days or refrigerated for about a week.
**Can I freeze these bars?**
Yes, you can freeze Raspberry Oatmeal Crumble Bars. Wrap them individually in plastic wrap and place them in an airtight container for up to three months.
**How do I make the bars gluten-free?**
Replace the all-purpose flour with a gluten-free flour blend suitable for baking to make this recipe gluten-free.
Conclusion
Raspberry Oatmeal Crumble Bars are a delightful dessert that combines simplicity with delicious flavors. Easy to make and delightful to eat, they are perfect for any occasion. Fill your kitchen with the aroma of freshly baked goodness and enjoy these bars with family and friends or as a quick treat for yourself. Their versatile nature allows for variations, so feel free to get creative with different fillings or toppings.
More Recipe Suggestions
If you enjoyed these Raspberry Oatmeal Crumble Bars, you might also like trying out these variations and combinations:
– **Blueberry Lemon Bars:** Using blueberry preserves and lemon zest for a refreshing twist.
– **Apple Cinnamon Bars:** Add diced apples and a sprinkle of cinnamon for a comforting flavor variant.
– **Peach Almond Bars:** Using peach jam and sliced almonds for a nutty, summery flavor.
– **Chocolate Raspberry Bars:** Add a layer of chocolate chips between the crust and raspberry filling for a rich, decadent touch.
Each of these variations highlights different fruit and flavor combinations, offering endless possibilities for sweet treats. Enjoy the process and happy baking!

Raspberry Oatmeal Crumble Bars
Ingredients
Method
- Preheat your oven to 350°F (175°C) to ensure even cooking.
- Grease an 8x8-inch baking dish and line it with parchment paper, leaving an overhang on the sides.
- In a large mixing bowl, combine the all-purpose flour, oats, brown sugar, baking soda, and salt. Stir well to blend.
- Add melted butter and vanilla extract to the dry mixture and mix until it becomes crumbly.
- Press 2/3 of the oat mixture into the bottom of the prepared baking dish to form a firm crust.
- Spread raspberry jam evenly over the crust. Top with fresh raspberries.
- Crumble the remaining oat mixture over the raspberry filling.
- Bake in the preheated oven for 30-35 minutes until golden brown and the raspberry filling is bubbling.
- Allow to cool completely in the pan on a wire rack before lifting out and cutting into squares.
- Enjoy the bars immediately or store in an airtight container at room temperature for up to three days.


