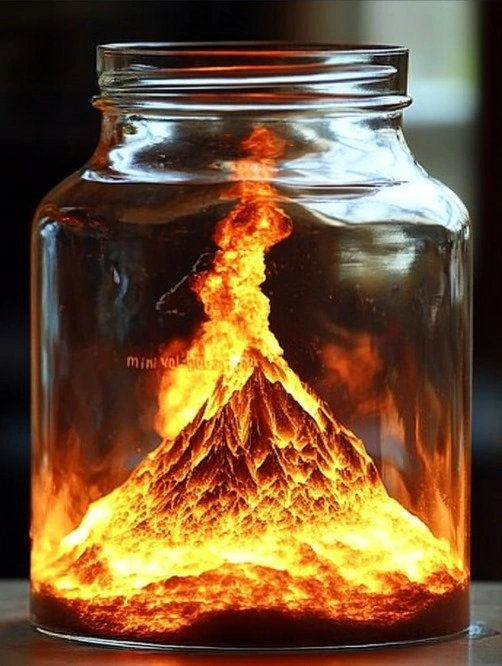
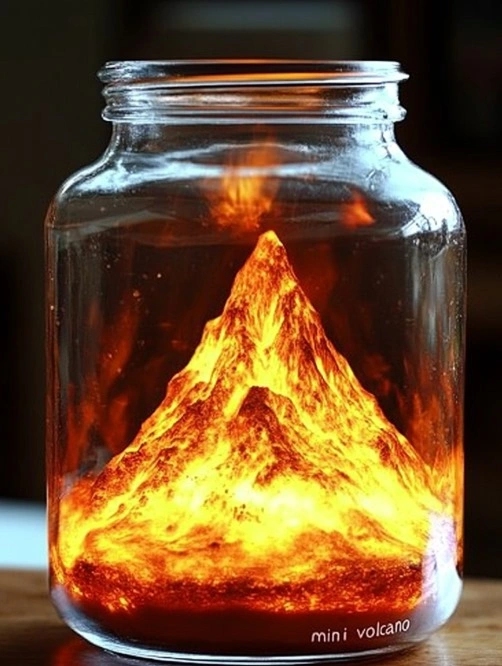
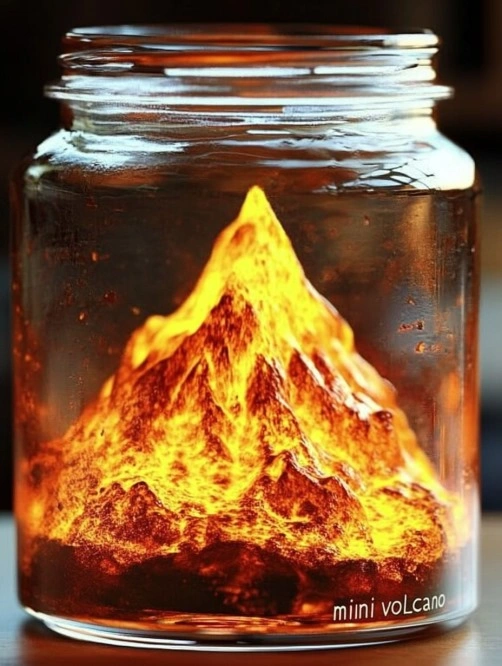
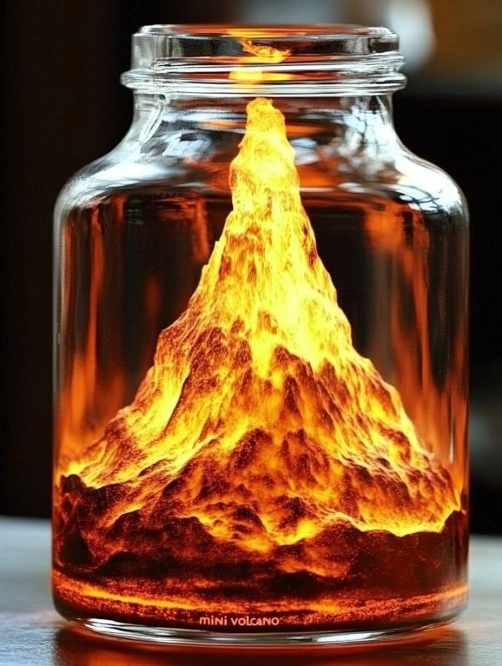
Creating a mini volcano in a jar is more than just a fun activity—it’s an exciting science experiment that sparks curiosity and brings chemistry to life for kids of all ages. While it’s incredibly simple to set up, the eruption creates a dazzling reaction that mimics the explosive magic of real volcanoes. Because it uses everyday household items like baking soda and vinegar, this engaging experiment is both safe and affordable. Moreover, it serves as a powerful introduction to chemical reactions, making it perfect for classrooms, homeschooling activities, or weekend fun.
Why You’ll Love This Mini Volcano Experiment
Although it may seem like just a bit of fizzy fun, this volcano in a jar experiment offers numerous educational and entertainment benefits. First of all, it’s quick to prepare, requiring only a handful of ingredients that you probably already have at home. Additionally, kids are instantly captivated by the eruption, which makes it easier for them to understand concepts like acid-base reactions and gas formation.
Because this activity is interactive, it encourages hands-on learning and experimentation. For instance, children can alter the quantities of ingredients or add food coloring to observe how the reaction changes, fostering early scientific inquiry. Furthermore, this experiment requires minimal supervision, so it’s ideal for independent exploration while still being engaging enough for group settings.
Equally important, this activity provides an excellent opportunity to bond with your child while introducing key science concepts. With every bubbly eruption, their curiosity deepens, making this a fun way to encourage a love for STEM. Whether you’re planning a rainy-day indoor activity or adding a wow-factor to a science unit, this mini volcano project never disappoints.
Ingredients
To create your erupting mini volcano, you’ll need the following items:
- 1 small jar or clear plastic bottle
- 2 tablespoons baking soda
- 1/4 cup vinegar
- Optional Additions:
- Food coloring (for a colorful eruption)
- A few drops of dish soap (for a foamier reaction)
All of these items are inexpensive and likely already in your kitchen, which makes this the perfect spur-of-the-moment science project.
Necessary Tools
In addition to the ingredients listed above, you’ll also want to gather a few basic tools to ensure the experiment runs smoothly:
- A tray or shallow dish (to catch overflow)
- A measuring spoon and measuring cup
- A funnel (optional, for easy pouring)
- Paper towels or a cloth for cleanup
With these simple items on hand, you’ll be set up and ready to create your own backyard eruption in just minutes.
Ingredient Swaps and Additions
While the classic combination of baking soda and vinegar creates a reliable eruption, you can get creative with this recipe by trying a few swaps or additions. For example, if you don’t have vinegar on hand, you can use lemon juice or any other household acid. Additionally, for a more dramatic fizz, try using carbonated soda instead of vinegar—it’s messier but fun!
You can also incorporate dish soap to enhance the visual appeal. Because the soap traps the carbon dioxide gas, it forms longer-lasting, bubbly foam. Another idea is to stir in glitter or eco-friendly confetti for a magical, shimmering eruption. Lastly, if you want to teach kids about the effects of temperature, try using warm vinegar instead of room temperature—it accelerates the reaction and makes it even more exciting.
Step-by-Step Instructions
Let’s walk through each step to create your volcano in a jar safely and effectively:
- Place the jar on a tray. This will catch any spills and make cleanup easier.
- Add the baking soda. Spoon approximately 2 tablespoons of baking soda into the bottom of the jar.
- Enhance with extras (optional). Add food coloring or a drop of dish soap at this stage.
- Pour in the vinegar. Slowly pour 1/4 cup of vinegar into the jar and watch the eruption begin instantly!
- Observe and discuss. Talk with your child about what’s happening and why—the fizzing is a result of a chemical reaction producing carbon dioxide gas.
Repeat the experiment as many times as you like by refilling the ingredients!
Pro Tips for Success
Because this is a simple experiment, you can maximize its fun and learning potential with a few expert tips. For best results, always use fresh baking soda and vinegar to ensure the reaction is strong. Also, avoid pouring vinegar too quickly, as this can create a mess instead of a satisfying eruption.
Another pro tip is to try using tall, narrow jars, which help the foam rise higher and create more of a dramatic volcano effect. You can even let kids decorate the outside of the jar with construction paper to look like a mountain or lava flow.
Lastly, involve kids in measuring, pouring, and experimenting with ingredient ratios. This enhances not just the fun, but also their understanding of cause-and-effect.
Serving Suggestions (Creative Play Ideas)
Although you won’t be eating your mini volcano, there are still plenty of “serving” suggestions to maximize the fun. For example, turn this into a science station by setting up multiple jars with different colors. Children can create rainbow eruptions or volcano races to see which reacts faster.
Additionally, consider extending the theme with related crafts, such as building a paper mâché volcano around the jar. You can also create a “volcano village” with figurines or toy dinosaurs to set the scene, turning science time into imaginative play.
Storing and Reheating (Or Repeating)
Because this experiment is made with perishable ingredients, you don’t need to store it—but you can easily repeat it multiple times. Simply rinse out the jar between eruptions and refill with fresh ingredients.
If you want to prepare in advance, measure your baking soda into small containers and pre-mix your vinegar with food coloring. This way, setup is even quicker when your little scientist is ready to erupt again!
Nutritional Information
Since this is a play recipe, there’s no nutritional content—but here’s what your child is “consuming” in terms of education:
- STEM Skills
- Cause-and-effect understanding
- Fine motor development
- Curiosity and inquiry
- Safe chemical reaction awareness
FAQs
1. Is this volcano activity safe for toddlers?
Yes, with supervision! All ingredients are non-toxic, though vinegar can sting eyes or cuts.
2. Can I use this in a classroom setting?
Absolutely—it’s a fantastic group activity with easy cleanup.
3. How many eruptions can I make?
As many as you want! Just rinse and repeat.
4. What type of vinegar works best?
White vinegar is ideal, but apple cider vinegar can be used if needed.
5. Why doesn’t my volcano erupt much?
Check that your baking soda isn’t expired and that you’re using enough vinegar.
Conclusion
This Mini Volcano in a Jar experiment is a delightful way to blend fun and education into one explosive moment. Whether you’re engaging curious toddlers or older kids exploring science, this simple project delivers a major wow factor. Because it’s so easy to customize and repeat, it’s the perfect DIY science activity for any occasion.
So go ahead—grab a jar, mix up a fizzy storm, and watch your child’s eyes light up with wonder!
Mini Volcano In A Jar
Ingredients
Method
- Place the jar on a tray to catch any spills.
- Add baking soda to the bottom of the jar.
- If desired, add food coloring and/or dish soap.
- Slowly pour vinegar into the jar and watch the eruption begin.
- Discuss the chemical reaction happening with children.
- Rinse the jar and refill with fresh ingredients for more eruptions.