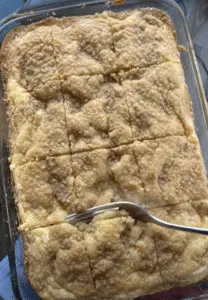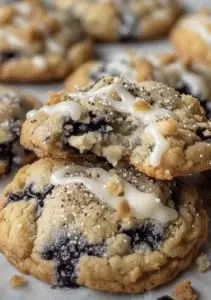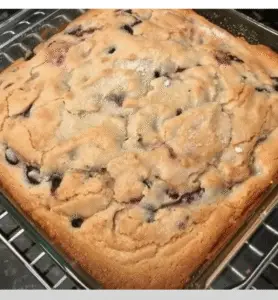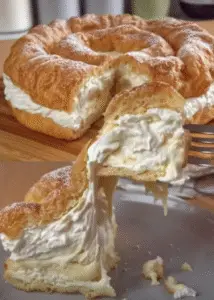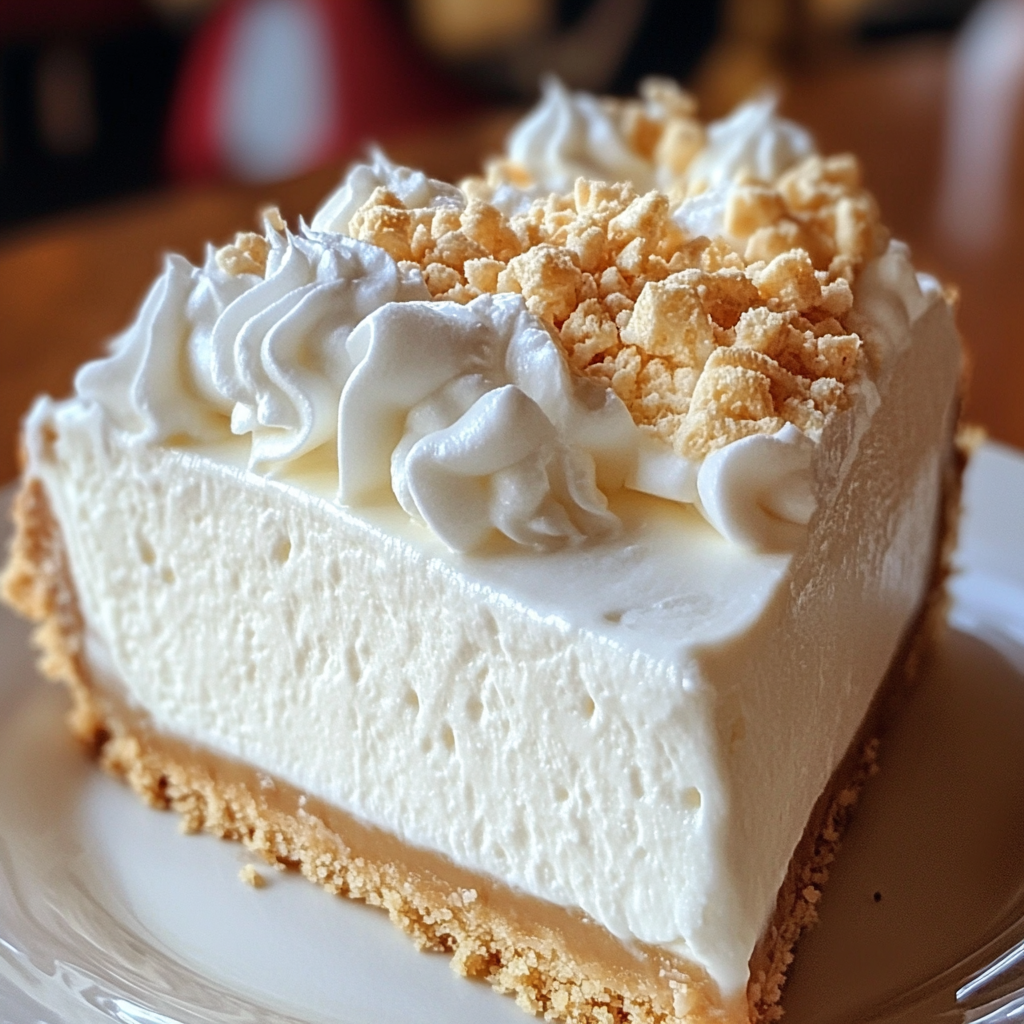
First things first—thank you for stopping by! I’m so grateful you’re here because, today, I’m sharing a dessert that feels like biting into a cloud: Marshmallow Whip Cheesecake Heaven! This no-bake cheesecake is the epitome of creamy indulgence, with layers of light, fluffy marshmallow whipped into a velvety cheesecake filling. It’s decadent without being too heavy, and the best part? It’s super easy to make!
If you’re a fan of easy yet impressive desserts, you’re going to want this recipe in your arsenal! Want more like this? Subscribe to get all the latest dessert recipes straight to your inbox!
Why You’ll Love This Recipe
Imagine this: a buttery graham cracker crust that’s just the right amount of crunchy, topped with a rich cheesecake layer lightened up with fluffy marshmallow cream, all crowned by a layer of mini marshmallows and an optional drizzle of melted chocolate. Each bite is a perfect combination of textures—smooth, crunchy, and pillowy soft! It’s perfect for when you want to treat yourself or impress guests with something that feels extra special.
Here’s why this dessert is a keeper:
- No-bake magic: Minimal oven time required.
- Marshmallow fluff heaven: Light, airy, and sweet, this cheesecake is anything but boring!
- Flexible toppings: Keep it simple or go all out with chocolate drizzle and toasted marshmallows.
- Crowd-pleaser: A universal hit with adults and kids alike.
The Taste of Marshmallow Whip Cheesecake Heaven
Prepare for your taste buds to do a happy dance! The cheesecake filling is smooth and creamy, with just the right amount of tang from the cream cheese, balanced by the sweet marshmallow fluff. The graham cracker crust adds a toasty, buttery crunch that perfectly complements the soft filling. Topping it off with mini marshmallows adds a playful, fun element, and the optional melted chocolate drizzle takes it to a whole new level. Think s’mores meets cheesecake—a match made in dessert heaven!
Ingredients
For the Crust:
- 1 1/2 cups graham cracker crumbs
- 1/4 cup sugar
- 1/2 cup melted butter
For the Cheesecake Filling:
- 16 oz cream cheese, softened
- 1/2 cup sugar
- 1 tsp vanilla extract
- 1 cup marshmallow fluff
- 1 cup heavy whipping cream
For the Topping:
- 1 cup mini marshmallows
- 1/2 cup melted chocolate chips (optional)
Tools You’ll Need
- 9-inch springform pan
- Electric mixer or hand mixer
- Mixing bowls
- Spatula
- Measuring cups and spoons
Ingredient Additions & Substitutions
One of the best things about this cheesecake is its versatility! Here are some swaps and add-ins to consider:
- Swap graham crackers for chocolate cookie crumbs for a richer crust.
- Add crushed nuts to the crust for extra texture and flavor.
- Lemon zest in the filling for a citrusy twist that brightens the sweetness.
- Top with fruit: Fresh berries or a strawberry compote would be a fantastic addition if you want to balance the sweetness with a tart kick.
Step-by-Step Instructions
Step 1: Prepare the Crust
Preheat your oven to 350°F (175°C). In a medium bowl, mix together the graham cracker crumbs, sugar, and melted butter until the crumbs are evenly moistened. Press the mixture firmly into the bottom of a greased 9-inch springform pan. Bake for 10 minutes, then let it cool completely. (This gives your cheesecake a sturdy base!)
Step 2: Make the Filling
In a large mixing bowl, beat the softened cream cheese and sugar until smooth and creamy. Add in the vanilla extract and marshmallow fluff, mixing until everything is fully combined. In a separate bowl, whip the heavy cream until stiff peaks form, then gently fold it into the cream cheese mixture. Be gentle here—this is what gives the filling its light, airy texture.
Step 3: Assemble the Cheesecake
Once your crust has cooled, pour the marshmallow cheesecake filling over it. Smooth it out with a spatula to make an even layer. Now, pop it in the fridge for at least 4 hours (or overnight if you can wait that long!) to allow the cheesecake to firm up.
Step 4: Add Toppings
Once the cheesecake is fully set, it’s time for the fun part—toppings! Scatter mini marshmallows over the top and, if you’re feeling fancy, drizzle with melted chocolate. You can even toast the marshmallows for that s’mores vibe!
Step 5: Serve & Enjoy!
Carefully remove the cheesecake from the springform pan, slice it up, and enjoy every heavenly bite. This dessert is best served chilled, so make sure it stays in the fridge until you’re ready to indulge!
What to Serve with Marshmallow Whip Cheesecake Heaven
This cheesecake is rich enough to stand on its own, but if you’re hosting a gathering, consider pairing it with:
- Fresh berries to balance the sweetness.
- A scoop of vanilla ice cream for an extra decadent touch.
- Hot coffee or tea to round out the dessert experience.
Tips for Making the Perfect Cheesecake
- Soften your cream cheese: This ensures a smooth, lump-free filling.
- Whip the cream separately: This step gives the cheesecake its fluffy texture—don’t skip it!
- Chill it properly: Give the cheesecake ample time to set in the fridge (at least 4 hours, but overnight is best).
- Use a springform pan: This makes it easy to remove your cheesecake without ruining the beautiful layers.
Storage Instructions
If you have any leftovers (though I doubt you will!), store them in an airtight container in the fridge for up to 5 days. You can also freeze individual slices by wrapping them tightly in plastic wrap and foil. Frozen cheesecake will last up to 2 months—just thaw in the fridge before serving.
FAQ
Can I make this cheesecake ahead of time?
Absolutely! In fact, it tastes even better the next day after the flavors have had time to meld. Make it up to 24 hours in advance and store it in the fridge.
Can I use store-bought crust?
Yes! If you’re short on time, you can skip making the crust and use a pre-made graham cracker crust instead.
How do I know when the cheesecake is fully set?
The cheesecake should feel firm to the touch and not jiggle in the middle. If it still seems soft after 4 hours, give it more time to chill.
Conclusion
And there you have it—Marshmallow Whip Cheesecake Heaven in all its creamy, dreamy glory! It’s a dessert that’s as fun to make as it is to eat, and I hope it brings a little slice of joy to your table. Whether you’re serving it for a special occasion or just because, this cheesecake is bound to be a hit.
If you try this recipe, don’t forget to leave a review or share your masterpiece on Pinterest. I’d love to see how it turns out for you!
Nutritional Information (per serving)
- Calories: 400
- Fat: 28g
- Carbohydrates: 34g
- Protein: 5g
- Sugar: 24g

Marshmallow Whip Cheesecake Heaven ☁️
Ingredients
Equipment
Method
- Prepare the Crust: Preheat the oven to 350°F (175°C). In a medium bowl, mix graham cracker crumbs, sugar, and melted butter until well combined. Press the mixture into the bottom of a greased 9-inch springform pan. Bake for 10 minutes, then allow it to cool completely.
- Make the Filling: In a large mixing bowl, beat softened cream cheese and sugar until smooth. Add vanilla extract and marshmallow fluff, mixing until fully combined. In a separate bowl, whip heavy cream until stiff peaks form, then gently fold it into the cream cheese mixture.
- Assemble the Cheesecake: Pour the filling over the cooled crust and smooth the top with a spatula. Refrigerate the cheesecake for at least 4 hours, or until set.
- Add Toppings: Once the cheesecake is fully set, top with mini marshmallows. Optionally, drizzle melted chocolate over the marshmallows.
- Serve & Enjoy: Carefully remove the cheesecake from the springform pan, slice, and enjoy!
Notes
Add lemon zest to the filling for a citrusy twist.
For a s’mores effect, briefly toast the mini marshmallows before serving.
Store leftovers in the fridge for up to 5 days, or freeze individual slices for up to 2 months.

