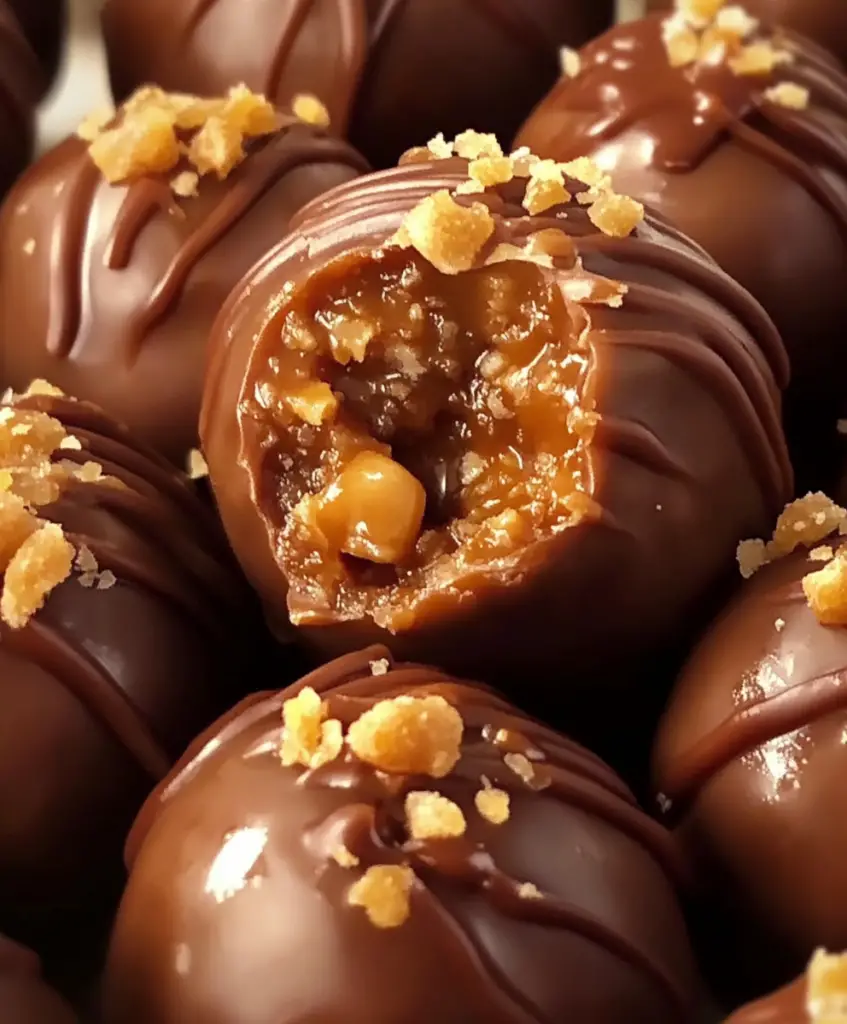
Looking for a rich, indulgent treat that’s easy to make and guaranteed to satisfy your sweet tooth? These Luxurious Butterfinger Balls are just the thing! Combining creamy peanut butter, crunchy Butterfinger pieces, and a smooth chocolate coating, these no-bake delights are perfect for parties, holidays, or anytime you want a deliciously sweet snack.
Let’s dive into the details of how to make these irresistible Butterfinger Balls.
What Makes These Butterfinger Balls So Special?
These treats bring together the best of both worlds—creamy peanut butter and the crunchy, candy-coated goodness of Butterfinger. Dipped in a layer of smooth, melted chocolate, each bite offers a perfect balance of textures and flavors that will leave you craving more.
Taste and Texture
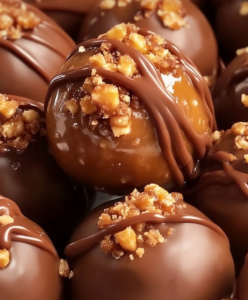
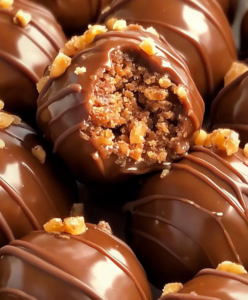
The Butterfinger Balls have a rich, creamy center made from peanut butter, softened butter, and powdered sugar, mixed with crushed Butterfinger candy bars for that signature crunch. The chocolate coating adds a smooth, sweet finish, making these treats decadent and satisfying.
Why You’ll Love It
- No-Bake: No need to turn on the oven—these treats come together without baking.
- Quick and Easy: With just a few ingredients and simple steps, you’ll have a delicious treat ready in no time.
- Perfect for Any Occasion: Whether it’s a holiday gathering, a party, or just a treat for yourself, these Butterfinger Balls are always a hit.
- Customizable: You can easily switch up the flavors or add different mix-ins to make them your own.
Ingredients You’ll Need
- 1 (16 oz) jar creamy peanut butter: The base of the mixture, providing a rich, creamy texture.
- 3 cups powdered sugar: Adds sweetness and helps bind the mixture.
- 3 cups crushed Butterfinger candy bars: Adds crunch and that irresistible Butterfinger flavor.
- 1/2 cup unsalted butter, softened: Adds creaminess and helps hold the mixture together.
- 1 teaspoon vanilla extract: Enhances the flavor with a subtle, sweet aroma.
- 2 cups semi-sweet chocolate chips: For the smooth, chocolate coating.
- 1 tablespoon vegetable oil: Helps the chocolate melt smoothly and creates a shiny coating.
Tools You’ll Need
- Large mixing bowl: For combining the ingredients.
- Parchment paper: To line the baking sheet and prevent sticking.
- Baking sheet: For chilling the Butterfinger Balls.
- Microwave-safe bowl: For melting the chocolate.
- Spoon or fork: For dipping the balls into the melted chocolate.
Step-by-Step Instructions
1. Prepare the Butterfinger Mixture
Start by combining the creamy peanut butter, softened butter, and vanilla extract in a large mixing bowl. Mix until the ingredients are smooth and creamy.
Gradually add the powdered sugar to the mixture, mixing until fully combined. The mixture should be thick and slightly sticky.
Next, stir in the crushed Butterfinger candy bars, making sure they are evenly distributed throughout the mixture. This will give the balls their signature crunch and flavor.
2. Shape the Balls
Once the mixture is ready, roll it into 1-inch balls using your hands. Place the balls on a parchment-lined baking sheet, making sure they are evenly spaced.
Freeze the Butterfinger balls for about 30 minutes to firm them up. This step makes it easier to dip them in chocolate later.
3. Melt the Chocolate
While the balls are in the freezer, melt the chocolate chips and vegetable oil in a microwave-safe bowl. Heat in 30-second intervals, stirring between each interval until the chocolate is smooth and fully melted.
4. Coat the Butterfinger Balls
Remove the Butterfinger balls from the freezer. Using a spoon or fork, dip each ball into the melted chocolate, ensuring it is fully coated. Let any excess chocolate drip off before placing the coated balls back onto the parchment-lined baking sheet.
5. Chill and Serve
Refrigerate the coated Butterfinger balls for about 15-20 minutes, or until the chocolate is fully set.
Once the chocolate is firm, the Butterfinger Balls are ready to serve! Enjoy these rich, peanut buttery treats as a delicious no-bake dessert or snack.
Tips for Making the Perfect Butterfinger Balls
- Chill the mixture: Chilling the mixture before rolling it into balls makes it easier to handle and shape.
- Use softened butter: Softened butter mixes more easily with the peanut butter and powdered sugar, resulting in a smoother mixture.
- Don’t skip the freezing step: Freezing the balls before dipping them in chocolate helps them hold their shape and makes the coating process easier.
- Customize your coating: Feel free to drizzle white chocolate over the top or sprinkle additional crushed Butterfinger pieces on the coated balls for extra flair.
Storage Instructions
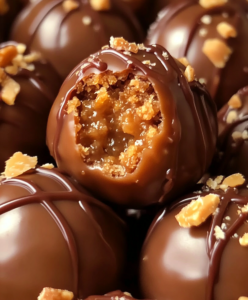
Store the Butterfinger Balls in an airtight container in the refrigerator for up to a week. You can also freeze them for longer storage—just thaw in the refrigerator before serving.
Frequently Asked Questions
Can I use a different type of chocolate?
Yes, you can use milk chocolate, dark chocolate, or even white chocolate if you prefer a different flavor profile.
What if I don’t have Butterfinger candy bars?
If you can’t find Butterfinger candy bars, you can substitute with another crunchy peanut butter candy, or even use peanut brittle.
How do I keep the chocolate coating smooth?
Adding a little vegetable oil to the melted chocolate helps keep it smooth and shiny, making it easier to dip the balls and achieve a glossy finish.
Conclusion
These Luxurious Butterfinger Balls are the ultimate treat for anyone who loves the combination of peanut butter and chocolate. With their creamy, crunchy centers and rich chocolate coating, they’re sure to be a hit at any gathering—or as a special indulgence just for you.
For more no-bake dessert ideas, check out my Peanut Butter Cup Truffles or Chocolate Covered Pretzel Bites. And if you make these Butterfinger Balls, don’t forget to share your creations—tag me on Pinterest with your photos!
Nutritional Information (per serving)
- Calories: 240 kcal
- Protein: 4g
- Carbohydrates: 25g
- Fat: 14g
- Saturated Fat: 6g
- Cholesterol: 10mg
- Sodium: 90mg
- Fiber: 1g
- Sugar: 20g
Enjoy every delicious bite of these Luxurious Butterfinger Balls!

