Introduction
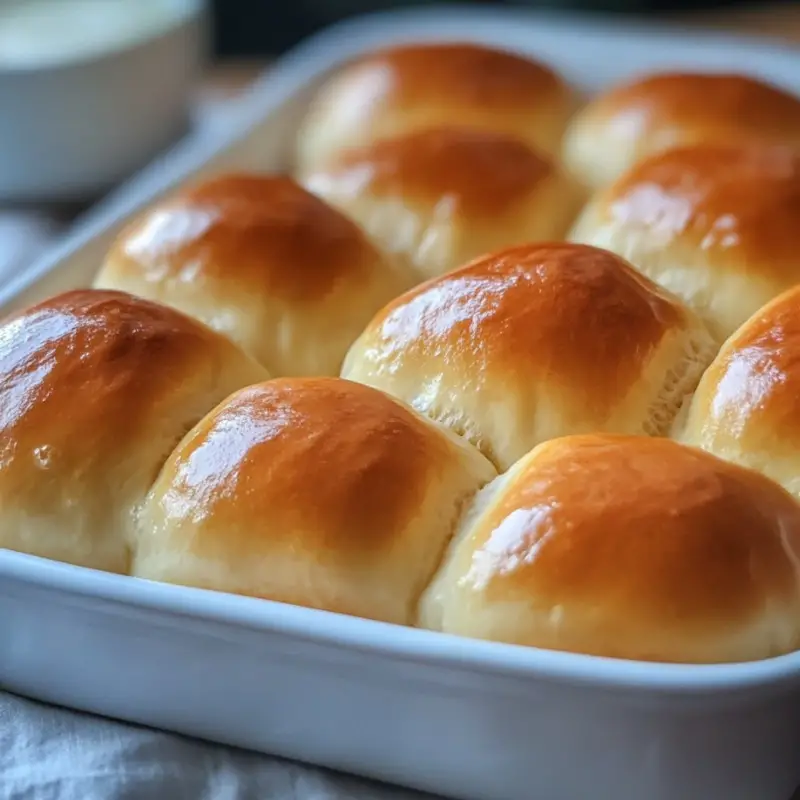
There’s nothing like the aroma of freshly baked dinner rolls wafting through your kitchen. These homemade dinner rolls are fluffy, buttery, and perfect for any meal. Whether you’re enjoying a cozy family dinner or hosting a festive event, these rolls are sure to impress your guests and satisfy every palate.
Detailed Ingredients with measures
500g all-purpose flour
240ml warm milk
50g granulated sugar
7g active dry yeast
75g unsalted butter, softened
1 large egg
5g salt
30g additional melted butter for brushing
Prep Time
Prep Time: 20 minutes
Cook Time, Total Time, Yield
Cook Time: 18 minutes
Total Time: 2 hours 20 minutes
Yield: 12 rolls
Directions
1. In a large bowl, combine warm milk, sugar, and yeast. Let it sit for about 5 minutes until the mixture becomes frothy.
2. Add softened butter, egg, and salt to the yeast mixture. Mix until combined.
3. Gradually add the flour, 100g at a time, mixing after each addition until a soft dough forms.
4. Knead the dough on a lightly floured surface for about 8-10 minutes until smooth and elastic.
5. Place the dough in a lightly greased bowl, cover with a damp cloth, and let it rise in a warm place for about 1-1.5 hours or until doubled in size.
6. Once risen, punch down the dough and divide it into 12 equal pieces. Shape each into a ball.
7. Arrange the dough balls in a greased baking dish, leaving a little space between each.
8. Cover the dish and let the rolls rise for another 30 minutes until doubled in size.
9. Preheat the oven to 190°C (375°F).
10. Brush the tops of the rolls with melted butter, then bake for 15-18 minutes until golden brown.
11. Remove from the oven and brush with additional melted butter. Let cool slightly before serving.
Detailed Directions and Instructions
Step 1: Prepare the Yeast Mixture
In a large mixing bowl, combine the warm milk, granulated sugar, and active dry yeast. Allow this mixture to sit for about 5 minutes, or until it becomes frothy and bubbly, indicating that the yeast is activated.
Step 2: Combine Wet Ingredients
Once frothy, add the softened unsalted butter, large egg, and salt to the yeast mixture. Mix these ingredients together until they are well combined, creating a smooth base for your dough.
Step 3: Add Flour Gradually
Gradually incorporate the all-purpose flour into the mixture, adding about 100g at a time. Mix well after each addition until a soft dough starts to form.
Step 4: Knead the Dough
Transfer the dough to a lightly floured surface. Knead it for approximately 8 to 10 minutes, working it until it is smooth and elastic. This step is crucial for developing the gluten, resulting in fluffy rolls.
Step 5: First Rise
Place the kneaded dough into a lightly greased bowl. Cover it with a damp cloth and let it rise in a warm area. Allow it to rise for about 1 to 1.5 hours, or until it has doubled in size.
Step 6: Shape the Rolls
After the dough has risen adequately, punch it down gently to release any air bubbles. Divide the dough into 12 equal pieces, shaping each piece into a smooth ball.
Step 7: Arrange in Baking Dish
Take a greased baking dish and arrange the 12 dough balls inside, leaving a bit of space between each roll to allow for expansion.
Step 8: Second Rise
Cover the arranged rolls with a cloth and let them rise again for about 30 minutes, or until they double in size once more.
Step 9: Preheat the Oven
As the rolls are rising, preheat your oven to 190°C (375°F) to ensure it’s hot and ready for baking.
Step 10: Brush and Bake
Once the rolls have risen, gently brush the tops with melted butter. Bake them in the preheated oven for 15 to 18 minutes, or until they turn a beautiful golden brown.
Step 11: Finish and Serve
After baking, remove the rolls from the oven and brush them again with melted butter for extra flavor and sheen. Allow them to cool slightly before serving to enjoy their warm, fluffy goodness.
Notes
Perfecting Your Rolls
For best results, make sure your milk is warm but not hot, as high temperatures can kill the yeast. You can easily test the temperature by placing a drop on your wrist; it should feel warm, not hot.
Butter Variation
Using salted butter instead of unsalted can add a different flavor dimension, enhancing the savory notes of the dinner rolls.
Storage Tips
To keep the rolls fresh, store them in an airtight container at room temperature. They can last for a couple of days, or you can freeze them for longer storage—just ensure they are well-wrapped to prevent freezer burn.
Cook Techniques
Proofing Yeast
To activate the yeast, mix it with warm milk and sugar, allowing it to sit until frothy. This ensures that the yeast is alive and ready to help your rolls rise.
Kneading Dough
Knead the dough for 8-10 minutes on a floured surface until it becomes smooth and elastic. This develops the gluten, giving the rolls their structure and texture.
First Rise
Let the dough rise in a greased bowl covered with a damp cloth in a warm place. This helps the dough to double in size, creating a light and airy structure.
Shaping Rolls
Once the dough has risen, punch it down and divide it into equal pieces. Shape each piece into a ball, ensuring minimal air loss for a fluffy texture.
Second Rise
Arrange the shaped dough in a greased dish, covering it again to rise for another 30 minutes. This further develops the rolls’ lightness and volume.
Baking
Brush the rolls with melted butter before baking at 190°C (375°F) for 15-18 minutes until golden brown. This enhances flavor and gives them a beautiful color.
FAQ
Can I use whole wheat flour instead of all-purpose flour?
Yes, you can substitute whole wheat flour, but the rolls may be denser. Consider mixing it with all-purpose flour for a lighter texture.
How do I know when the rolls are done baking?
The rolls should be golden brown on top, and when tapped, they should sound hollow. You can also use a toothpick to check for doneness.
Can I make the dough ahead of time?
Absolutely! After kneading, you can refrigerate the dough. Allow it to come to room temperature for an hour before shaping and rising.
What can I do if my rolls don’t rise?
If your rolls don’t rise, ensure the yeast is fresh and that you proof it correctly. Also, check that the dough is kept in a warm environment.
How should I store leftover rolls?
Store leftover rolls in an airtight container at room temperature for up to 2 days. You can freeze them for longer storage; just thaw and reheat when ready to serve.
Conclusion
There’s nothing quite like the experience of enjoying homemade dinner rolls. Their fluffy texture and buttery flavor elevate any meal, making them a delightful addition to everyday dinners and special occasions alike. These rolls are not only easy to make but also provide a warm, comforting touch to your dining table. Whether served with hearty soups or alongside a holiday feast, they are sure to be a hit with family and friends.
More recipes suggestions and combination
Garlic Butter Dinner Rolls
Enhance your rolls by adding minced garlic and fresh herbs to the melted butter before brushing them on the top. The garlic aroma will make your rolls irresistible.
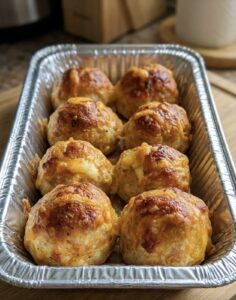
Cheese-Stuffed Dinner Rolls
Incorporate your favorite cheeses into the center of each roll before shaping them. Whether you use mozzarella, cheddar, or a mixture, the melted cheese will create a gooey surprise inside.
Cinnamon Sugar Rolls
Transform your dinner rolls into a delightful dessert by spreading cinnamon and sugar before rolling them up. After baking, drizzle with a simple icing for a sweet treat.
Herb and Parmesan Rolls
Mix in finely chopped herbs such as rosemary, thyme, or parsley, and grated Parmesan cheese into the dough for savory rolls that pair beautifully with Italian dishes.
Sweet Potato Dinner Rolls
Incorporate mashed sweet potatoes into the dough for a hint of sweetness and a gorgeous orange hue. These rolls are not only tasty but also nutrient-rich.
Pull-Apart Rolls
Instead of shaping individual rolls, form a larger dough ball and place it in a round baking dish. Bake until golden, then pull apart the sections for a fun and shareable experience.
Fluffy Dinner Rolls
Ingredients
Method
- In a large bowl, combine warm milk, sugar, and yeast. Let it sit for about 5 minutes until the mixture becomes frothy.
- Add softened butter, egg, and salt to the yeast mixture. Mix until combined.
- Gradually add the flour, 100g at a time, mixing after each addition until a soft dough forms.
- Knead the dough on a lightly floured surface for about 8-10 minutes until smooth and elastic.
- Place the dough in a lightly greased bowl, cover with a damp cloth, and let it rise in a warm place for about 1-1.5 hours or until doubled in size.
- Once risen, punch down the dough and divide it into 12 equal pieces. Shape each into a ball.
- Arrange the dough balls in a greased baking dish, leaving a little space between each.
- Cover the dish and let the rolls rise for another 30 minutes until doubled in size.
- Preheat the oven to 190°C (375°F).
- Brush the tops of the rolls with melted butter, then bake for 15-18 minutes until golden brown.
- Remove from the oven and brush with additional melted butter. Let cool slightly before serving.