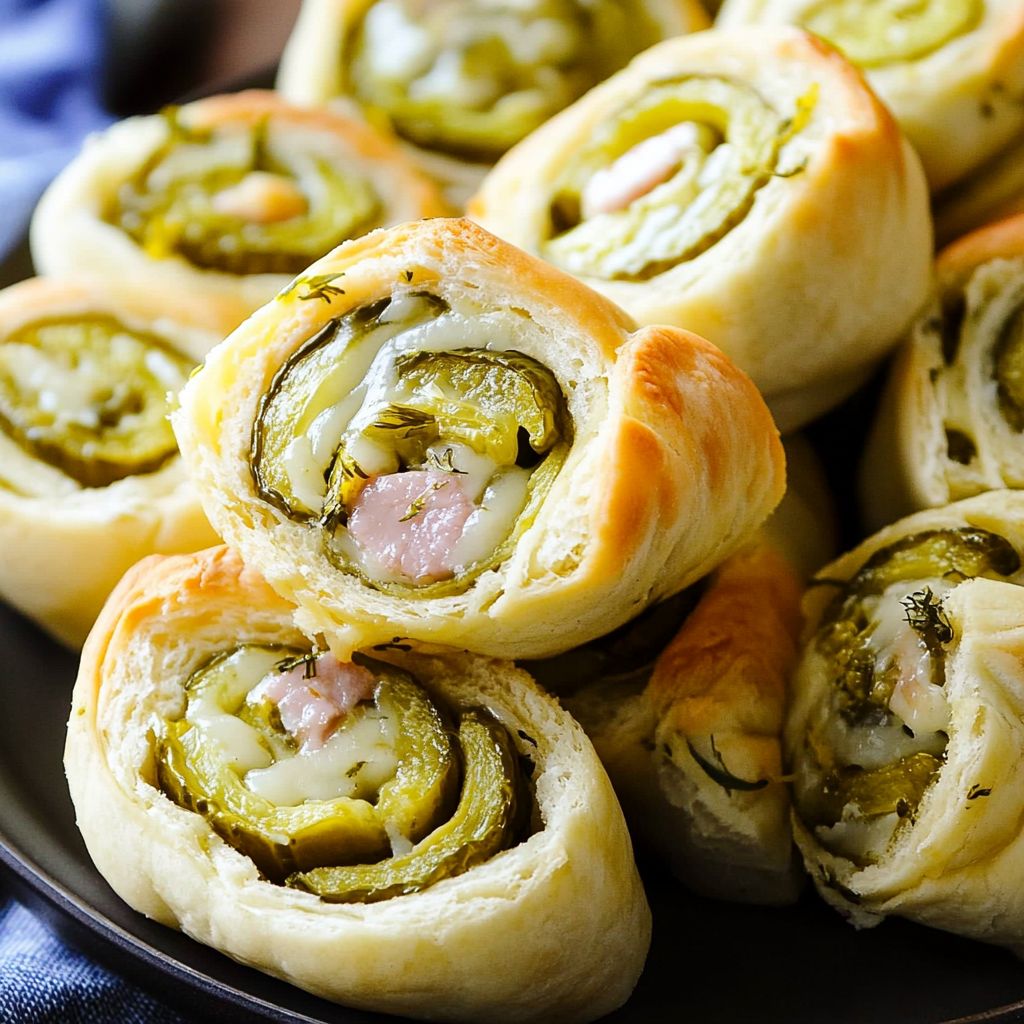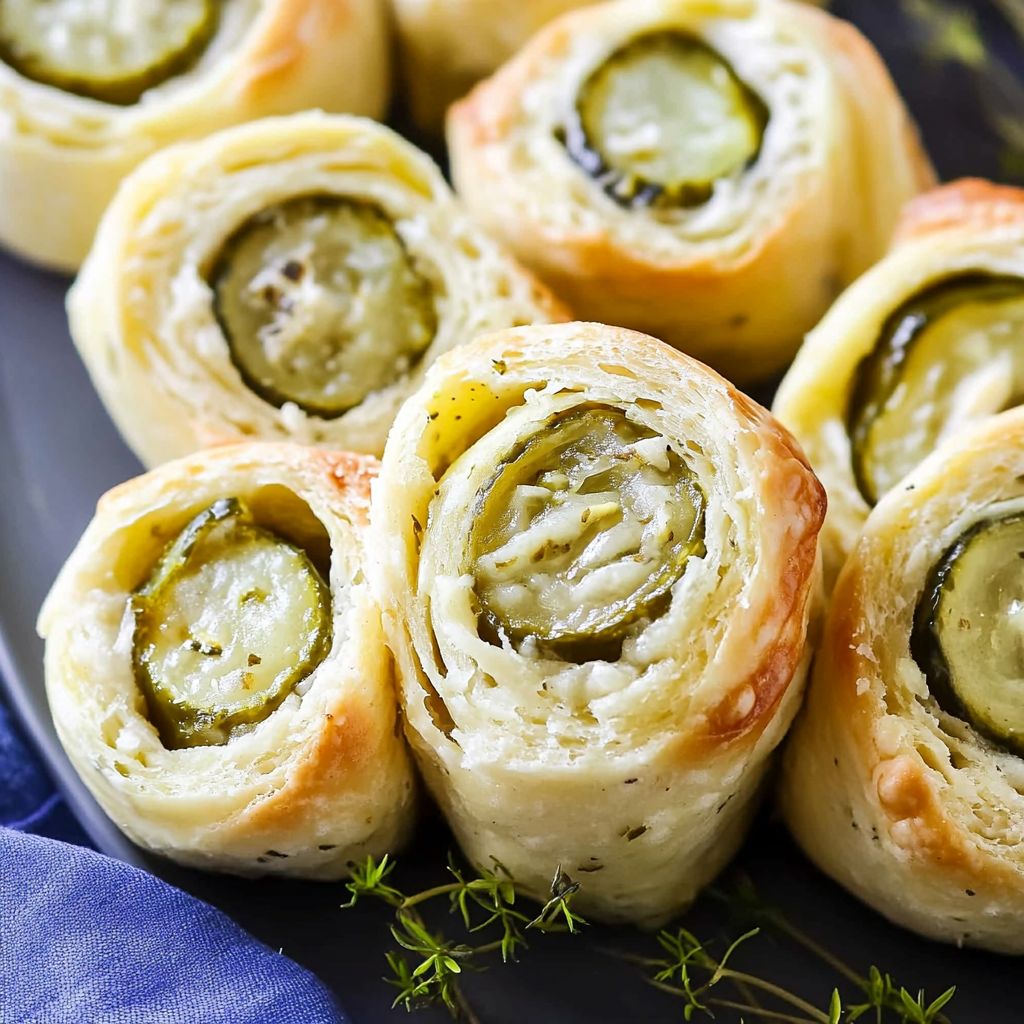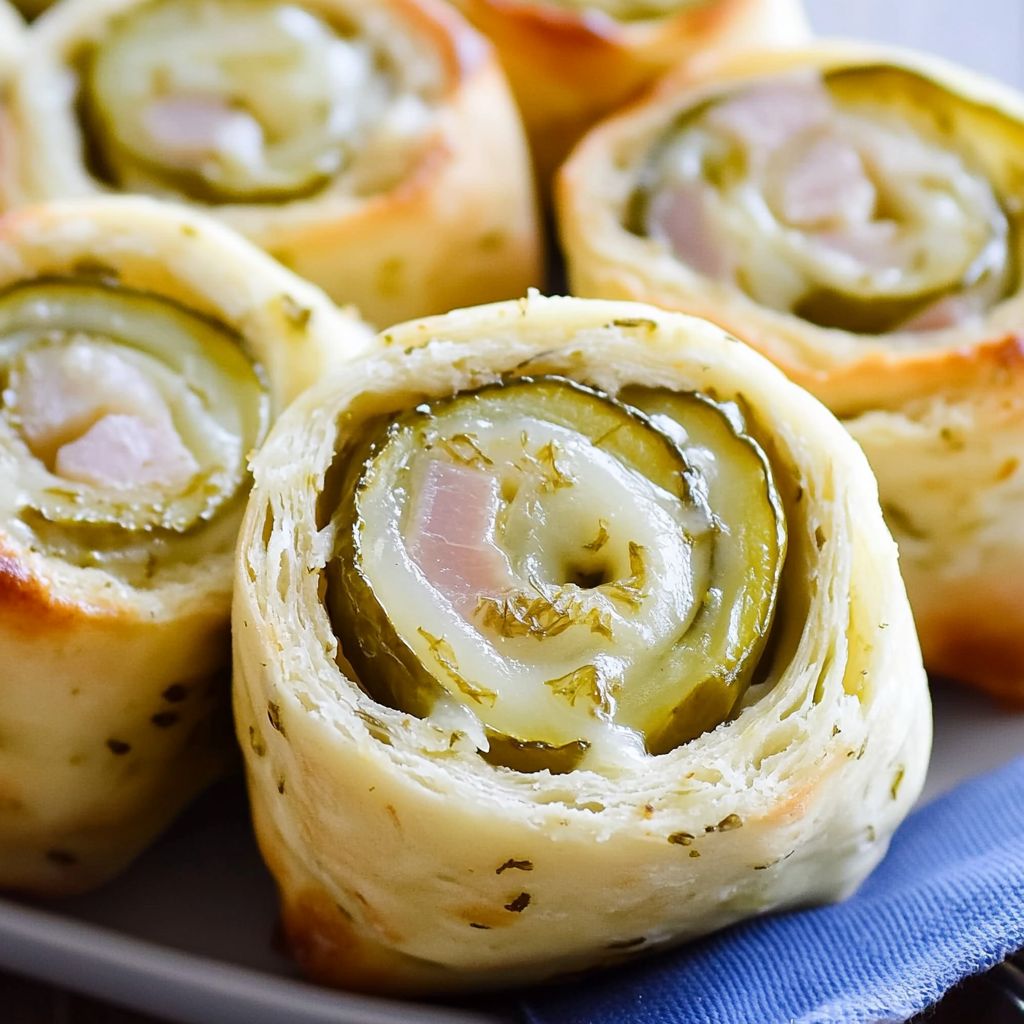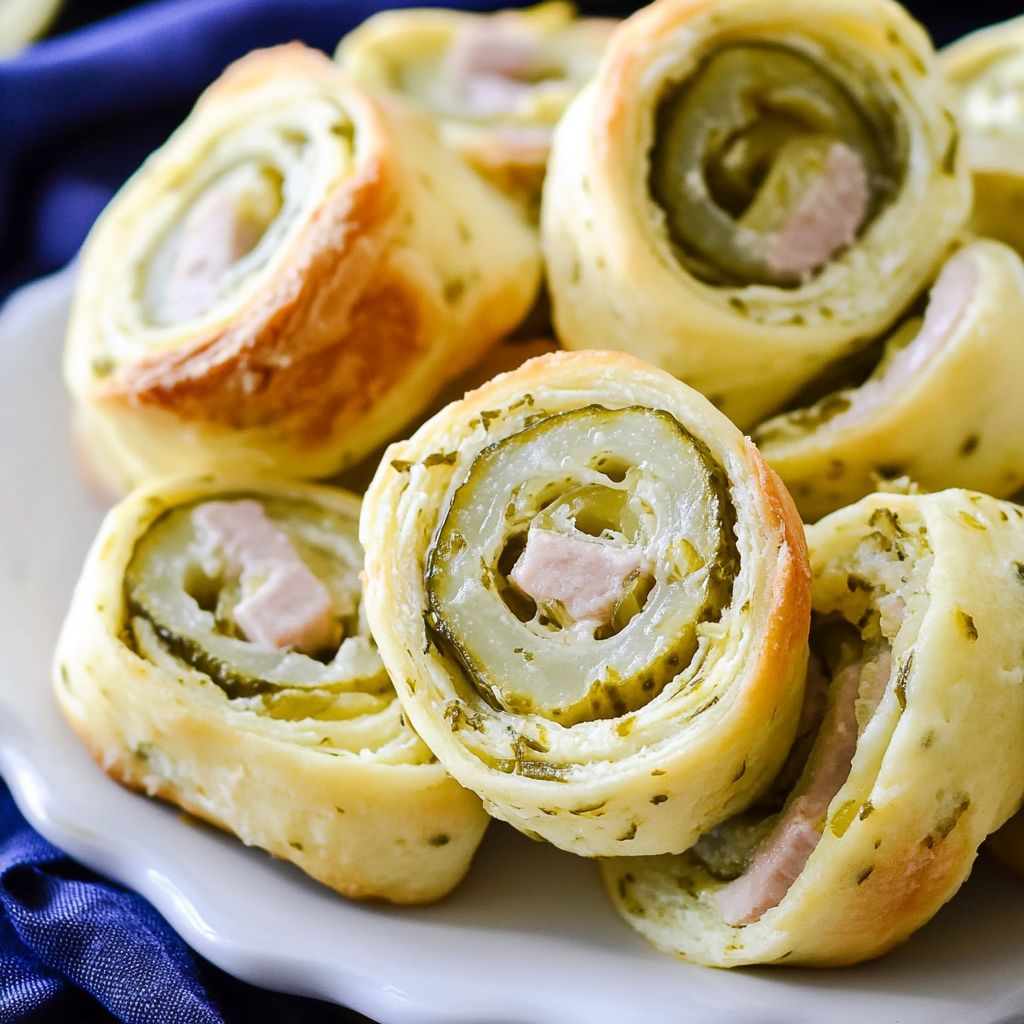
Who doesn’t love a snack that’s creamy, tangy, and irresistibly delicious? These Dill Pickle Pinwheels are everything you crave in a bite-sized snack. Perfect for parties, game day, or an easy lunchbox treat, they’re as simple to make as they are satisfying to eat. Packed with the bold flavor of dill pickles and a creamy filling that will leave you swooning, these pinwheels are guaranteed to impress.
Why You’ll Love Dill Pickle Pinwheels
- Quick and Easy: Whip these up in no time with minimal prep.
- Bold Flavor: The tangy punch of dill pickles meets a creamy, ranch-infused filling.
- Crowd-Pleaser: Perfect for any gathering or occasion, from picnics to potlucks.
- Customizable: Add cheddar cheese, fresh dill, or even some spicy pickles for your twist!
What Do Dill Pickle Pinwheels Taste Like?
These pinwheels are a savory, tangy delight! The cream cheese and sour cream create a luscious base, perfectly balanced with the zesty kick of ranch seasoning and garlic. Finely chopped dill pickles add bursts of tang and crunch, while a hint of cheddar cheese brings a subtle creaminess. Each bite is like a mini flavor explosion!
Ingredients You’ll Need
For the Creamy Filling:
- 8 oz cream cheese, softened
- 1/2 cup sour cream
- 1 tablespoon ranch dressing mix (adjust to taste)
- 1/2 teaspoon garlic powder
- 1/2 teaspoon onion powder
- 1/4 teaspoon dried dill weed
- 1/4 teaspoon salt (or to taste)
- 1/4 teaspoon black pepper (or to taste)
For the Pinwheels:
- 6-8 large flour tortillas (burrito-sized)
- 1 1/2 cups dill pickle slices, finely chopped
- 1/2 cup shredded cheddar cheese (optional for extra flavor)
- 1 tablespoon fresh dill, chopped (optional, for garnish)
Tools You’ll Need
- Mixing bowl
- Cutting board
- Sharp knife for slicing
- Spatula or butter knife for spreading
- Plastic wrap (for chilling the rolls)
How to Make Dill Pickle Pinwheels
1. Prepare the Filling
- In a large bowl, mix together the softened cream cheese, sour cream, ranch dressing mix, garlic powder, onion powder, dried dill weed, salt, and pepper.
- Stir until smooth and creamy.
2. Fold in the Pickles
- Chop the dill pickle slices finely and fold them into the cream cheese mixture.
- For a cheesy twist, add shredded cheddar cheese at this step.
3. Spread on Tortillas
- Lay out the tortillas on a flat surface. Spread a generous layer of the pickle cream cheese mixture onto each tortilla, leaving about an inch of space around the edges.
4. Roll Up the Tortillas
- Roll each tortilla tightly, making sure to keep the filling evenly distributed inside.
- Wrap each rolled tortilla in plastic wrap and refrigerate for 30 minutes. This step is crucial for clean slicing.
5. Slice into Pinwheels
- Once chilled, slice the rolls into 1-inch wide pinwheels using a sharp knife.
- Arrange on a serving platter and garnish with fresh dill or extra pickle slices, if desired.
What to Serve with Dill Pickle Pinwheels
These pinwheels are perfect on their own, but if you’re looking to pair them, try these ideas:
- Dips: Ranch dressing, dill dip, or even a tangy honey mustard.
- Veggie Platter: Serve alongside carrots, celery, and cucumber slices.
- Crunchy Additions: Pair with chips or a dill pickle snack mix for variety.
Tips for Success
- Choose the Right Tortillas: Use large, burrito-sized tortillas for easier rolling and slicing.
- Adjust to Taste: Feel free to tweak the ranch seasoning, dill, or salt levels to match your flavor preferences.
- Chill for Clean Slices: Refrigerating the rolls ensures they hold their shape when sliced.
- Go Fresh: Add freshly chopped dill for a vibrant, herbaceous kick.
Storage Instructions
- Refrigerator: Store leftover pinwheels in an airtight container for up to 3 days.
- Make-Ahead: Prepare the rolls in advance, wrap tightly, and slice just before serving to maintain freshness.
Frequently Asked Questions
Can I Make These Gluten-Free?
Yes! Simply use gluten-free tortillas to make this recipe suitable for gluten-sensitive guests.
What Kind of Pickles Work Best?
Dill pickles are the star of this recipe, but feel free to experiment with spicy or garlic pickles for a flavor twist.
Can I Freeze Pinwheels?
While fresh is best, you can freeze the rolls before slicing. Wrap tightly in plastic wrap and aluminum foil, then freeze for up to 1 month. Thaw in the fridge before slicing.
Final Thoughts
These Dill Pickle Pinwheels are a tangy, creamy snack that’s sure to steal the show at your next gathering. Easy to make and packed with flavor, they’re a must-try for pickle lovers everywhere. Whip up a batch today and watch them disappear in no time!
Craving more dill pickle recipes? Check out my Dill Pickle Snack Mix or Dill Pickle Pasta Salad for more briny, bold flavors!
Ingredient Additions and Variations
This recipe is wonderfully versatile. Here are some fun ways to customize your Dill Pickle Pinwheels:
- Add Protein: Incorporate thinly sliced deli meat like turkey, ham, or roast beef for a heartier snack.
- Spicy Twist: Use spicy dill pickles or add a pinch of red pepper flakes to the filling for a kick of heat.
- Crunch Factor: Sprinkle in crushed potato chips or crispy bacon bits for an extra layer of texture.
- Vegetarian Boost: Include shredded carrots, diced bell peppers, or spinach leaves for added color and nutrients.
Fun Serving Ideas
Take your pinwheels up a notch with these creative serving ideas:
- Charcuterie Board: Arrange pinwheels on a charcuterie board alongside cured meats, cheeses, and fresh fruits.
- Lunchbox Favorite: Pack these pinwheels in lunchboxes with a side of fresh veggies and a small dip container.
- Picnic Perfect: Layer them in a portable container for a grab-and-go snack during outdoor adventures.
Pro Tips for Rolling Perfect Pinwheels
- Softened Cream Cheese: Ensure your cream cheese is fully softened for a smooth, spreadable consistency.
- Roll Tightly: A snug roll prevents the filling from spilling out when slicing.
- Trim the Ends: Cut off the uneven edges of the roll before slicing for uniform pinwheels.
Nutritional Information (Approx. per 2 pinwheels):
- Calories: 120
- Protein: 3g
- Fat: 8g
- Carbohydrates: 9g
- Fiber: 1g
If you try this recipe, don’t forget to share your photos on Pinterest or tag me on social media—I’d love to see your creations! 🌿🥒