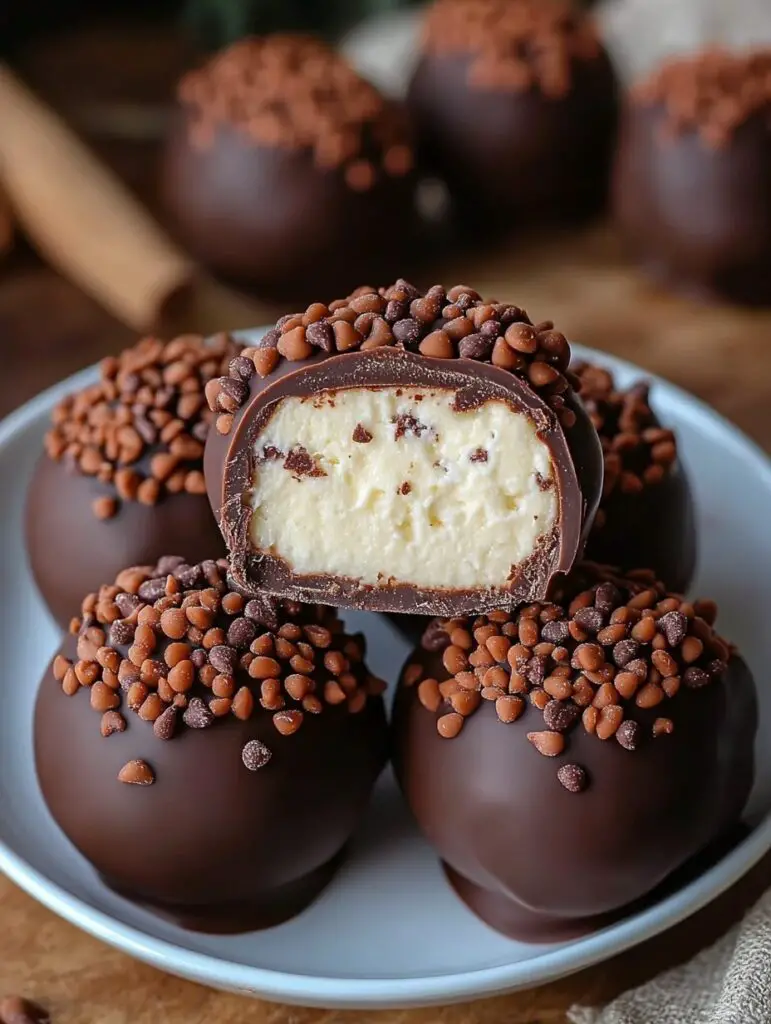
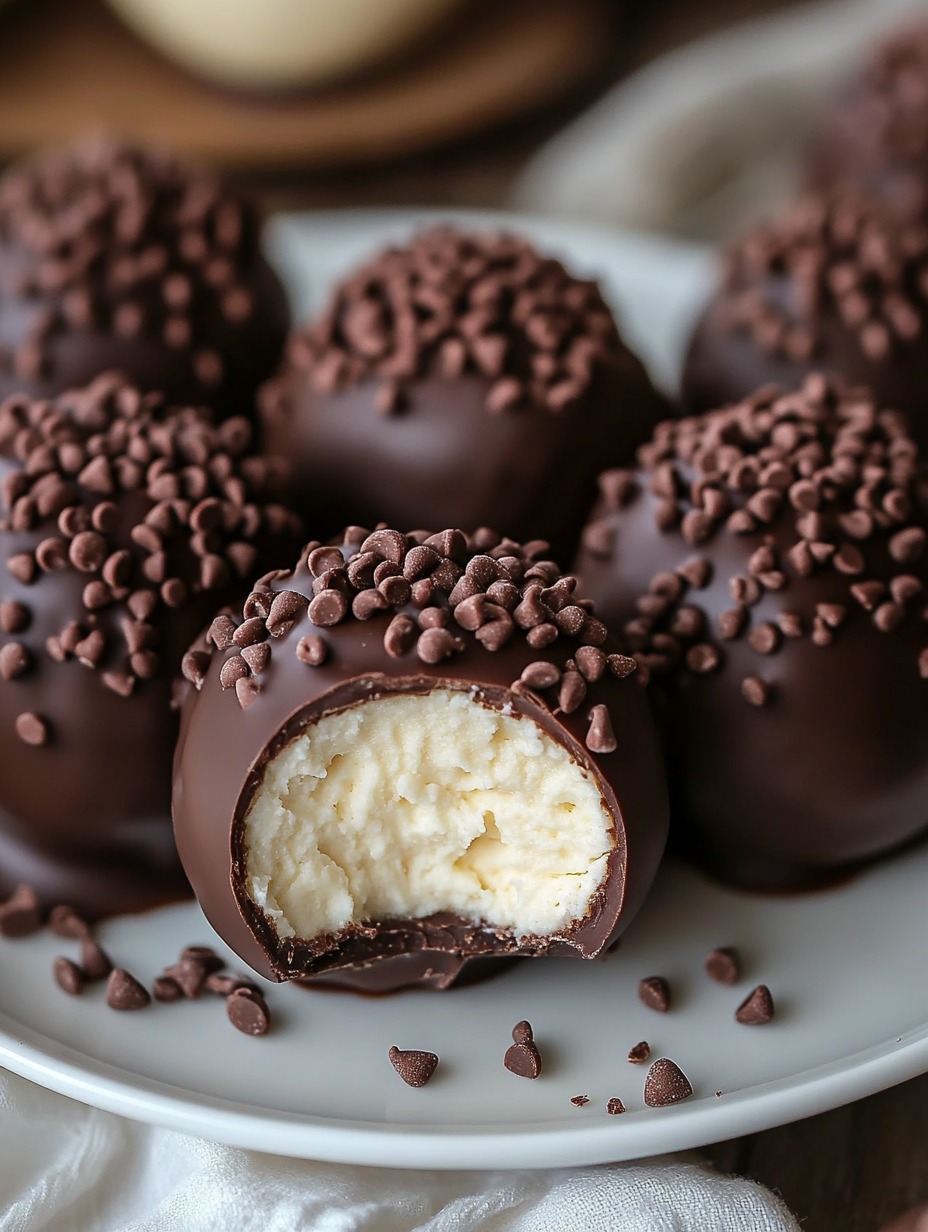
There’s something magical about combining creamy cheesecake with a chocolatey shell. These Chocolate Covered Cheesecake Balls are bite-sized treats that bring indulgence and joy to every bite. Whether you’re looking for a quick dessert, a party snack, or a fun homemade gift, these little bites are easy to make, decadent, and undeniably addictive!
Let’s dive into this no-bake dessert recipe that’s bound to become your new favorite. Ready? Let’s roll! 🍫🧁
Why You’ll Love These Cheesecake Balls
- Easy and No-Bake: No need to heat up the oven—just mix, roll, and coat!
- Perfect for Any Occasion: Great for parties, holidays, or simply treating yourself.
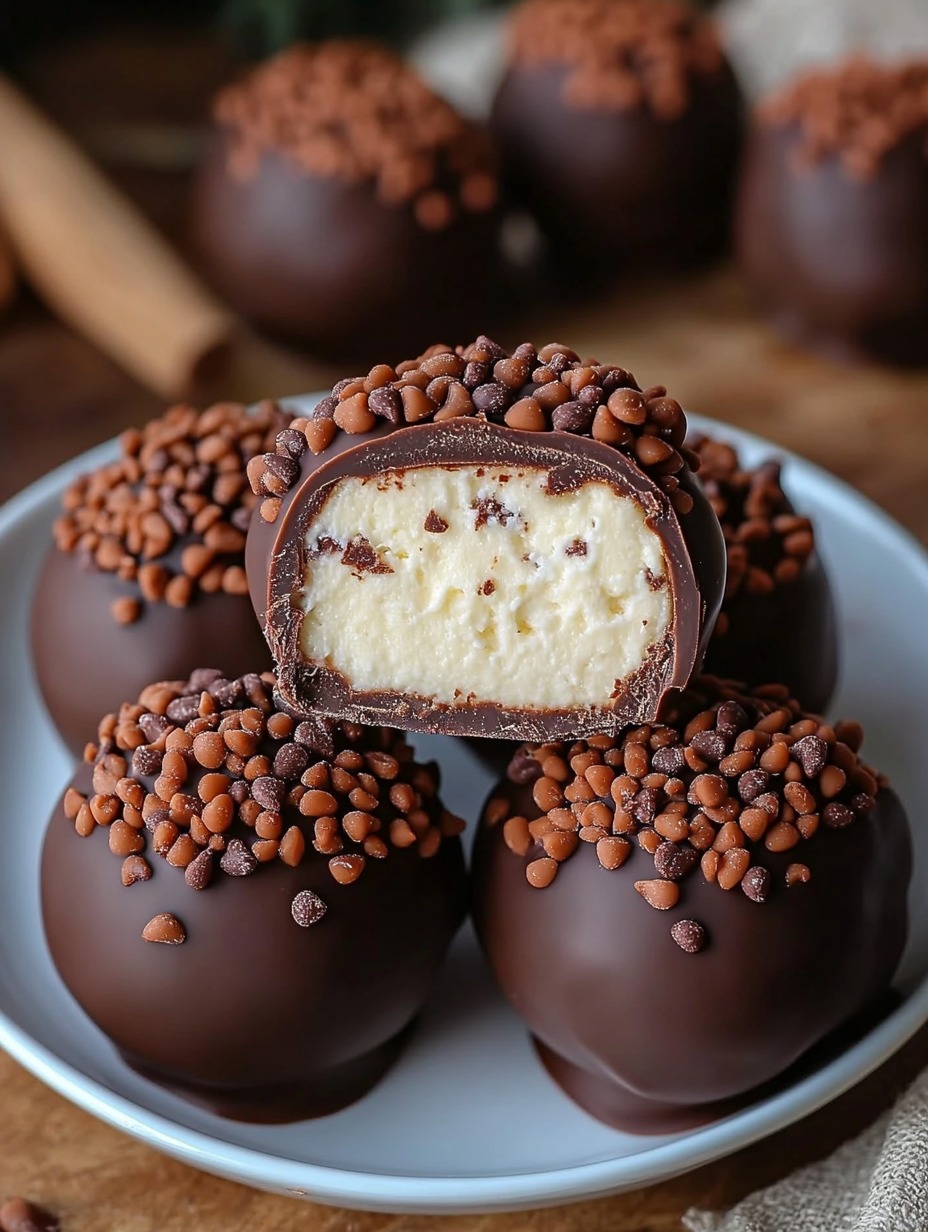
- Rich and Creamy: The cheesecake filling is velvety smooth, while the chocolate coating adds a delightful crunch.
- Customizable: Add fun toppings like sprinkles, crushed graham crackers, or mini chocolate chips to make them your own.
What Do They Taste Like?
These cheesecake balls are the perfect blend of creamy and sweet. The smooth cream cheese filling melts in your mouth, complemented by the crunch of the chocolate coating. Imagine a bite of rich cheesecake wrapped in silky chocolate—absolutely dreamy!
Benefits of These Cheesecake Balls
- Quick Prep: They only take 15 minutes to make!
- Kid-Friendly: Fun for little hands to help roll and decorate.
- Make Ahead: Perfect for prepping a day or two ahead for stress-free entertaining.
- No Oven Required: A great dessert for summer or when you’re short on time.
Ingredients You’ll Need
For the Cheesecake Balls
- 8 oz cream cheese, softened 🧀
- 1 cup powdered sugar 🍬
- 1 ½ cups graham cracker crumbs 🍪
- 1 tsp vanilla extract 🍦
For the Chocolate Coating
- 1 ½ cups semi-sweet chocolate chips 🍫
- 2 tbsp coconut oil 🥥 (or butter)
Optional Toppings
- Crushed graham crackers 🍪
- Sprinkles 🌈
- Mini chocolate chips 🍫
Tools You’ll Need
- Mixing bowl 🥣
- Hand mixer or stand mixer 🧁
- Parchment paper 🍃
- Baking sheet 🧑🍳
- Fork or skewer 🍴
- Microwave-safe bowl 🔥
Step-by-Step Instructions
1. Prepare the Cheesecake Filling
- In a medium bowl, beat the softened cream cheese with powdered sugar until smooth. 🎂
- Add in the graham cracker crumbs and vanilla extract, mixing until fully combined. 🍥
2. Form the Cheesecake Balls
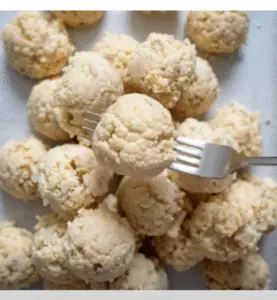
- Roll the mixture into bite-sized balls (about 1 inch in diameter). You should get about 12-15 balls. 🏀
- Place the balls on a parchment-lined baking sheet and refrigerate for at least 30 minutes to firm up. ❄️
3. Prepare the Chocolate Coating
- In a microwave-safe bowl, melt the chocolate chips and coconut oil (or butter) in 30-second intervals, stirring in between until smooth. 🔥
4. Coat the Cheesecake Balls
- Using a fork or skewer, dip each cheesecake ball into the melted chocolate, ensuring it’s fully coated. 🥄
- Place the coated balls back onto the parchment-lined sheet. 🌟
5. Add Optional Toppings
- While the chocolate is still soft, sprinkle with crushed graham crackers, mini chocolate chips, or colorful sprinkles for an extra touch of flair. 🌸
6. Chill and Serve
- Refrigerate the chocolate-covered cheesecake balls for another 30 minutes to allow the chocolate to harden. 🍧
- Serve chilled and enjoy these delicious, creamy bites! 🧁
What to Serve with Chocolate Covered Cheesecake Balls
These delightful treats pair beautifully with:
- Fresh berries (strawberries, raspberries, or blueberries) 🍓
- A cup of hot coffee or iced latte ☕
- Vanilla ice cream for an extra indulgent dessert combo 🍨
- Sparkling wine or dessert cocktails 🍷 for a fancy flair
Tips for Making Perfect Cheesecake Balls
- Soften the Cream Cheese: Let it sit at room temperature for 30 minutes so it mixes smoothly.
- Chill Before Coating: Make sure the cheesecake balls are firm before dipping them into the chocolate to prevent them from falling apart.
- Work Quickly with the Chocolate: Melted chocolate can harden as it cools, so coat the balls quickly and efficiently.
- Customize: Get creative with toppings! Crushed nuts, shredded coconut, or even a drizzle of white chocolate can make these even more special.
How to Store Cheesecake Balls
- Refrigerator: Store in an airtight container in the fridge for up to 5 days.
- Freezer: These freeze beautifully! Place them in a single layer in an airtight container and freeze for up to 2 months. Thaw in the fridge before serving.
Frequently Asked Questions (FAQs)
1. Can I use white chocolate instead of semi-sweet chocolate?
Absolutely! White chocolate will give these treats a sweeter, creamier finish.
2. How long do these cheesecake balls last?
They’ll keep fresh for 5 days in the fridge or 2 months in the freezer.
3. Can I make these in advance?
Yes! These are perfect for making ahead—just store them in the fridge or freezer until you’re ready to serve.
4. What if I don’t have coconut oil?
You can use melted butter or any neutral oil instead.
5. Can I make them gluten-free?
Yes! Use gluten-free graham cracker crumbs for a gluten-free version.
Final Thoughts: Simple, Sweet, and Irresistible
These Chocolate Covered Cheesecake Balls are the ultimate no-bake dessert—easy to make, irresistibly creamy, and customizable to suit any occasion. Perfect for a sweet treat, holiday dessert table, or DIY gifts, these little bites are bound to impress.
If you try this recipe, I’d love to hear how it turned out! Leave a review, share your creations on Pinterest, and let me know your favorite toppings. 🎉
More Recipes to Try
If you loved these cheesecake balls, you’ll enjoy these too:
- Strawberry Cheesecake Bites 🍓
- No-Bake Oreo Truffles 🍪
- Chocolate Peanut Butter Cups 🥜🍫
Nutritional Information (per serving, approx. 1 ball):
- Calories: 120
- Carbs: 15g
- Fat: 7g
- Protein: 2g
Creative Variations for Cheesecake Balls
Want to take your Chocolate Covered Cheesecake Balls to the next level? Here are a few fun variations to try:
- Red Velvet Cheesecake Balls: Add 2 teaspoons of cocoa powder and a few drops of red food coloring to the cheesecake mixture for a vibrant red velvet twist.
- Salted Caramel Drizzle: After the chocolate coating hardens, drizzle salted caramel over the top for a sweet-and-salty combo.
- Peppermint Bark Cheesecake Balls: Mix crushed peppermint candies into the cheesecake filling or sprinkle them on top for a festive holiday treat.
- Espresso Infusion: Add 1 teaspoon of instant espresso powder to the cheesecake mixture for a mocha-inspired dessert.
- Nut Lovers’ Delight: Roll the cheesecake balls in finely chopped nuts, like pecans or almonds, before coating them in chocolate.
Kid-Friendly Cheesecake Ball Decorating Party
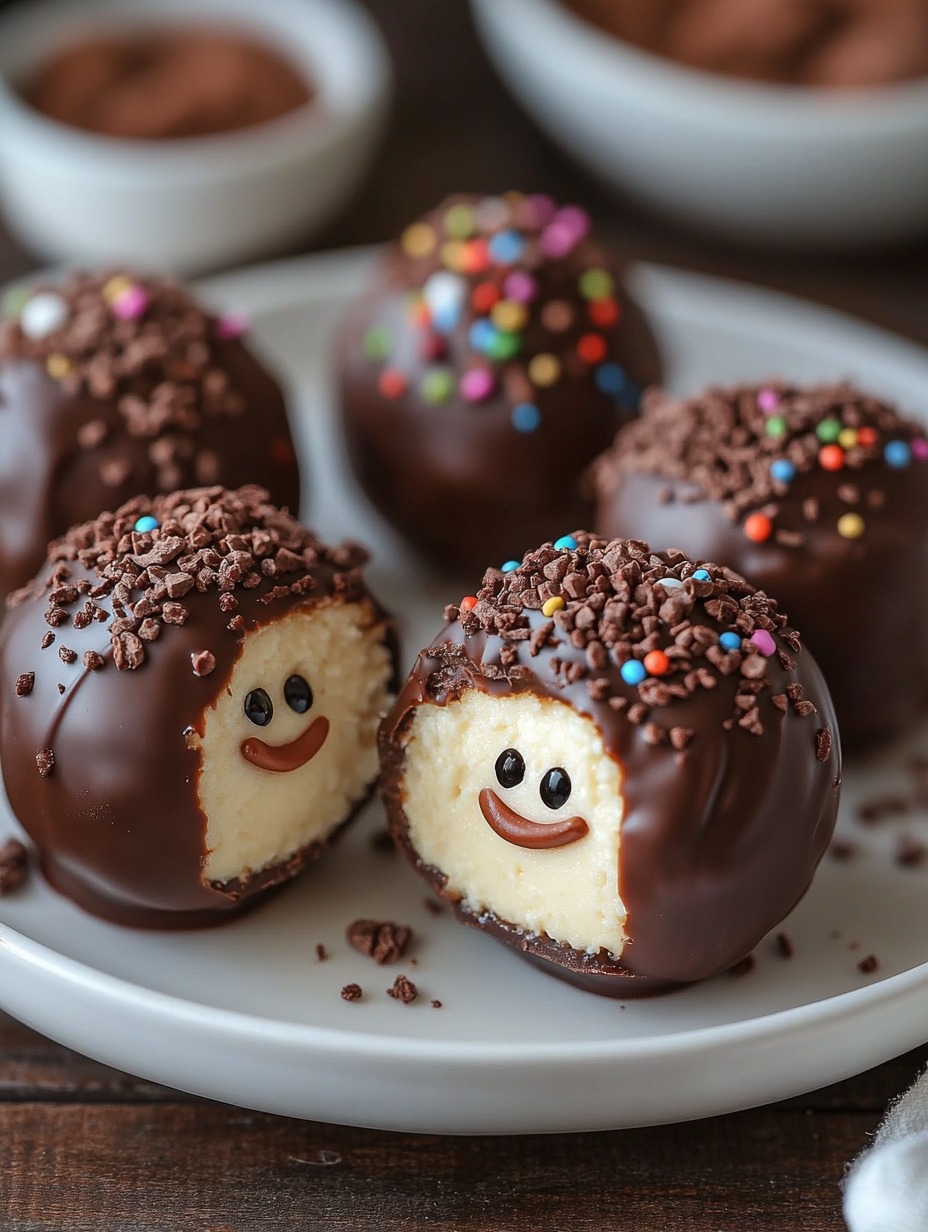
These cheesecake balls are perfect for a fun, interactive activity with kids! Set up a decorating station with bowls of toppings like sprinkles, mini M&Ms, shredded coconut, and colorful sugar crystals. Let the kids dip their cheesecake balls in chocolate and go wild with decorations. It’s a guaranteed hit for birthday parties or a fun weekend activity.
How to Gift Cheesecake Balls
These cheesecake balls make adorable and thoughtful homemade gifts. Here’s how to package them beautifully:
- Place each cheesecake ball in a small cupcake liner to keep them separate.
- Arrange them in a festive tin or a clear box tied with ribbon.
- Include a handwritten note with the recipe for an extra personal touch.
These are perfect for holidays, thank-you gifts, or even wedding favors!
How to Scale Up for a Crowd
Hosting a party or event? This recipe is super easy to scale!
- Double or Triple the Recipe: Use a larger mixing bowl and adjust the ingredient quantities proportionally.
- Use Multiple Baking Sheets: Line extra trays with parchment paper to accommodate more cheesecake balls.
- Batch Melt Chocolate: Melt larger quantities of chocolate in a double boiler to keep it warm and smooth while coating multiple batches.
Cheesecake Balls for Every Season
These versatile treats can be adapted to fit any seasonal theme or holiday. Here are a few ideas:
- Spring: Add pastel-colored sprinkles or a drizzle of white chocolate dyed with food coloring. Perfect for Easter or Mother’s Day. 🌸
- Summer: Incorporate fresh zest (like lemon or lime) into the cheesecake filling for a refreshing twist. 🍋
- Fall: Mix in a dash of cinnamon and nutmeg, then top with crushed pecans for a warm, spiced flavor. 🍂
- Winter: Use crushed candy canes as a topping or drizzle with white chocolate for a snow-dusted effect. ❄️
No matter the season, these cheesecake balls can be tailored to match the vibe!
Pairing Ideas: Elevate Your Dessert Experience
While these cheesecake balls are amazing on their own, pairing them with complementary treats can create a truly indulgent dessert spread. Here are a few ideas:
- A Dessert Platter: Pair with chocolate-dipped strawberries, macarons, and mini brownies for a show-stopping display.
- Coffee Pairings: Serve alongside espresso or flavored coffee, such as hazelnut or caramel.
- Wine Pairings: Enjoy with a glass of port, a sweet Riesling, or a sparkling Moscato.
- DIY Cheesecake Sundaes: Serve the cheesecake balls with a side of whipped cream, caramel sauce, and crushed cookies for a build-your-own sundae experience.
Troubleshooting Tips
While this recipe is simple, a few common issues can pop up. Here’s how to handle them:
- Mixture Too Soft to Roll: If your cheesecake filling is too sticky or soft, refrigerate it for an additional 15-20 minutes before rolling.
- Chocolate Coating Clumps: Ensure the chocolate is fully melted and smooth. If it starts to harden while dipping, pop it back in the microwave for 10-15 seconds.
- Balls Falling Apart in Chocolate: Firm up the cheesecake balls in the freezer for 10 minutes before dipping to prevent them from breaking.
Healthier Swaps
If you’re looking to make these cheesecake balls a bit lighter, here are some easy substitutions:
- Use reduced-fat cream cheese for the filling.
- Replace powdered sugar with a sugar-free alternative like powdered erythritol.
- Use dark chocolate chips for the coating, as they’re lower in sugar and higher in antioxidants.
- Skip the toppings or opt for crushed nuts for added nutrition.
These swaps make it possible to indulge without the guilt!
Behind the Scenes: Why This Recipe Works
Let’s break down the magic of these cheesecake balls:
- Cream Cheese + Powdered Sugar: Creates a sweet, creamy base that’s easy to work with and holds its shape.
- Graham Cracker Crumbs: Adds texture and that signature cheesecake flavor.
- Chocolate Coating: Balances the sweetness of the filling with a rich, slightly bitter contrast.
- Chilling Time: Ensures the balls are firm enough to handle and the chocolate sets perfectly.
Every element of this recipe has been carefully designed for ease, taste, and texture. You’ll never go wrong following these steps!
Did You Know? Fun Cheesecake Facts
- The earliest known cheesecake recipes date back to ancient Greece, where it was served to athletes during the first Olympic Games.
- Cheesecake isn’t technically a “cake” but rather a type of custard pie or tart.
- In the U.S., New York-style cheesecake is the most iconic variation, but there are countless regional and international styles, including Japanese “soufflé” cheesecake and Italian ricotta-based cheesecake.
Now you’re not just enjoying cheesecake balls—you’re indulging in a treat with a rich history!
Happy snacking, friends! 🎂✨
Chocolate Covered Cheesecake Balls
Ingredients
- 8 oz cream cheese, softened Let it sit at room temperature for easy mixing.
- 1 cup powdered sugar
- 1.5 cups graham cracker crumbs
- 1 tsp vanilla extract
- 1.5 cups semi-sweet chocolate chips Can substitute with white chocolate.
- 2 tbsp coconut oil Can also use butter.
- Crushed graham crackers
- Sprinkles
- Mini chocolate chips
Method
- In a medium bowl, beat the softened cream cheese with powdered sugar until smooth.
- Add in the graham cracker crumbs and vanilla extract, mixing until fully combined.
- Roll the mixture into bite-sized balls (about 1 inch in diameter). You should get about 12-15 balls.
- Place the balls on a parchment-lined baking sheet and refrigerate for at least 30 minutes to firm up.
- In a microwave-safe bowl, melt the chocolate chips and coconut oil (or butter) in 30-second intervals, stirring in between until smooth.
- Using a fork or skewer, dip each cheesecake ball into the melted chocolate, ensuring it’s fully coated.
- Place the coated balls back onto the parchment-lined sheet.
- While the chocolate is still soft, sprinkle with crushed graham crackers, mini chocolate chips, or colorful sprinkles for an extra touch of flair.
- Refrigerate the chocolate-covered cheesecake balls for another 30 minutes to allow the chocolate to harden.
- Serve chilled and enjoy these delicious, creamy bites!

