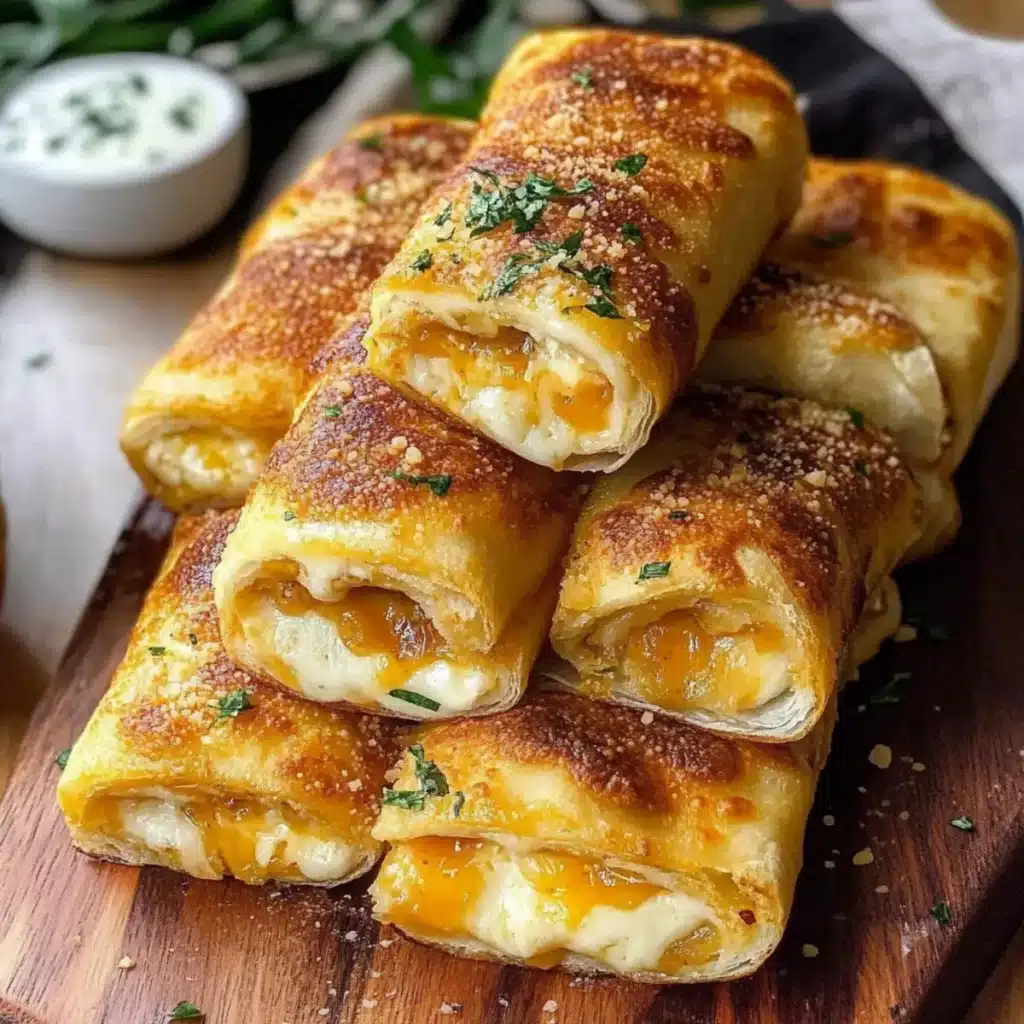
The bubbling warmth of melted cheese mingling with the rich aroma of garlic can instantly transform any gathering into a cozy celebration, don’t you think? That’s exactly what you’ll experience with these Cheesy Garlic Butter Rollups! After a long week of takeout and repetitive snacks, I found myself craving something comforting yet effortless. That’s when this delightful recipe came to life, offering a punch of flavor all wrapped up in a crispy, golden exterior.
Whip these up in just 25 minutes for your next game night or movie marathon, and watch smiles light up as everyone digs into these gooey treasures. Plus, the beauty of this recipe lies in its versatility: whether you prefer mozzarella, cheddar, or even a spicy pepper jack, the choice is yours! You’ll find that these rollups are not just a crowd-pleaser but also a fun treat that can easily be made ahead of time. So, let’s dive into this simple, vegetarian-friendly recipe that promises to elevate your appetizer game!

Why are Cheesy Garlic Butter Rollups a Must-Try?
Flavor Explosion: The rich combination of gooey cheese and fragrant garlic creates an irresistible flavor that’ll have everyone coming back for more.
Quick & Easy: In just 25 minutes, you can whip these up, making them the perfect solution for impromptu gatherings or movie nights.
Versatile Options: Choose your favorite cheeses or even add veggies for a personalized twist that caters to every palate.
Make-Ahead Magic: Prep these rollups in advance and simply pop them in the oven whenever you need a delicious snack.
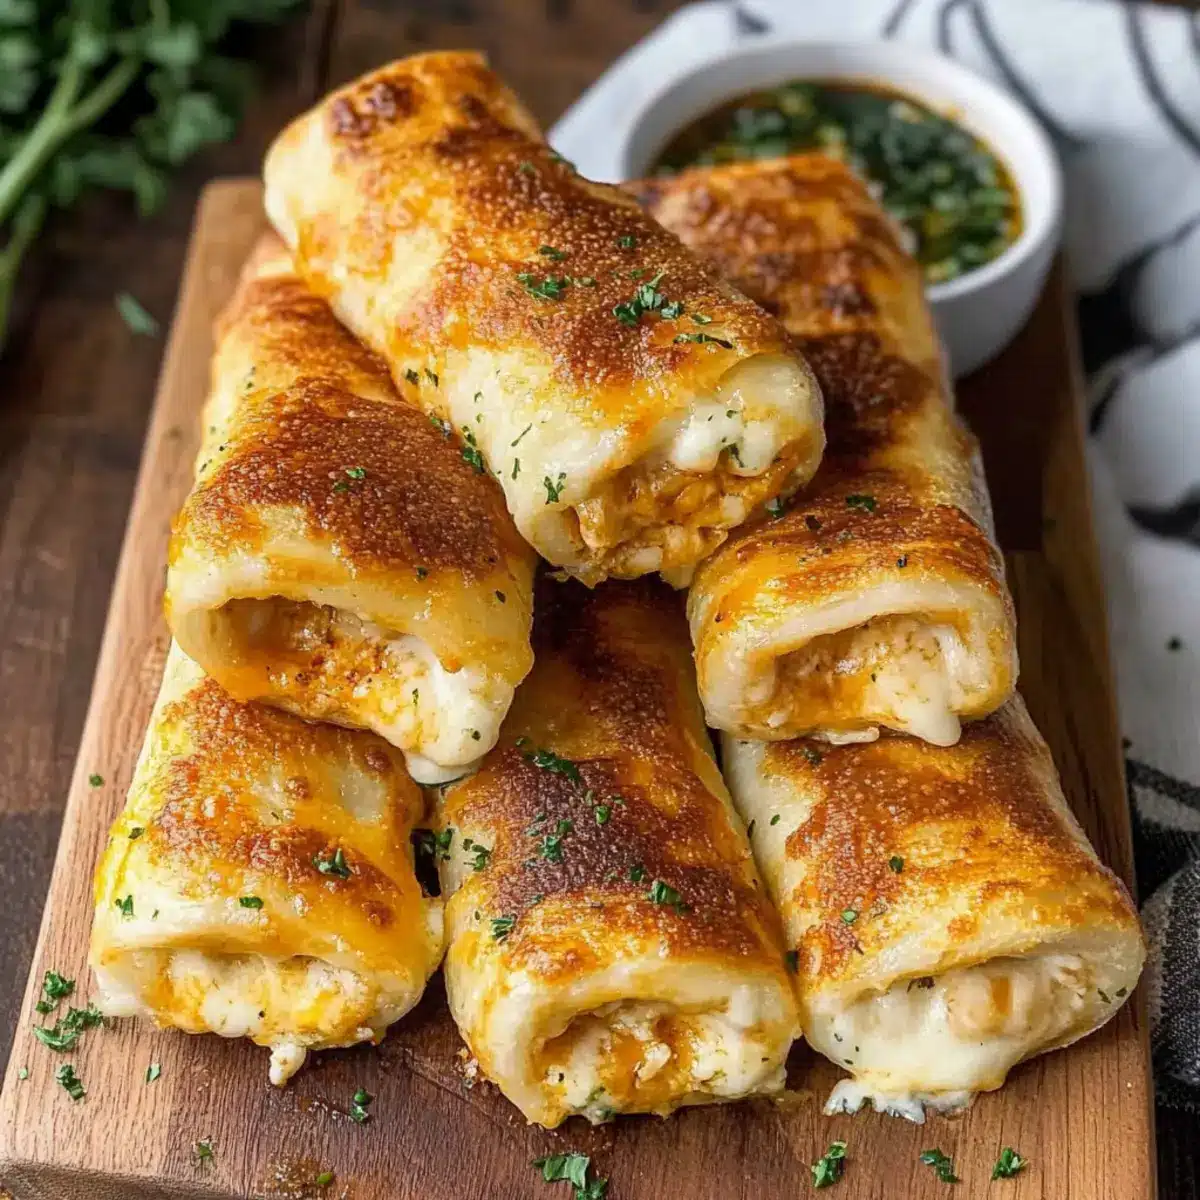
Crowd-Pleaser: With their crispy exterior and melty interior, these rollups are bound to impress guests of all ages, making them a staple at any event!
Cheesy Garlic Butter Rollups Ingredients
Delve into the deliciousness of these Cheesy Garlic Butter Rollups with this curated list of ingredients!
For the Rollups
- Bread – Soft white or whole wheat sandwich bread works best for easy rolling.
- Mozzarella Cheese – Shredded for its perfect gooey melt.
- Cheddar Cheese – Adds a sharp and tangy flavor to balance the richness.
- Parmesan Cheese – Optional but recommended for an extra umami boost!
For the Garlic Butter Mixture
- Unsalted Butter – Melted to infuse richness into the rollups.
- Garlic – Minced for that fresh, aromatic punch.
- Garlic Powder – A sprinkle enhances the garlic flavor brilliantly.
- Parsley – Chopped fresh or dried to add a touch of color and freshness.
- Salt – A little goes a long way in enhancing all the flavors.
Dipping Sauces (Optional)
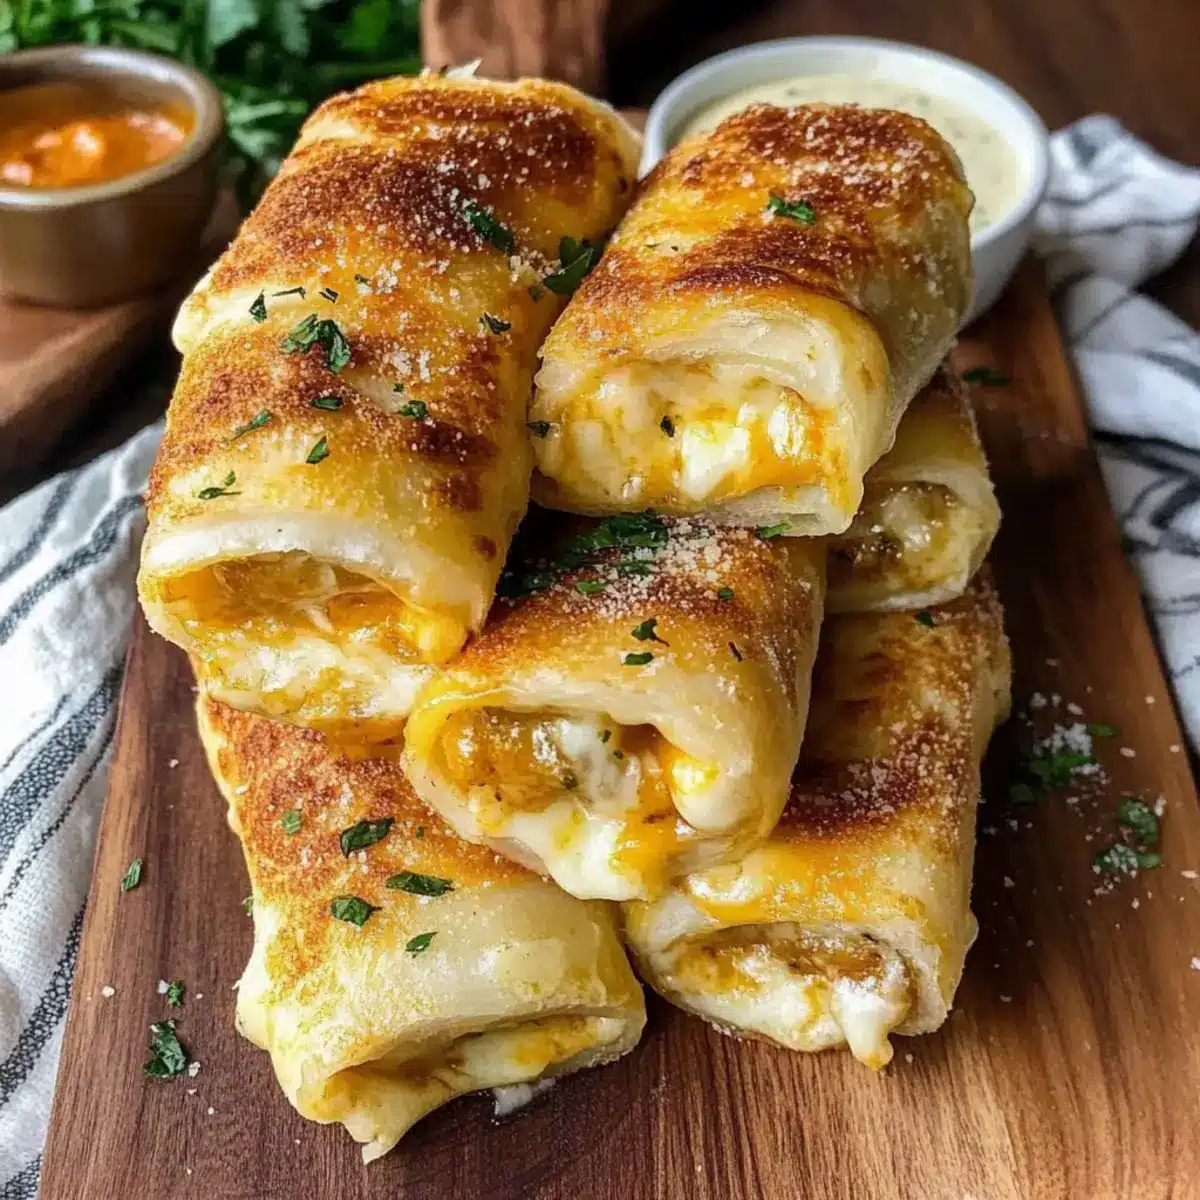
- Marinara – A classic choice that complements the flavors beautifully.
- Garlic Herb Sauce – Perfect for garlic lovers seeking an extra layer of taste.
- Ranch – A crowd favorite that pairs well with the rollups.
- Spicy Ketchup – For a zesty kick that will tantalize your taste buds!
With these ingredients at hand, you’re well on your way to creating the ultimate comfort snack, perfect for any occasion. Happy cooking!
How to Make Cheesy Garlic Butter Rollups
- Preheat the oven to 375°F (190°C). Line a baking sheet with parchment paper to prevent sticking and facilitate easy cleanup.
- Flatten each slice of bread using a rolling pin. This step makes rolling the bread easier and helps create a nice crispy texture later.
- Sprinkle shredded mozzarella and cheddar evenly across the bottom third of each bread slice. This generous layer ensures a gooey, cheesy center when baked.
- Roll each slice tightly from the cheese side up to form a log. Use melted butter at the ends to seal the rollups securely and keep the cheese inside.
- Mix together melted butter, minced garlic, garlic powder, parsley, and salt in a bowl. Brush this delicious garlic butter mixture generously on each rollup to infuse flavor.
- Place the rollups seam-side down on the prepared baking sheet. Bake for 12-15 minutes or until they are golden brown and irresistibly crispy.
- Air Fry as an alternative by preheating your air fryer to 360°F (180°C) and cooking the rollups for 8-10 minutes, flipping them halfway through for even cooking.
- Cool for a minute before serving. Enjoy these cheesy rollups with your favorite dipping sauce for a delightful experience.
Optional: Garnish with extra parsley for a pop of color before serving.
Exact quantities are listed in the recipe card below.
How to Store and Freeze Cheesy Garlic Butter Rollups
Fridge: Store leftover rollups in an airtight container for up to 3 days. This keeps them fresh while preserving their cheesy goodness.
Freezer: For longer storage, freeze assembled rollups before baking. Wrap each tightly in plastic wrap and store in a freezer-safe bag for up to 2 months.
Reheating: To reheat, bake frozen rollups at 375°F (190°C) for about 15-20 minutes until heated through and crispy. For refrigerated rollups, reheat in the oven until golden.
Make-Ahead: You can prepare the rollups a few hours in advance and refrigerate them, making it easy to bake before serving at your next gathering.
Expert Tips for Cheesy Garlic Butter Rollups
- Even Flattening: Ensure the bread is rolled out uniformly to maintain the crispy texture, avoiding any soggy spots.
- Cheese Variety: Don’t hesitate to try different cheese blends like provolone or pepper jack for a unique twist on your Cheesy Garlic Butter Rollups.
- Perfect Sealing: Use enough melted butter to seal the ends of the rollup tightly; this prevents any cheesy leakage while baking.
- Reheating Method: For leftover rollups, reheat them in the oven or air fryer rather than the microwave to keep their crispy edges intact.
- Cooling Time: Allow rollups to cool for a minute before serving to ensure that the cheese doesn’t spill out when bitten into.
What to Serve with Cheesy Garlic Butter Rollups?
The delightful aroma of baked rollups calls for the perfect companions to elevate your dining experience.
- Tomato Soup: A warm bowl of tomato soup creates a classic pairing, reminiscent of grilled cheese and comfort that’s sure to satisfy.
- Garlic Herb Dip: A creamy dip bursting with fresh herbs enhances the garlic flavor, providing an indulgent contrast to the crispy exterior.
- Mixed Green Salad: Crisp greens tossed with a light vinaigrette add a refreshing touch, balancing the richness of the rollups.
- Roasted Vegetables: Caramelized veggies bring earthiness and color to the table, complementing the cheesy goodness beautifully.
- Marinara Sauce: Serve alongside marinara for a tangy twist that perfectly matches the rollups’ cheesy interior, perfect for dipping!
- Spicy Ketchup: A zesty ketchup adds a delightful kick that excites the taste buds and contrasts the rich flavors of the rollups.
- Fruit Platter: A medley of fresh fruits like strawberries and grapes offers a sweet finish, cleansing the palate after cheesy indulgence.
Make Ahead Options
These Cheesy Garlic Butter Rollups are perfect for busy cooks looking to save time during hectic weeknights! You can assemble the rollups up to 24 hours in advance. Simply prepare them according to the recipe, then place the unbaked rollups on your baking sheet, cover them tightly with plastic wrap, and refrigerate. This helps to maintain their delicious texture and prevents them from getting soggy. When you’re ready to bake, remove the wrap, brush them with the garlic butter mixture, and pop them in the oven at 375°F (190°C) for 12-15 minutes. Enjoy the same gooey, comforting flavors with minimal effort!
Cheesy Garlic Butter Rollups Variations
Feel free to get creative with these rollups—tantalizing flavors and new textures await you!
- Whole Wheat: Substitute white bread with whole wheat for a heartier option that adds nutritional value.
- Gluten-Free: Use gluten-free bread to make this delicious recipe suitable for your gluten-sensitive friends.
- Spinach & Feta: Mix in sautéed spinach and crumbled feta cheese for a Mediterranean twist that’s both flavorful and fun.
- Pepper Jack: Swap in shredded pepper jack for a spicy kick that elevates the traditional flavor profile! Each bite will be a delightful surprise.
- Italian Herb Blend: Add dried Italian herbs to your garlic butter mixture for an aromatic boost that pairs beautifully with the cheesy filling.
- Caramelized Onions: Incorporate sweet, caramelized onions into the mix to lend a rich depth of flavor that complements the garlic and cheese perfectly.
- Sriracha Drizzle: Serve with a drizzle of Sriracha for those who love a spicy condiment to amp up the flavor in every bite.
With these variations, you’ll find endless possibilities to make your Cheesy Garlic Butter Rollups even more irresistible!
Cheesy Garlic Butter Rollups Recipe FAQs
How do I select the right bread for Cheesy Garlic Butter Rollups?
You can use soft white or whole wheat sandwich bread for the best texture. Make sure the bread is fresh and soft to make rolling easier. If you’re looking for alternatives, whole grain or gluten-free bread can also work well!
What’s the best way to store leftover Cheesy Garlic Butter Rollups?
Store your leftover rollups in an airtight container in the fridge for up to 3 days. This helps maintain their freshness and prevents any sogginess. When you want to enjoy them again, simply reheat in the oven or air fryer to restore that crispy goodness!
Can I freeze Cheesy Garlic Butter Rollups?
Absolutely! For freezing, tightly wrap each assembled rollup in plastic wrap and place them in a freezer-safe bag. They can be stored in the freezer for up to 2 months. When you’re ready to bake, no need to thaw; just pop them in the oven at 375°F (190°C) for about 15-20 minutes until crispy and heated through.
What if my rollups are leaking cheese during baking?
To prevent leakage, ensure you seal the rollups tightly with melted butter, especially at the seams. Additionally, make sure to roll them tightly from the cheese side. If some cheese does slip out, don’t worry—those crispy edges are just extra deliciousness waiting to happen!
Are Cheesy Garlic Butter Rollups safe for those with dietary restrictions?
These rollups are vegetarian-friendly, but be mindful of any cheese allergies and substitute with dairy-free cheese if needed. For gluten-sensitive individuals, opt for gluten-free bread. Always check ingredient labels to ensure everything fits your dietary needs!
Can I make Cheesy Garlic Butter Rollups in advance?
Yes, you certainly can! You can assemble the rollups a few hours ahead of time and refrigerate them before baking. This makes them an excellent choice for gatherings, allowing you to enjoy the fun without the kitchen fuss right before your guests arrive.

Irresistibly Gooey Cheesy Garlic Butter Rollups Everyone Loves
Ingredients
Equipment
Method
- Preheat the oven to 375°F (190°C). Line a baking sheet with parchment paper.
- Flatten each slice of bread using a rolling pin.
- Sprinkle shredded mozzarella and cheddar evenly across the bottom third of each bread slice.
- Roll each slice tightly from the cheese side up to form a log.
- Mix melted butter, minced garlic, garlic powder, parsley, and salt in a bowl. Brush this mixture on each rollup.
- Place the rollups seam-side down on the baking sheet. Bake for 12-15 minutes or until golden brown.
- Alternatively, air fry at 360°F (180°C) for 8-10 minutes, flipping halfway through.
- Cool for a minute before serving. Enjoy with your favorite dipping sauce.