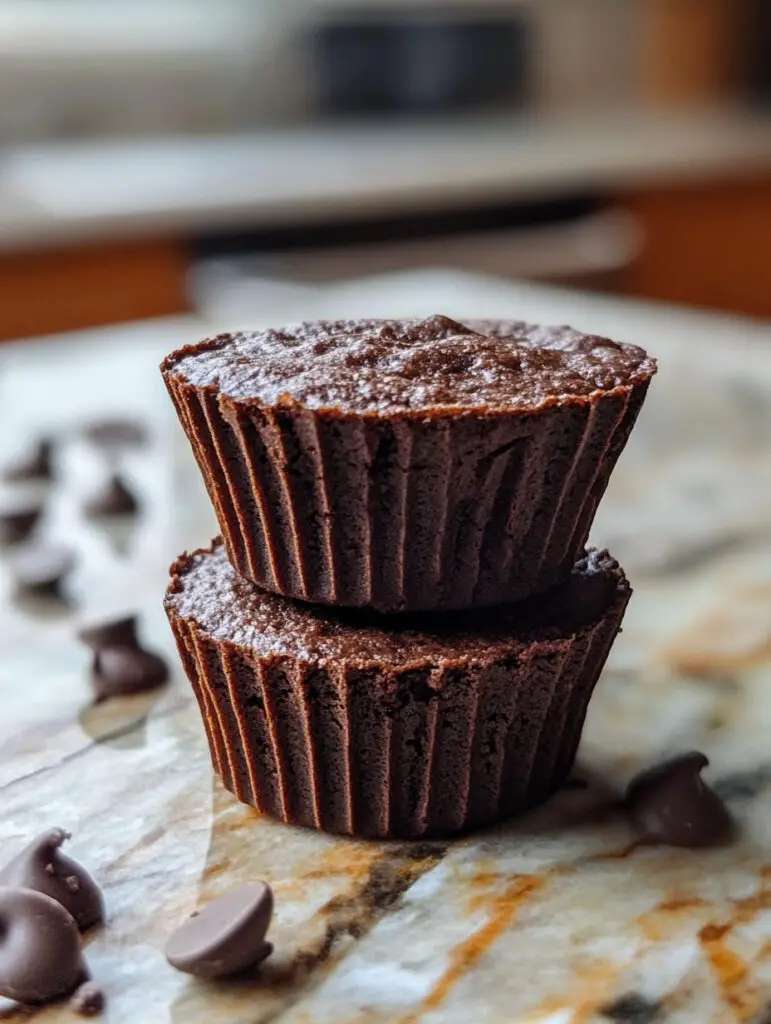
Muffin Pan Brownie Cups: The Perfect Bite-Sized Treat
Why You’ll Love Muffin Pan Brownie Cups
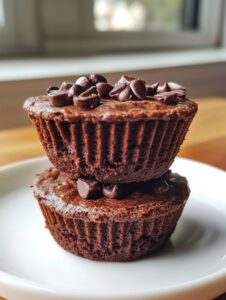
Muffin Pan Brownie Cups are more than just brownies—they’re a dessert experience!
- Perfect Texture: Each cup has crispy edges and a soft, chewy center.
- Portion Control: Individual servings make it easy to enjoy without overindulging.
- Kid-Friendly: Fun to bake and even more fun to eat—kids will love them!
- Versatile: Add your favorite mix-ins or toppings to customize every batch.
- Quick and Easy: Using a boxed brownie mix saves time while still delivering homemade-quality results.
Ingredients Of Muffin Pan Brownie Cups
- 2 boxes of brownie mix (18-20 oz each)
- 4 large eggs (add 1 extra for a chewier texture)
- Ingredients as per box instructions (usually oil and water)
- Nonstick cooking spray
Necessary Tools
- 24-cup muffin pan
- Large mixing bowl
- Whisk or spatula
- Toothpick (for testing doneness)
- Cooling rack
Ingredient Swaps and Additions
Swaps:
- Use gluten-free brownie mix to accommodate dietary restrictions.
- Additionally, replace vegetable oil with melted coconut oil or butter for a richer flavor profile.
Additions:
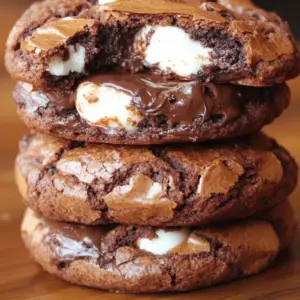
- Chocolate Chips: Moreover, add 1/2 cup of semisweet or white chocolate chips to the batter for extra richness.
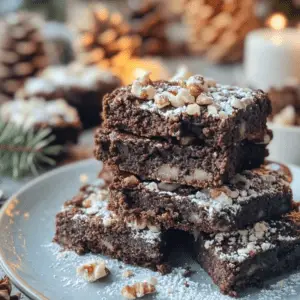
- Nuts: Then, mix in chopped walnuts or pecans for a crunchy texture.
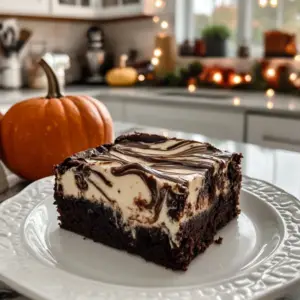
- Swirls: For an added layer of decadence, swirl in peanut butter, caramel, or cream cheese before baking for added decadence.
- Sprinkles: Finally, top each cup with sprinkles for a festive touch.
For more mouthwatering recipes, check out kitchen cents!
Step-by-Step Instructions – Muffin Pan Brownie Cups
1. Preheat the Oven
First, preheat your oven to 350°F (175°C). Grease the muffin pan generously with nonstick cooking spray to ensure the brownie cups release easily.
2. Prepare the Batter
Then, in a large mixing bowl, combine the brownie mix and the additional ingredients listed on the box. Add an extra egg to create a chewier texture. Stir until smooth and well combined.
3. Fill the Muffin Pan
Next, divide the batter evenly among the muffin cups, filling each about two-thirds full. Avoid overfilling to prevent overflow during baking.
4. Bake the Brownie Cups
Then, place the muffin pan in the preheated oven and bake for 18–22 minutes. Start checking for doneness at the 18-minute mark by inserting a toothpick into the center of a cup—it should come out with a few moist crumbs.
5. Cool and Remove
Moreover, allow the brownie cups to cool in the pan for 5 minutes. This helps them set and makes removal easier. Use a butter knife to gently loosen the edges and carefully transfer the cups to a wire rack to cool completely.
6. Serve and Enjoy
Finally, serve warm for a gooey center or let them cool for a firmer texture. Either way, they’re irresistible!
Pro Tips for Success Of Muffin Pan Brownie Cups
- Even Baking: Rotate the pan halfway through baking for uniform results.
- Nonstick Solution: Additionally, if you’re concerned about sticking, line the muffin cups with paper liners for easy removal.
- Avoid Overbaking: Moreover, since brownie cups can dry out quickly, remove them from the oven as soon as the toothpick test indicates doneness.
- Cleanup Tip: Finally, for hassle-free cleanup and easy release, use a silicone muffin pan, which also minimizes sticking.
Serving Suggestions
- With Ice Cream: Top with a scoop of vanilla or chocolate ice cream for the ultimate dessert.
- Drizzled Toppings: Moreover, add chocolate syrup, caramel sauce, or a dusting of powdered sugar.
- Holiday Treats: Also, you can decorate with red and green sprinkles for Christmas or pastel icing for Easter.
- Dessert Platter: Pair with cookies, cupcakes, and other bite-sized treats for a party.
Storing and Reheating
- Room Temperature: To begin with, store the brownie cups in an airtight container to maintain freshness for up to 3 days.
- Refrigerator: Additionally, you can keep them in the fridge for up to a week; however, note that the texture might become slightly firmer.
- Freezer: Also, freeze brownie cups individually wrapped in plastic wrap and placed in a freezer-safe bag for up to 3 months.
- Reheating: Microwave for 10–15 seconds to restore gooeyness before serving.
Nutritional Information
Per brownie cup (24 servings):
- Calories: ~130
- Protein: 2g
- Carbohydrates: 22g
- Fat: 5g
- Sugar: 10g
FAQs
Can I use homemade brownie batter instead of boxed mix?
Absolutely! Prepare a thick brownie batter using your favorite recipe and follow the same instructions for baking.
How do I prevent sticking?
Generously grease the muffin pan or use paper liners for easy release.
Can I make mini brownie cups?
Yes! Use a mini muffin pan and reduce the baking time to 10–12 minutes.
Can I add frosting to these brownie cups?
Definitely! Chocolate ganache, buttercream, or cream cheese frosting would all be delicious.
What’s the best way to cut down on sweetness?
Opt for dark chocolate brownie mix or reduce the sugar in a homemade recipe for a less sweet version.
Conclusion
Muffin Pan Brownie Cups are undoubtedly the perfect solution for anyone who loves brownies but also appreciates the convenience of individual servings. Furthermore, they are ideal for any occasion, whether you’re baking for a crowd, preparing a sweet surprise for loved ones, or simply indulging in a well-deserved treat for yourself. Not only are these bite-sized desserts incredibly easy to make, but they’re also highly customizable, allowing you to add your favorite flavors and toppings for a personal touch. In addition, their rich, gooey chocolate goodness combined with the irresistible crisp edges ensures every bite is utterly satisfying. So, why wait? Try them today and discover the joy of a dessert that’s as versatile as it is delicious!
For another decadent treat that combines the richness of brownies with the irresistible crunch of pecans, check out Brownie Pecan Pie: The Ultimate Dessert Mashup!

