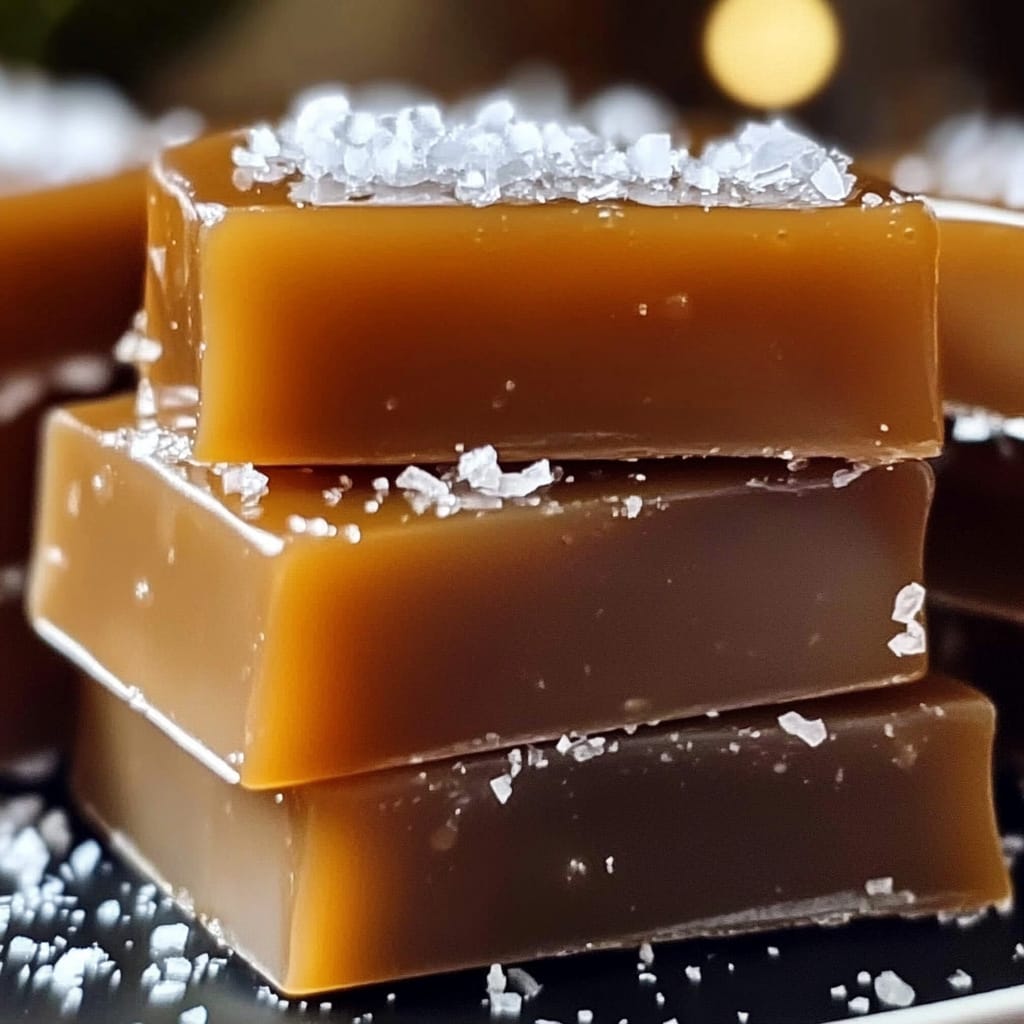
Nothing says “holiday magic” quite like the sweet, buttery taste of homemade caramels. These melt-in-your-mouth treats are incredibly satisfying and are a perfect gift idea, a beautiful addition to holiday gatherings, or simply a delightful treat to savor by yourself! This recipe for Homemade Christmas Caramels is foolproof and brings together the rich flavors of brown sugar, butter, and a hint of vanilla for an unforgettable, classic holiday treat.
Before We Dive In…
If you’re here for festive recipes like this, consider subscribing to my newsletter for exclusive, delicious recipes straight to your inbox. 🎅 Let’s make this holiday season even sweeter together!
Why You’ll Love These Christmas Caramels
1. Rich and Creamy Flavor
With a blend of brown sugar, butter, and sweetened condensed milk, these caramels deliver a rich, creamy sweetness that lingers. Each piece is a perfect balance of buttery and sweet, without being overly sugary.
2. Perfect Texture
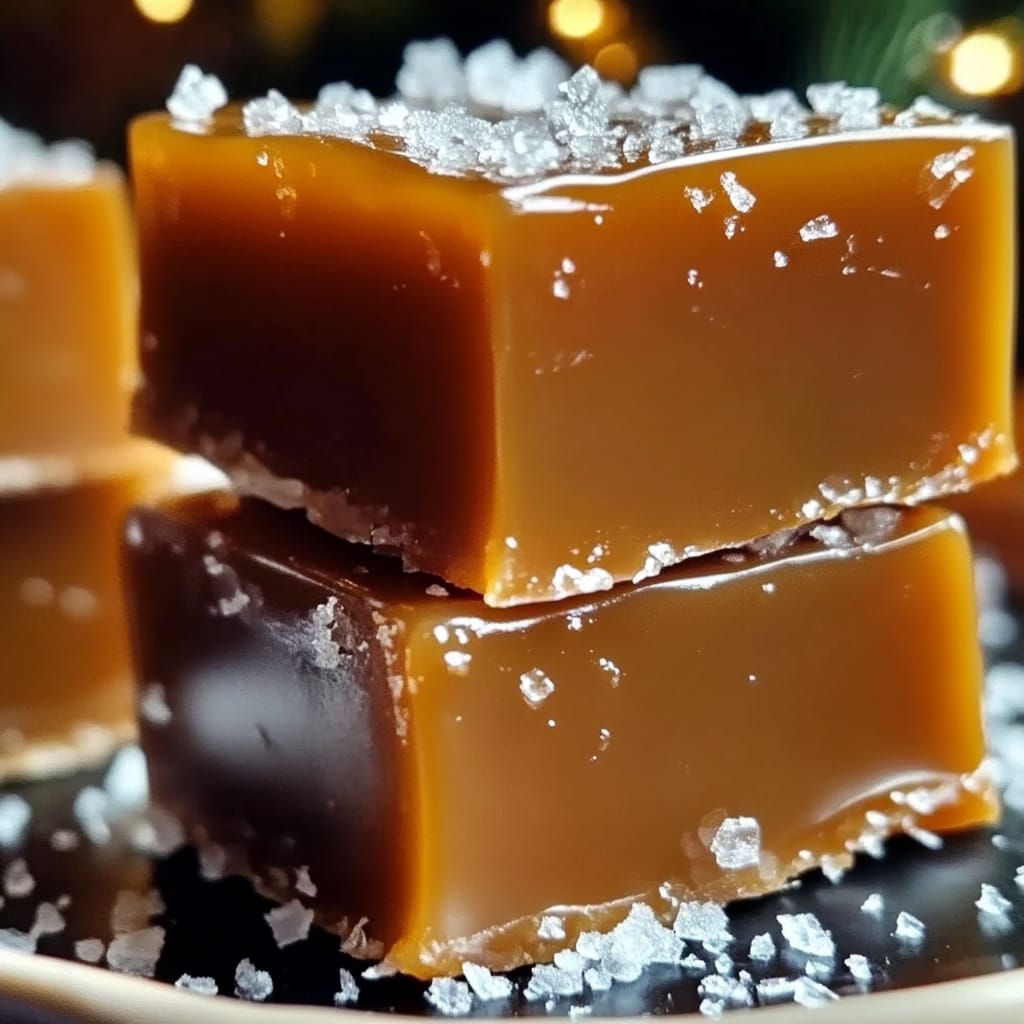
The texture is what sets homemade caramels apart from store-bought ones. These caramels are soft yet hold their shape, chewy but not sticky, and melt in your mouth with every bite.
3. Versatile & Easy to Customize
Want a hint of saltiness? Sprinkle sea salt on top! Feel like adding a twist? These caramels can also be infused with a hint of cinnamon or a splash of bourbon for an extra holiday kick.
Ingredients for Homemade Christmas Caramels
- 1 cup unsalted butter
- 2 1/4 cups packed brown sugar
- 1 cup light corn syrup
- 1 (14 oz) can sweetened condensed milk
- 1 tsp vanilla extract
- 1/4 tsp salt
- Optional: Sea salt for sprinkling on top
Note: Using a candy thermometer is key to achieving the perfect consistency. Make sure to have it on hand before you start!
Tools You’ll Need
- Heavy-bottomed saucepan
- Candy thermometer
- 8×8 inch baking pan
- Parchment paper
- Spatula
- Sharp knife for cutting
How to Make Homemade Christmas Caramels
Step 1: Prepare the Baking Pan
- Line an 8×8 inch baking pan with parchment paper, leaving a bit of overhang on each side to lift the caramel out later. Lightly grease the parchment paper with butter to prevent sticking.
Step 2: Melt the Butter
- In a large, heavy-bottomed saucepan, melt the butter over medium heat. Make sure it doesn’t brown; you want it just melted.
Step 3: Combine Ingredients
- Add the packed brown sugar, light corn syrup, sweetened condensed milk, and salt to the melted butter. Stir until well combined.
Step 4: Bring to a Boil
- Increase the heat slightly and bring the mixture to a gentle boil, then reduce it to medium-low. Attach your candy thermometer to the pan, and cook while stirring frequently until the temperature reaches 245°F (118°C). This is known as the firm ball stage, which ensures a perfect chew!
Step 5: Add Vanilla
- Remove the pan from heat and stir in the vanilla extract for a lovely, rich aroma.
Step 6: Pour & Set
- Carefully pour the hot caramel mixture into your prepared pan, using a spatula to spread it evenly. Allow it to cool at room temperature for at least 2 hours, or until fully set.
Step 7: Cut the Caramels
- Once set, lift the parchment paper out of the pan, and use a sharp knife to cut the caramel into small squares.
Step 8: Optional Sea Salt Topping
- For a sophisticated touch, sprinkle the caramels with sea salt just before they set fully. The salt pairs beautifully with the sweetness of the caramel!
Serving Suggestions
These Christmas caramels are delicious on their own, but they also make an exceptional topping for hot chocolate or an addition to a dessert platter. You can also package them in small gift boxes with festive ribbon – they’re sure to impress friends and family!
Tips for Perfect Homemade Caramels
- Use a Candy Thermometer: This ensures you reach the right temperature for the perfect chewy texture.
- Stir Constantly: Keep the caramel moving to prevent burning at the bottom.
- Cut with a Sharp Knife: For clean edges, make sure your knife is sharp, or use a buttered pizza cutter.
- Experiment with Flavors: Add a dash of cinnamon, a splash of bourbon, or even some espresso powder for fun variations.
How to Store Homemade Caramels
- Room Temperature: Store in an airtight container at room temperature for up to 2 weeks.
- Refrigerator: If your kitchen is warm, keep them in the fridge for a slightly firmer texture, wrapped in parchment paper.
- Freezer: You can freeze caramels for up to 3 months. Wrap each piece in parchment paper and place them in a freezer-safe bag.
Frequently Asked Questions
Can I make these caramels without a candy thermometer?
For the best texture, a candy thermometer is recommended. However, if you don’t have one, use the “firm ball” test: drop a small amount of the caramel mixture into cold water, and it should form a firm, chewy ball that doesn’t lose its shape.
Why did my caramels turn out too hard?
If your caramels turned out too hard, they may have cooked past 245°F. Next time, carefully watch the thermometer to avoid overcooking.
Can I double this recipe?
Yes! Simply double the ingredients and use a 9×13 inch baking pan instead. Be sure to keep a close eye on the cooking time, as a larger batch may take a bit longer to reach the firm ball stage.
Make This Holiday Season Extra Special
These Homemade Christmas Caramels are a treat that brings warmth and sweetness to the holiday season. Simple to make, utterly delicious, and perfect for gift-giving, they’re a recipe you’ll want to make every year. Plus, they’re far more satisfying than any store-bought alternative!
Happy Holidays, and may your Christmas be sweet and merry! 🎄
Let’s Stay Connected!
Tried this recipe? I’d love to see your results! Share your caramel creations on Pinterest or Instagram, and tag me to join the holiday cheer!

