Introduction
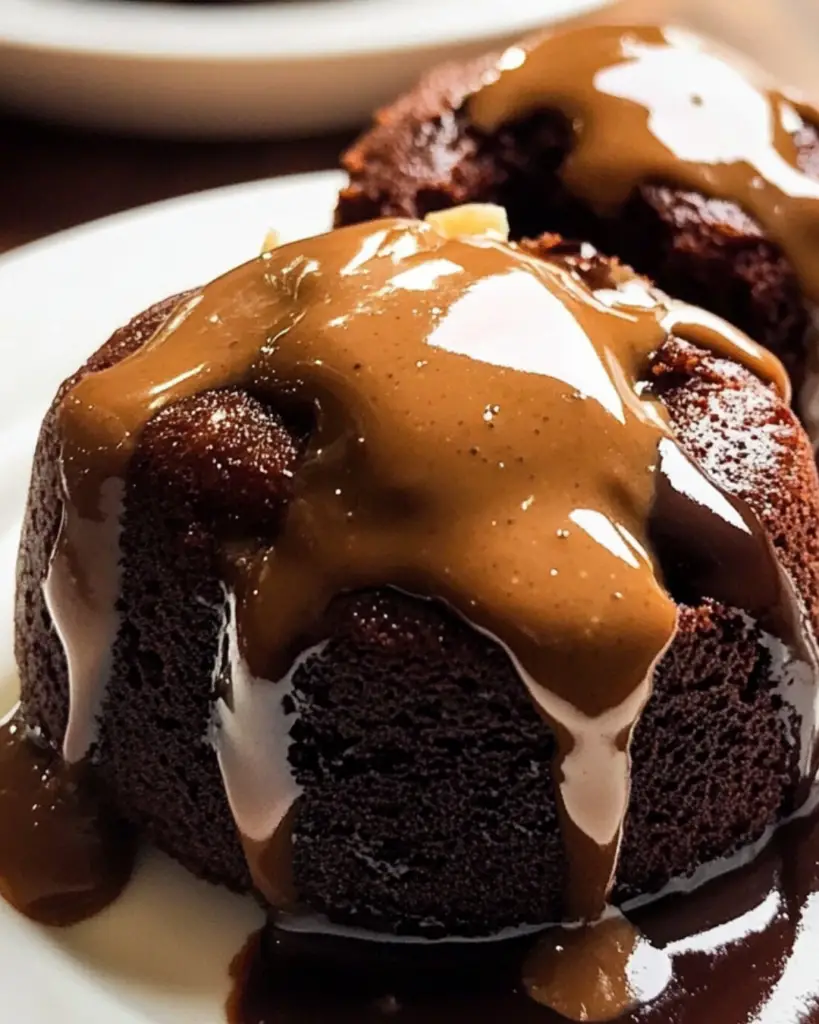
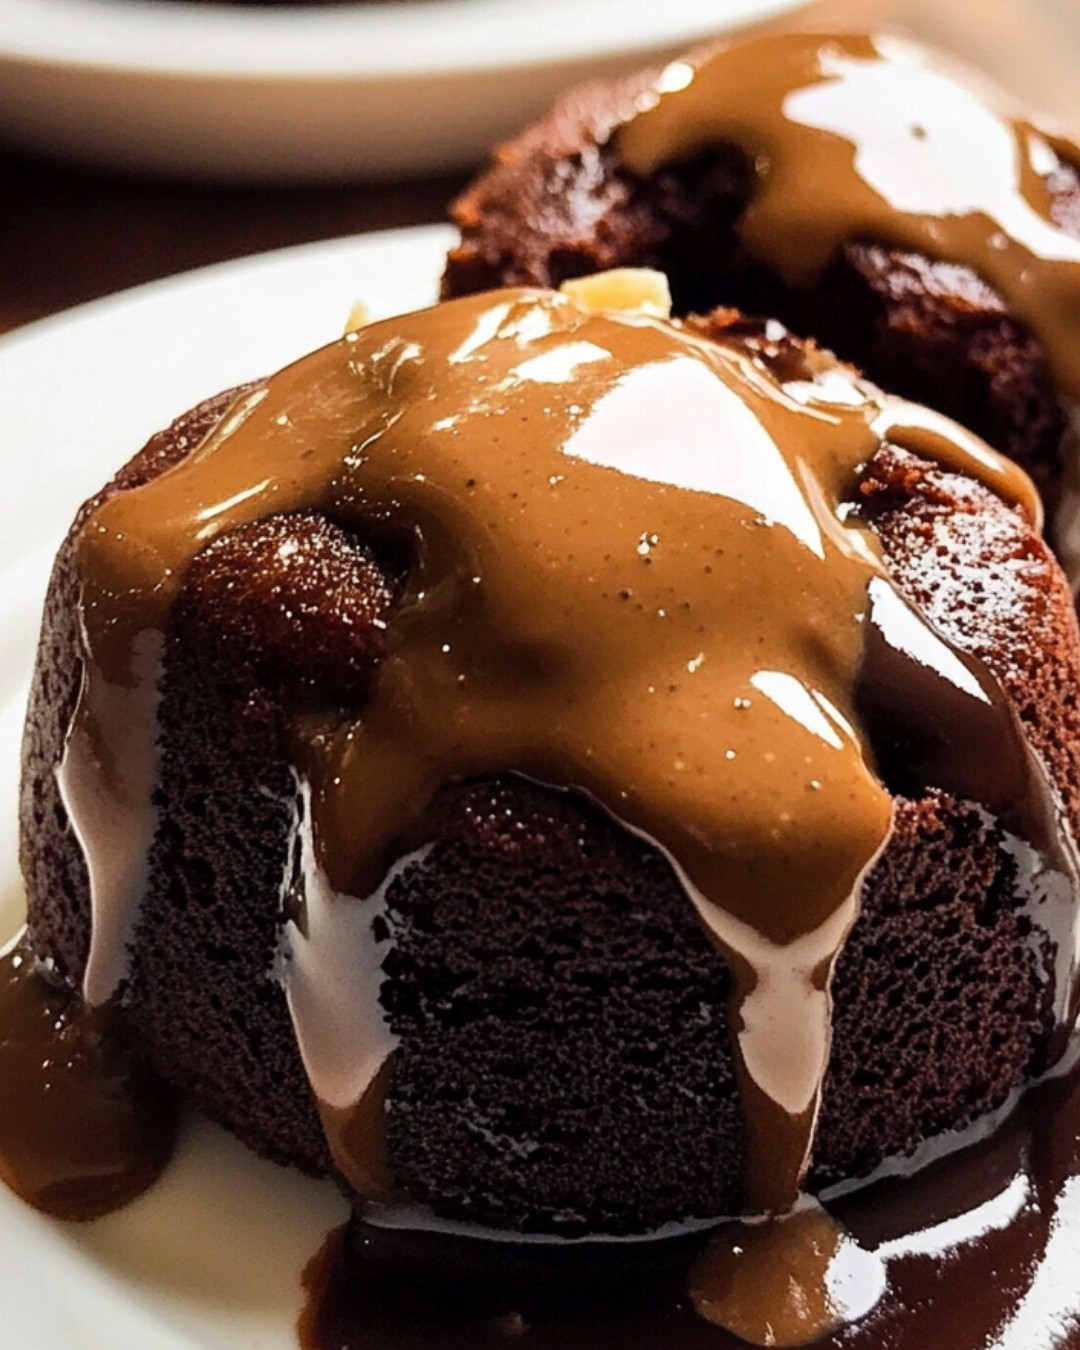
Indulging in a dessert that marries the richness of chocolate with the creamy allure of peanut butter is an experience to savor. Peanut Butter Chocolate Lava Cakes are the epitome of decadence and a surefire way to impress your friends and family. These miniature cakes pack a punch with their gooey peanut butter center, encased in a warm, velvety chocolate cake. Ideal for any special occasion or just to satisfy your sweet tooth, these lava cakes come together effortlessly and deliver a satisfying surprise with every bite.
Detailed Ingredients
To create these delightful Peanut Butter Chocolate Lava Cakes, you’ll need to gather the following ingredients:
– 1/2 cup (115g) unsalted butter: This is the backbone of any rich cake. Always opt for high-quality unsalted butter to control the salt content in your dessert.
– 4 ounces (113g) high-quality semi-sweet chocolate: Choose a semi-sweet chocolate of good quality to ensure a deep chocolate flavor.
– 1/2 cup (100g) granulated sugar: Sweetens the batter nicely and contributes to the overall texture.
– 2 large eggs and 2 large egg yolks: Eggs provide structure and richness to the cakes. The additional yolks enhance the creaminess and richness of the dessert.
– 1 teaspoon pure vanilla extract: This ingredient elevates the flavors, giving the cake a warm, aromatic undertone.
– 1/4 cup (31g) all-purpose flour: Needed to provide structure, helping the cakes hold their shape.
– 1/4 teaspoon salt: Enhances the flavors and balances the sweetness.
– 1/4 cup (60g) creamy peanut butter: Used to create the gooey, irresistible center of the lava cakes.
Prep Time, Cook Time, Total Time, Yield
– Prep Time: 10 minutes
– Cook Time: 14 minutes
– Total Time: 24 minutes
– Yield: 4 lava cakes
Detailed Directions and Instructions
1. Preheat your oven to 425°F (218°C). This is crucial for ensuring that the lava cakes cook evenly and maintain their soft centers.
2. Prepare your ramekins by greasing them thoroughly with butter. Place them on a baking sheet to easily transfer them in and out of the oven.
3. In a microwave-safe bowl, combine the butter and coarsely chopped semi-sweet chocolate. Microwave them in 15-second intervals, stirring after each, until the mixture is completely smooth and melted. This step is critical to achieving the perfect silky chocolate base.
4. Next, whisk the granulated sugar, eggs, and egg yolks into the melted chocolate mixture. Continue whisking until fully combined and the mixture becomes thick. This method emulsifies the eggs and sugar, ensuring a smooth batter.
5. Stir in the vanilla extract, flour, and salt until just combined. Avoid overmixing at this stage to prevent the cake from becoming too dense.
6. Spoon the batter evenly into the greased ramekins, filling each about halfway. This allows room for the peanut butter and the remaining batter.
7. Place a tablespoon of creamy peanut butter in the center of each ramekin. This will form the gooey core of the lava cakes, which is the pièce de résistance of this dessert.
8. Cover the peanut butter with the remaining chocolate batter, dividing it equally among the ramekins. This ensures the peanut butter center is enveloped entirely in the cake.
9. Bake in your preheated oven for 12-14 minutes. The key here is to achieve edges that look solid and firm while allowing the center to remain soft and undercooked. This is what creates the lava effect when you cut into the cake.
10. Allow the cakes to cool slightly for 1 minute before covering each with an inverted plate. Using oven mitts to handle the ramekins, carefully turn them over to release the cakes onto the plates.
11. Gently lift the ramekins off the cakes; they should come out effortlessly. If needed, lightly tap the ramekin sides to loosen any stubborn cakes.
12. Serve the lava cakes immediately for the best experience. The creamy peanut butter should flow freely from the center, providing a dramatic and delicious effect.
Notes
– Make sure all ingredients are at room temperature before you start. This ensures even mixing and optimal texture in the cakes.
– Greasing the ramekins well is essential to prevent the cakes from sticking and breaking when inverted.
– Adjust the timing slightly, knowing that every oven is a bit different. Start checking the lava cakes at 12 minutes to avoid overcooking.
Cook Techniques-FAQ
Can I make these in advance?
While the cakes are best enjoyed fresh out of the oven, you can prepare the batter a few hours ahead of time and refrigerate it. Be sure to let the batter return to room temperature before baking.
Can I use another type of chocolate?
Absolutely! Feel free to experiment with dark or milk chocolate instead. Just keep in mind that the sweetness level will change accordingly.
What if I don’t have ramekins?
If you don’t have ramekins, you can use a muffin tin lined with cupcake liners as an alternative. Adjust the cooking time as needed, since muffin tins might require a slightly different baking duration.
What other fillings can I use?
Feel free to swap out the peanut butter for other creamy ingredients like Nutella or a favorite fruit jam for a different twist on the classic.
Conclusion
Peanut Butter Chocolate Lava Cakes are a testament to the magic that happens when chocolate meets peanut butter. They offer a delightful dessert experience that is as fun to make as it is to eat. The oozing molten center paired with the rich chocolate cake is an unforgettable gustatory delight. Whether you are preparing a special dinner or simply treating yourself, these lava cakes are a scrumptious choice sure to delight any palate
More Recipes Suggestions and Combinations
If you enjoy these lava cakes, you might want to try other variations or complementary recipes. For a fruity twist, consider Raspberry Chocolate Lava Cakes. If you are a fan of chocolate pairings, you might like Orange Chocolate Flourless Cake or simply favor traditional comfort desserts like Classic Vanilla Bean Cheesecake. Whatever your preference, there is a world of dessert ideas waiting to be explored, ensuring that your baking adventures remain exciting and tantalizing for your taste buds.

Peanut Butter Chocolate Lava Cakes
Ingredients
Method
- Preheat your oven to 425°F (218°C).
- Grease the ramekins thoroughly with butter and place them on a baking sheet.
- In a microwave-safe bowl, combine the butter and coarsely chopped semi-sweet chocolate. Microwave in 15-second intervals, stirring after each, until smooth and melted.
- Whisk in the granulated sugar, eggs, and egg yolks until fully combined and thick.
- Stir in the vanilla extract, flour, and salt until just combined. Avoid overmixing.
- Spoon the batter into the greased ramekins, filling each about halfway.
- Place a tablespoon of creamy peanut butter in the center of each ramekin.
- Cover the peanut butter with the remaining batter.
- Bake in the preheated oven for 12-14 minutes, ensuring edges are firm while the center remains soft.
- Allow the cakes to cool slightly for 1 minute before inverting onto plates.
- Serve immediately to enjoy the flowing peanut butter center.


