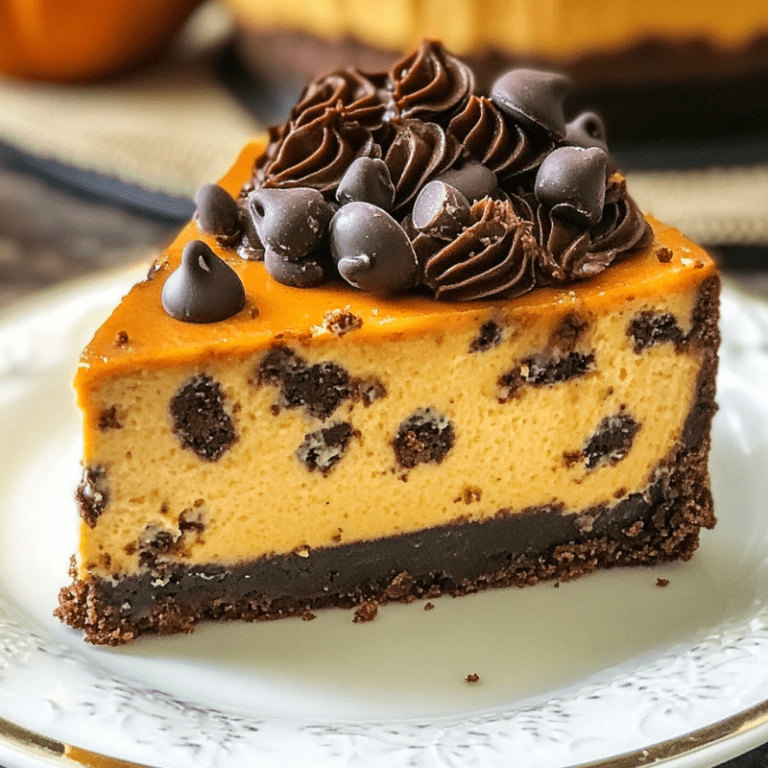
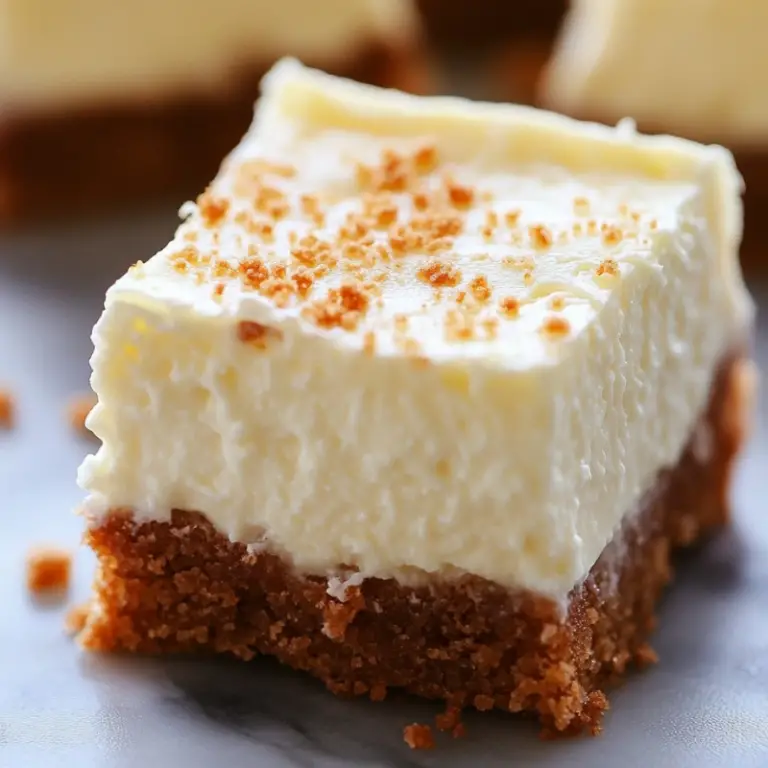
**Honey Bun Cheesecake Delight: A Sweet Symphony for Your Taste Buds!**
**Introduction:**
Welcome, dear dessert lovers! Today, I’m thrilled to share a recipe that combines the comforting flavors of a honey bun with the creamy delight of a cheesecake. The Honey Bun Cheesecake Delight is not just a dessert; it’s a heartwarming experience that brings a touch of sweetness into any occasion. Trust me, once you take a bite, you will understand why this cheesecake has earned a special place in my heart! Plus, don’t forget to subscribe if you want to receive more delightful recipes straight to your inbox!
**Why You’ll Love This Recipe:**
Oh, where do I start? This recipe is a match made in dessert heaven! The creamy texture of the cheesecake pairs perfectly with the mallows of honey and brown sugar, creating a cozy, nostalgic flavor profile that’s hard to resist. Easy to prepare, it’s a hit with both family and friends, making it an excellent choice for gatherings, potlucks, or a sweet weeknight treat. Plus, the fragrant notes of cinnamon will fill your kitchen with warmth as it bakes, inviting everyone to come and join the celebration!
**Ingredients:**
– 200g graham cracker crumbs
– 100g melted butter
– 600g cream cheese, softened
– 150g granulated sugar
– 100ml sour cream
– 30ml honey
– 2 tsp vanilla extract
– 3 large eggs
– 80g brown sugar
– 10g ground cinnamon
– 30g all-purpose flour
– 50ml whole milk
**Necessary Tools:**
– 23cm springform pan
– Mixing bowls
– Electric mixer or whisk
– Measuring cups and spoons
– Rubber spatula
– Oven
**Ingredient Swaps and Additions:**
Don’t hesitate to get creative! For a gluten-free version, swap graham crackers with almond flour crust. You could also experiment with flavored extracts, like almond or maple instead of vanilla. Want to add some texture? Toss in some chopped pecans or walnuts into the crust for a delightful crunch!
**Step-by-Step Instructions:**
1. Preheat your oven to 160°C (320°F) and grease your springform pan—this is crucial for that smooth release once it’s baked!
2. In a bowl, combine graham cracker crumbs with melted butter. Mix until all crumbs are moistened, then press this mixture firmly into the bottom of the pan to form a sturdy crust.
3. In a large mixing bowl, beat softened cream cheese and granulated sugar until it’s luxuriously smooth! Add in sour cream, honey, and vanilla extract, blending until everything is harmoniously mixed.
4. Carefully beat in the eggs one at a time, taking care to mix well after each addition to keep that creamy texture intact.
5. In a separate bowl, whisk together brown sugar, ground cinnamon, and flour. This will add depth and flavor to your cheesecake—don’t skip it! Fold this mixture into the cream cheese batter gently until smooth.
6. Pour this beautifully blended batter over the prepared crust. Tap the pan gently on your counter to release any air bubbles that might be lurking.
7. Bake for 50-60 minutes until the center is set but still has a slight jiggle—this is what makes it creamy!
8. Once baked, turn off your oven and let the cheesecake sit inside with the door slightly ajar for about an hour—this step helps to prevent cracking.
9. After cooling at room temperature, refrigerate for a minimum of 4 hours or, better yet, overnight to let those flavors meld beautifully.
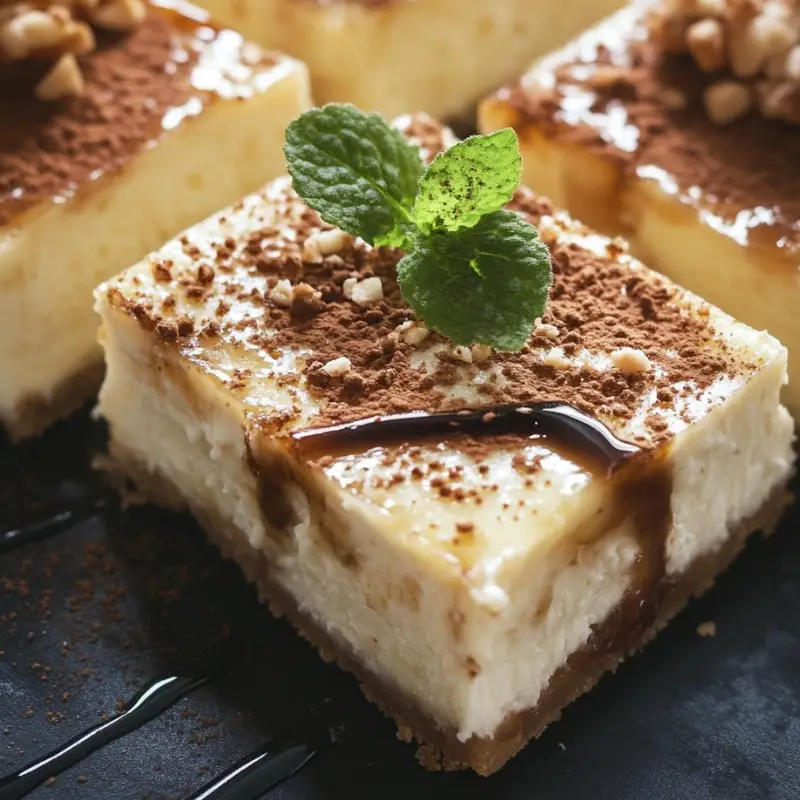
10. Before serving, don’t forget to drizzle with extra honey and, for a touch of indulgence, add a dollop of whipped cream!
**Serving Suggestions:**
Pair this heavenly cheesecake with a cup of coffee or tea for an extra cozy experience! You can also serve it alongside fresh berries or a scoop of vanilla ice cream to elevate the decadence.
**Pro Tips for Success:**
– Ensure your cream cheese is at room temperature for an easier mixing experience.
– Use a water bath when baking to enhance moisture and prevent any cracks! Fill a larger pan with water and place your springform pan in it while baking.
– Allow ample chilling time for that perfect texture. If you can wait until the next day, it’s even better!
**Storing and Reheating:**
Leftovers? No problem! Cover your cheesecake tightly with plastic wrap or foil and store it in the refrigerator for up to 5 days. If you want to enjoy the leftovers, there’s no need to heat—this cheesecake is equally delicious cold.
**FAQ Section:**
– **Can I freeze the Honey Bun Cheesecake Delight?** Absolutely! Wrap it tightly and keep it in the freezer for up to 3 months. Just thaw in the fridge before serving.
– **What if I don’t have a springform pan?** You can use a regular baking pan but be mindful when slicing, as it may not release as easily.
**Conclusion:**
There you have it! The Honey Bun Cheesecake Delight is truly a simple yet majestic dessert that’s perfect for any occasion, sure to impress your loved ones with its rich flavors and creamy texture. I encourage you to give it a try and, if you do, share your results with me! Leave a review, tag your photos on Instagram or Pinterest, and let’s celebrate the joy of baking together!
**Nutritional Information:**
Approximate nutritional information per serving:
– Calories: 310
– Fat: 22g
– Carbohydrates: 25g
– Protein: 5g
– Sugar: 18g
Enjoy your baking adventure!
Honey Bun Cheesecake Delight
Ingredients
Method
- Preheat your oven to 160°C (320°F) and grease your springform pan.
- In a bowl, combine graham cracker crumbs with melted butter. Mix until all crumbs are moistened, then press this mixture firmly into the bottom of the pan to form a crust.
- In a large mixing bowl, beat softened cream cheese and granulated sugar until smooth. Add in sour cream, honey, and vanilla extract, blending until mixed.
- Carefully beat in the eggs one at a time, mixing well after each addition.
- In a separate bowl, whisk together brown sugar, ground cinnamon, and flour, then fold this into the cream cheese batter until smooth.
- Pour the batter over the prepared crust. Tap the pan gently to release any air bubbles.
- Bake for 50-60 minutes until the center is set but still jiggles slightly.
- Turn off the oven and let the cheesecake sit inside with the door slightly ajar for about an hour to prevent cracking.
- After cooling, refrigerate for a minimum of 4 hours or overnight.
- Before serving, drizzle with extra honey and add a dollop of whipped cream.
Notes
More Dessert
- Can’t Believe I’ve Been Drinking Coca-Cola for Years and Just Noticed the ‘Hidden Detail’ in the Logo!
- The Power of the Walnut: 5 Science-Backed Health Benefits (And How Many You Should Actually Eat)
- The Mystery of Lobster’s Green Goodies: What Is Tomalley and Should You Eat It?
- Southern Tea Cake Cookies Recipe: Soft Buttery Classic Cookies