There’s a special kind of joy in watching little hands create something magical—especially when it’s done with ingredients you already have at home. That’s what makes these Sugar Water Paintings such a beloved craft. It’s part art, part science, and totally enchanting. Whether you’re entertaining curious kids on a rainy afternoon or exploring new art techniques yourself, this project is as sweet as it is satisfying.
Before we dive into the sugar and color, be sure to subscribe to receive more hands-on creative projects just like this—right to your inbox!
What Are Sugar Water Paintings?
Sugar Water Paintings are a vibrant and glossy painting activity that uses a simple sugar-and-water mixture as a base to create textured, shiny works of art. When paired with watercolor or food coloring, the sugar reacts to the pigment in fascinating ways—often leading to unpredictable, mesmerizing results. Add a little salt or glitter, and you’ve got a masterpiece that sparkles with creativity!
Why You’ll Love This Craft
- Super simple setup – You likely have everything you need already.
- Perfect for kids or adults – Fun, relaxing, and full of creative possibility.
- Combines art and science – A great STEAM-friendly activity for classrooms and families.
- No skill required – Just swirl, sprinkle, and let your imagination lead the way.
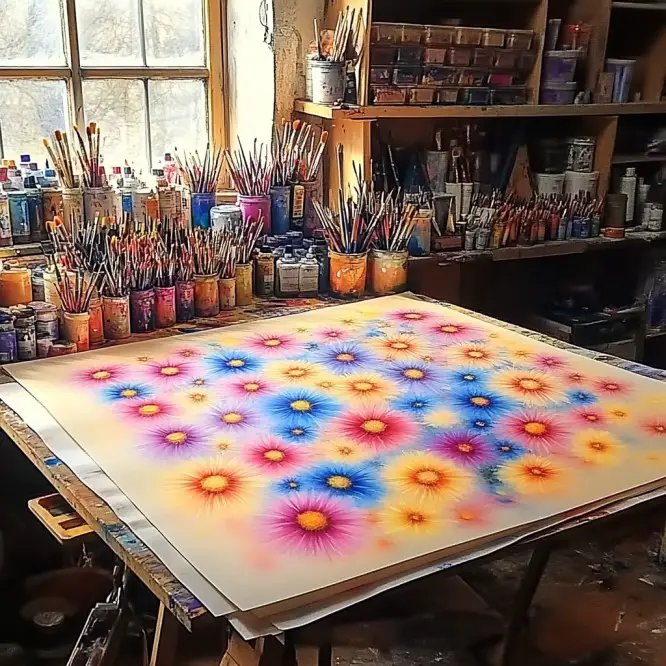
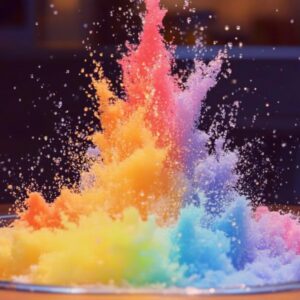
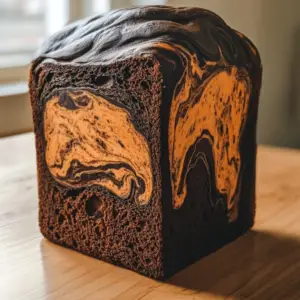
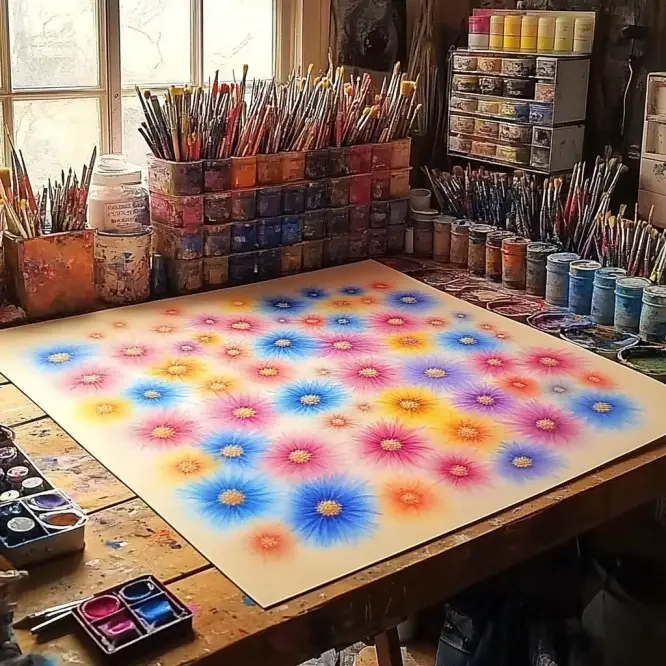
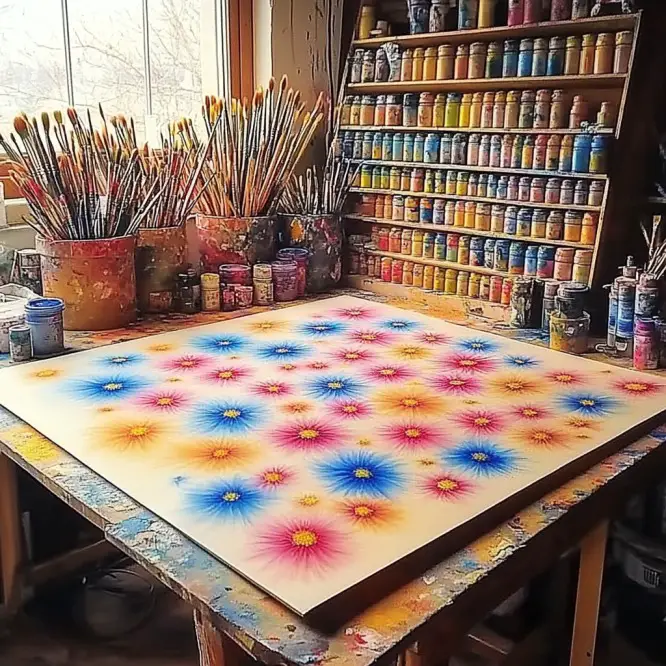
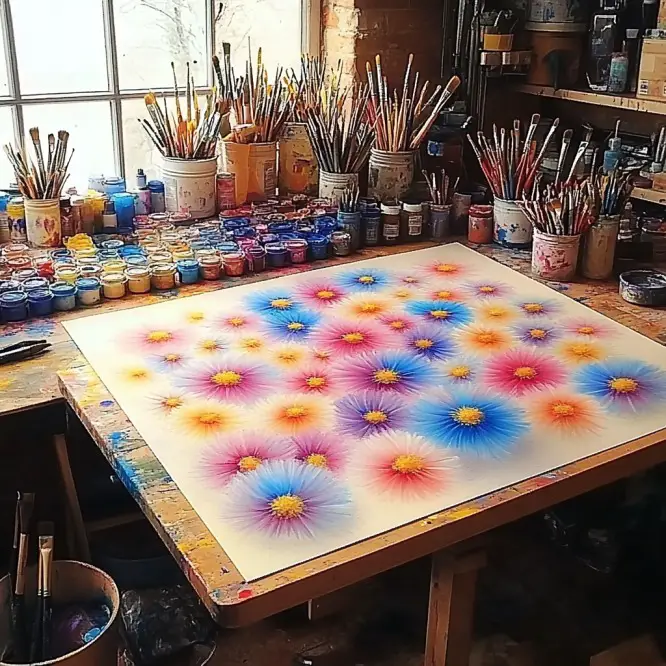
What It Looks Like
Picture swirls of color that shimmer as they dry, sparkling with crystallized sugar or flecks of glitter. Every painting is completely unique—some look like stained glass, others like shimmering galaxies. And the texture? A glossy, slightly raised surface that makes each piece a tactile joy to behold.
Ingredients & Supplies
- ¼ cup sugar
- ¼ cup warm water
- Watercolor paints or liquid food coloring
- Paintbrushes
- Watercolor paper or thick cardstock
- Small bowls or cups for mixing
- Table salt or sea salt (optional)
- Glitter (optional)
- Black outline marker (optional)
Helpful Tools
- Spoons for stirring
- Drop cloth or old newspaper to protect your surface
- Cotton swabs or sponges (for fun effects!)
Optional Additions
- Try using coffee filters for a tie-dye effect!
- Masking tape can be used to create clean geometric lines or borders.
- Use stencils or outline drawings to create themed art (flowers, stars, animals).
How to Make Sugar Water Paintings
Step-by-Step Instructions
- Mix the Magic:
In a bowl, stir ¼ cup sugar into ¼ cup warm water until dissolved. Let it cool slightly before using. - Prepare Your Canvas:
Lay out your watercolor paper or cardstock. Make sure your surface is protected—it’s going to get delightfully messy! - Paint with Sugar Water:
Use a brush to paint the sugar water mixture onto your paper. Play with swirls, stripes, or abstract designs. - Add Color:
While the sugar water is still wet, dip your brush into watercolor or food coloring and gently dab onto the sugary surface. Watch the colors spread like magic! - Add Texture (Optional):
Sprinkle with table salt or glitter for sparkle and surprise. Try layering colors for a dramatic effect. - Outline After Drying (Optional):
Once dry (give it several hours or overnight), you can outline your designs with a black marker for extra pop.
Tips for Brilliant Results
- Use warm water to help the sugar dissolve completely.
- Don’t oversaturate the paper—it may tear if too wet.
- Let dry naturally—no hair dryers, or the sugar may not crystallize properly.
- Experiment! There’s no “right” way to do it—let kids explore their creativity freely.
Storage and Cleanup
- Let paintings dry flat to avoid smudging.
- Store finished artwork in a dry place to prevent stickiness.
- Wipe brushes and bowls with warm water before storing.
Frequently Asked Questions (FAQ)
Can I use regular printer paper?
Watercolor paper or cardstock works best to handle the moisture, but printer paper can work in a pinch—just use less liquid.
Is this edible?
Nope! Even though it’s made with sugar and water, it’s not meant to be eaten.
How long do the paintings last?
If stored properly, they can last for months or even years. Avoid humid areas to prevent stickiness.
Conclusion
There’s something so wholesome and inspiring about creating something beautiful from the simplest materials. Sugar Water Paintings are the perfect blend of science, art, and a little bit of sparkle. They’re a wonderful reminder that creativity doesn’t need to be complicated—it just needs a little sweetness.
Want More Whimsical Art Projects?
If this project lit up your afternoon, you’ll love these:
- Blue Crayon Suncatchers
- Salt Painting Rainbows
- Bubble Wrap Print Flowers
Let’s See Your Sugar Sparkle!
Tried this at home or in your classroom? I’d love to see what you made!
Tag your masterpieces on Pinterest, share your feedback below, and subscribe for more delightful DIYs in your inbox!
Would you like this as a printable PDF craft guide for kids or educators? I can create one for you!