Introduction
Indulge in the delightful combination of mint and chocolate with these no-bake Mint Chocolate Dream Bars. Perfect for a refreshing dessert, these bars are easy to make and wonderfully satisfying.
Detailed Ingredients with measures
300g chocolate sandwich cookies
100g unsalted butter, melted
400g sweetened condensed milk
200g dark chocolate, chopped
1 tsp mint extract
150g white chocolate, chopped
Green food coloring (optional)
Prep Time
15 minutes
Cook Time, Total Time, Yield
Cook Time: 15 minutes
Total Time: 2 hours 10 minutes
Yield: 16 bars
**Detailed Directions and Instructions**
Step 1: Prepare the Baking Dish
Line a 9×9 inch square baking dish with parchment paper, ensuring there is some overhang on the sides. This will help you lift the bars out easily once they are set.
Step 2: Create the Cookie Crust
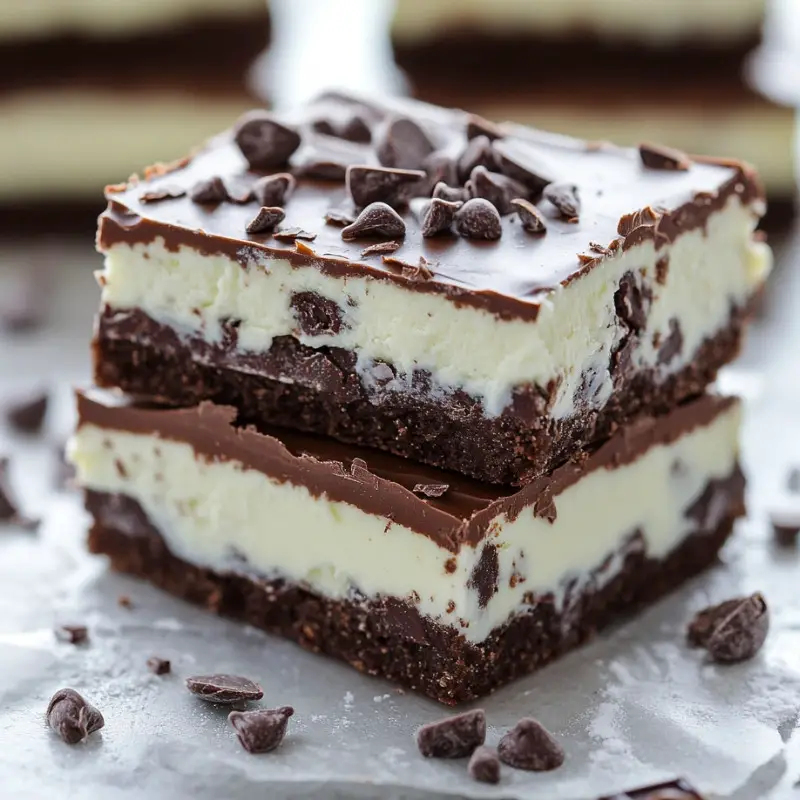
Using a food processor, crush the chocolate sandwich cookies into fine crumbs. Transfer these crumbs into a mixing bowl and combine them with the melted unsalted butter. Stir until the mixture is well combined and resembles wet sand.
Step 3: Form the Base
Press the cookie mixture firmly and evenly into the bottom of the prepared baking dish to create a sturdy base. Refrigerate this base while you prepare the filling.
Step 4: Make the Chocolate Filling
In a medium saucepan set over low heat, combine the sweetened condensed milk with the chopped dark chocolate. Stir continuously until the chocolate melts completely and gives you a smooth, glossy mixture.
Step 5: Add the Mint Flavor
Remove the saucepan from heat and stir in the mint extract. Pour this luscious chocolate filling over the chilled cookie base, spreading it evenly to cover the crust. Return to the refrigerator for about 30 minutes to set.
Step 6: Prepare the White Chocolate Topping
Melt the chopped white chocolate using a microwave in short bursts or using a double boiler. Once melted, add a few drops of green food coloring for a festive touch and mix until the color is uniform and vibrant.
Step 7: Finish with Topping
Pour the tinted white chocolate over the set chocolate layer in the baking dish. Use a spatula to spread it evenly across the surface. Place the dish back in the refrigerator and allow it to fully set, about 1 to 2 hours.
Step 8: Cut and Serve
Once the bars are completely set, use the parchment paper overhang to lift them out of the dish. Transfer them to a cutting board and slice into squares. Serve the bars chilled for a refreshing dessert experience.
**Notes**
Cookie Options
You may use any chocolate sandwich cookies you prefer, such as Oreos or similar brands, depending on your taste and availability.
Mint Flavor Adjustment
Adjust the amount of mint extract based on your preference. Start with less if you’re unsure and increase to taste.
Food Coloring Variations
The green food coloring is optional; you can skip it for a classic white topping or add different colors for occasions.
Storing the Bars
Store any leftover bars in an airtight container in the refrigerator for up to one week. Enjoy them as a quick snack or dessert throughout the week.
Cook Techniques
Crushing Cookies
Using a food processor, crush the chocolate sandwich cookies into fine crumbs for an even base texture. Alternatively, place cookies in a ziplock bag and crush them with a rolling pin if you don’t have a food processor.
Melting Chocolate
Melt the dark and white chocolate slowly over low heat in a saucepan or using a microwave in short bursts. Stir regularly to prevent burning and ensure a smooth consistency.
Making the Base
Combine cookie crumbs with melted butter and press firmly into the bottom of the parchment-lined baking dish. This creates a solid, even base that holds the filling.
Setting the Layers
Allow each layer to cool in the refrigerator before adding the next. This helps in achieving distinct layers and ensures that the bars maintain their shape when cut.
Coloring White Chocolate
For a festive touch, add green food coloring to the melted white chocolate, mixing thoroughly until the desired shade is reached before spreading it on top.
FAQ
Can I use a different type of cookie for the base?
Yes, you can substitute chocolate sandwich cookies with other chocolate cookies or even graham crackers if you prefer a different flavor.
Is it necessary to use green food coloring?
No, the green food coloring is optional and is purely for decoration. The bars will taste great without it.
How can I store the Mint Chocolate Dream Bars?
Store the bars in an airtight container in the refrigerator for up to one week for optimal freshness.
Can I freeze these bars for later?
Yes, you can freeze the Mint Chocolate Dream Bars. Wrap them tightly in plastic wrap and place them in an airtight container. They can be frozen for up to three months.
Can I add more mint flavor?
You can increase the amount of mint extract to your liking, but be cautious not to overpower the chocolate flavor. Start with an additional 1/4 teaspoon and adjust as needed.
Conclusion
These Mint Chocolate Dream Bars are the perfect no-bake treat that combines the refreshing flavor of mint with rich chocolate. They’re easy to whip up, making them ideal for any occasion. Whether you’re serving them at a party or enjoying them as a sweet indulgence, these bars will surely satisfy any chocolate craving.
More recipes suggestions and combination
Chocolate Peppermint Bark
Layered chocolate and peppermint pieces make a festive treat perfect for the holiday season.
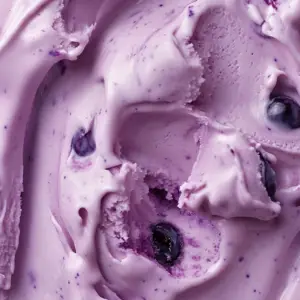
Mint Chocolate Chip Ice Cream
Create a homemade version of this classic flavor, featuring fresh mint and chocolate chips for a creamy delight.
Mint Oreo Truffles
Crushed mint Oreos mixed with cream cheese, rolled into balls, and dipped in chocolate make for a delicious bite-sized dessert.
Chocolate Mint Cupcakes
Moist chocolate cupcakes topped with mint-flavored frosting for a delightful combination that chocolate mint lovers will adore.
Mint Fudge Brownies
Rich chocolate brownies made even more irresistible with a fresh mint layer and chocolate ganache.
Chocolate Mint Smoothie
Blend your favorite ingredients into a refreshing, minty smoothie that’s perfect for a quick breakfast or snack.