Before we dive into the magic of this gorgeous stained glass glue window art, I just want to say thank you. Whether you’re here for your first DIY or you’re a seasoned crafter, I’m so glad you’ve stopped by! These little creative breaks we take—especially ones we can enjoy with kids—are so meaningful. And this one? It’s pure, joyful color therapy!
Want this craft project sent straight to your inbox so you never lose it? Just hit subscribe below and I’ll send it your way!
A Creative Craft That Truly Shines
If you’ve ever admired the beauty of stained glass and thought, “I wish I could make that,” this is your chance! This stained glass glue window art project is an easy, mess-friendly way to bring that vibrant, light-catching look into your home—with just glue, color, and a little imagination.
Why You’ll Love This DIY Window Art
- No fancy materials required—just school glue and food coloring!
- It’s perfect for kids and adults (and makes for a magical rainy-day activity).
- You get to customize every detail, from design to color to sparkle.
- When hung in the window, it looks like real stained glass. Truly breathtaking!
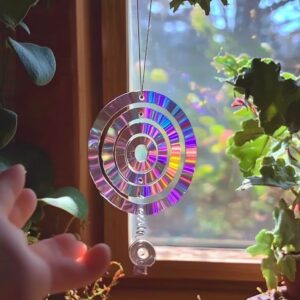
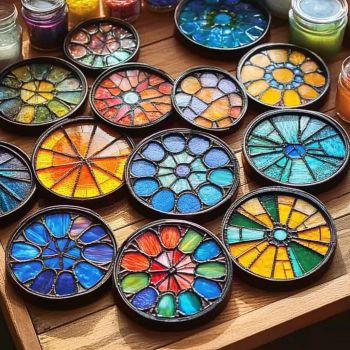
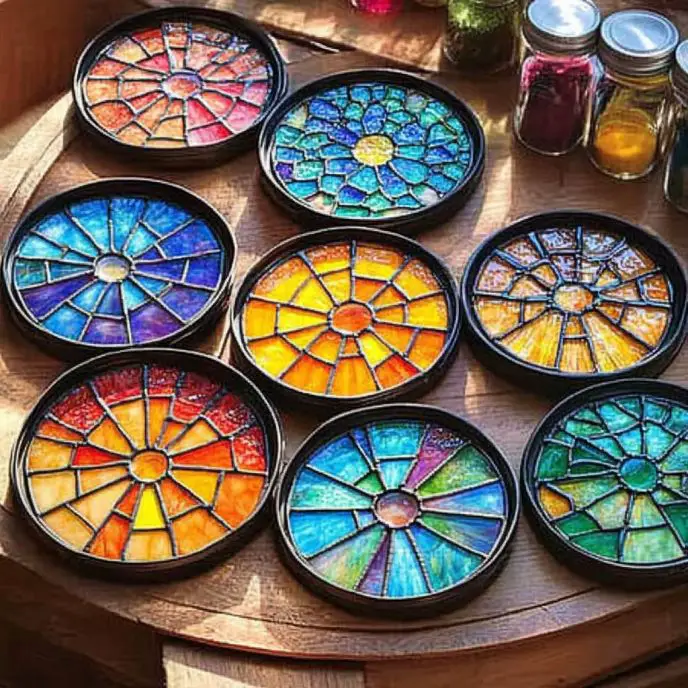
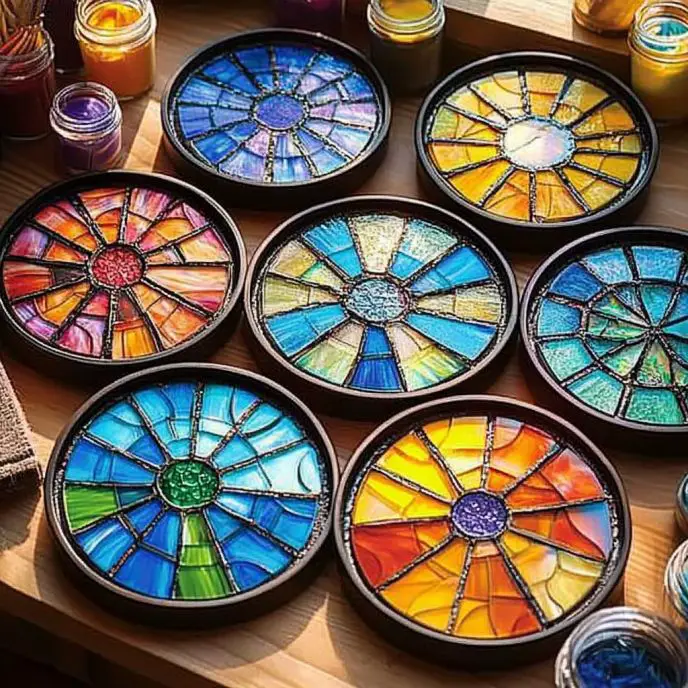
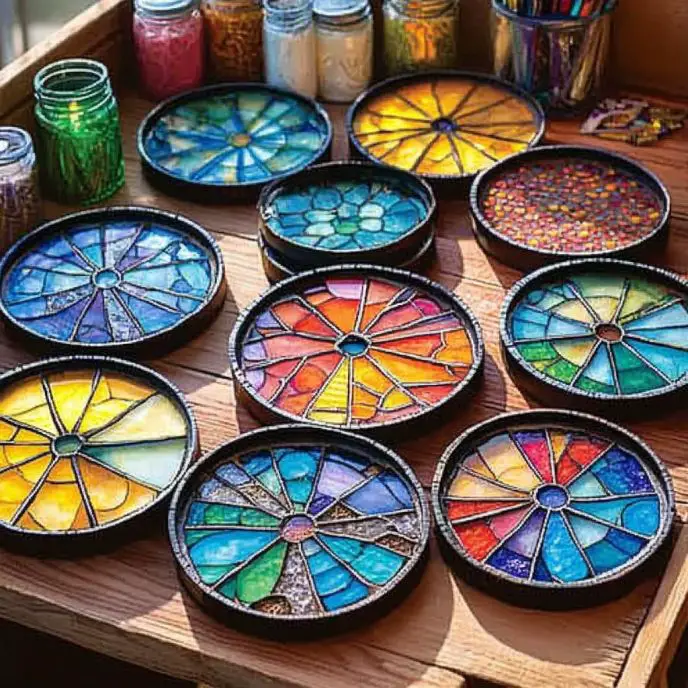
The Look and Feel
The finished art has a raised black outline and a shiny, translucent color fill that catches the light like you wouldn’t believe. It almost glows! The effect is whimsical, calming, and so satisfying to look at—like little sunbeams caught in your own personal gallery.
What You’ll Need
Ingredients & Materials
- 1 plastic sheet protector, laminator pouch, or clear plastic lid
- About 1/2 bottle of clear school glue (per design)
- Black glue (store-bought or homemade by mixing black acrylic paint into clear glue)
- Food coloring or liquid watercolors
- Paintbrushes or cotton swabs
- Optional extras: Printable stained glass templates, glitter, suction cups with hooks
Tools You’ll Need
- A workspace that can be left undisturbed for 48 hours
- Small bowls or containers for mixing glue and color
- Scissors (if trimming shapes or excess plastic)
- Tape or suction hooks for display
Ingredient Substitutions & Creative Additions
- No black glue? Mix a teaspoon of black acrylic paint into your clear glue.
- Use gel food coloring for deeper, richer colors.
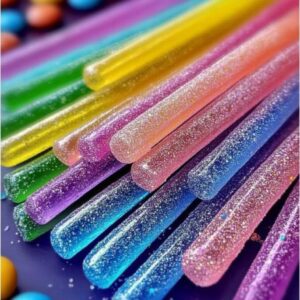
- Add a dash of glitter to your colored glue for extra sparkle—anything but boring!!
- Don’t have a template? Draw your own designs on plain paper for a personal touch.
Step-by-Step: How to Make Stained Glass Glue Art
1. Outline Your Design
Slide your template into a plastic sheet protector or place it under a clear lid. Trace over the lines with black glue. Let this dry overnight—it forms the beautiful “lead lines” like real stained glass.
2. Color It In
Mix clear glue with food coloring in small bowls. Using paintbrushes or cotton swabs, gently fill in each section. Don’t rush—this part is SO therapeutic!
3. Dry Flat and Wait
Let your masterpiece lie flat for 24–48 hours. It needs to dry completely to become translucent. This part takes patience—but it’s worth every minute.
4. Peel and Hang
Gently peel the dry artwork off the plastic. Attach with tape or a suction cup hook to any sunny window. Then step back and admire the sunshine glowing through your colors!
What to Pair It With?
This activity pairs perfectly with:
- A quiet afternoon and a mug of something warm ☕
- Storytime for the kids
- A playlist of calming tunes or a nature documentary playing in the background
Tips for Stunning Results
- Thin layers of colored glue dry faster and clearer.
- Don’t mix too many colors in one bowl—it can turn murky.
- Add glitter only when the colored glue is still wet!
- Store leftover colored glue in small containers for future projects.
Storage and Longevity
Once dry and peeled, your stained glass art can be:
- Stored flat between sheets of wax paper
- Reused by re-taping to new windows
- Gifted to family or friends (especially sweet from kids!)
FAQs
Q: Can I make this with toddlers?
A: Yes! Just pre-trace the outlines and let little ones help with coloring.
Q: Does the glue peel easily?
A: It does—just be gentle! If it sticks, place it in the freezer for a few minutes.
Q: Can I use this on glass jars or other surfaces?
A: It’s best for windows, but you can definitely try! Just test on a small area first.
Wrap-Up: Art That Brightens Your Day
This stained glass glue art is one of those crafts that’s fun to make and beautiful to display. It’s a creative escape, a bonding activity, and a burst of sunshine—literally! Whether you’re crafting with your kids, decorating a classroom, or just indulging in a little DIY joy, this one’s a keeper.
Love this project? I’ve got more colorful creations coming your way! Be sure to subscribe for updates and check out these other magical ideas:
- Peach Cobbler Mug Cake 🍑
- DIY Sun-Catcher Jars
- Peach & Honey No-Churn Ice Cream
Show Me Your Creations!
Made this stained glass art? I would LOVE to see it! Tag your photos on Pinterest or share them in the comments below. Your ideas and creativity inspire us all!
Nutritional Information
Not edible, but guaranteed to feed your soul with creativity! ❤️
Would you like me to format this as a downloadable printable or email version too?