Before we dive in—thank you for being here! It means the world to me to have curious, creative readers like you stopping by. If you’re anything like me, you’re always on the lookout for projects that mix a bit of learning, a sprinkle of magic, and a whole lot of fun. Well, friend, today’s craft checks all those boxes and then some!
Want the full instructions delivered straight to your inbox? 💌 [Subscribe here] to never miss a sparkling new project!
A Little Science, A Lot of Wonder ✨
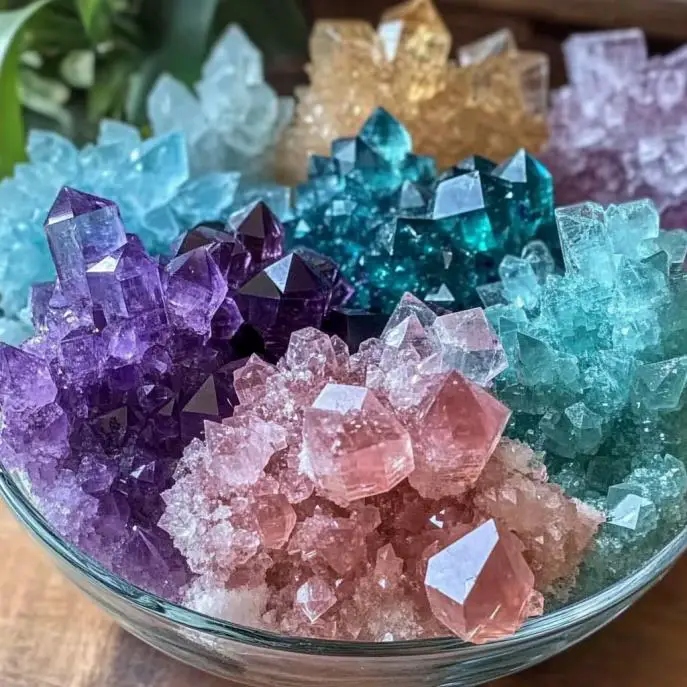
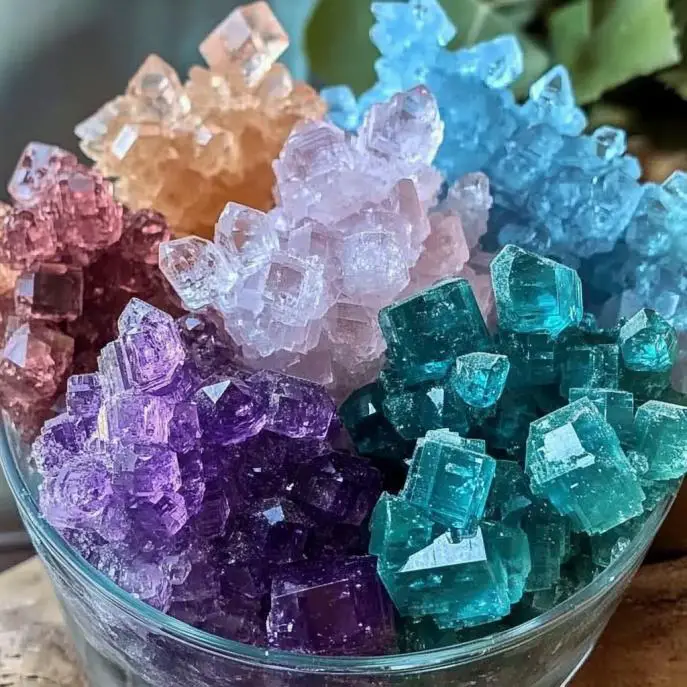
Today’s DIY is part craft, part science experiment, and 100% WOW factor. We’re making borax crystals—those dazzling, sparkly structures that seem to grow like magic overnight. This hands-on activity is perfect for kids (and kids at heart), blending creativity with a cool chemistry lesson.
Why You’ll Love This Project
- Educational and fun: Combines STEM learning with craft time.
- Incredibly beautiful results: The crystals shimmer and shine like they came from a fairy tale.
- Simple ingredients: Uses everyday materials you likely have at home.
- Inspires creativity: Shape your pipe cleaners into stars, hearts, initials—anything your imagination dreams up!

What Do Borax Crystals Look and Feel Like?
The finished crystals are like delicate snowflakes frozen in time—glassy, slightly gritty to the touch, and incredibly sparkly. They catch the light beautifully and make wonderful ornaments or keepsakes.
Benefits of This Craft
- Teaches kids about supersaturated solutions and crystal formation.
- Fosters patience and observational skills.
- Encourages independent creativity and fine motor skills through shaping and stringing.
🧂 Ingredients
- 3 tablespoons borax powder
- 1 cup boiling water
- A clean glass jar or heatproof container
- Pipe cleaners
- String
- Pencil or stick
🧰 Tools You’ll Need
- A spoon for stirring
- Kettle or saucepan (for boiling water)
- Scissors (to trim pipe cleaners and string)
- Paper towels or drying rack
🧪 Optional Additions & Substitutions
- Food coloring: Add a drop or two to the solution for colorful crystals.
- Glitter pipe cleaners: For an extra pop of sparkle.
- Twine or embroidery floss: Instead of standard string, if you want a more rustic hanger.
📋 How to Make Borax Crystals – Step by Step
1. Shape Your Design
Twist and shape your pipe cleaners into fun designs—stars, hearts, initials, snowflakes… anything you love! Kids will especially enjoy creating their own signature look.
2. Set Up the Hanger
Tie a string to your pipe cleaner shape. Secure the other end to a pencil or stick so that the shape hangs freely when the pencil rests across the jar’s mouth.
3. Make the Solution
Carefully bring 1 cup of water to a boil. Add 3 tablespoons of borax powder and stir until completely dissolved. This is your supersaturated solution—aka the magic behind the crystals.
4. Grow the Crystals
Pour the hot borax solution into your jar. Lower the pipe cleaner design into the solution, ensuring it doesn’t touch the jar’s sides or bottom.
5. Wait Patiently
Set the jar somewhere it won’t be disturbed. After about 24 hours, you’ll see crystals forming!
6. Reveal the Sparkle
Gently lift out your design and let it dry completely on a paper towel or rack. Ta-da! Your very own shimmering crystal creation!
🍽️ What to Pair This With
Okay, not edible (please don’t eat it!), but this craft goes great with:
- A rainy day
- A cup of cocoa
- A mini science lesson
- Holiday decorating sessions (hello, DIY ornaments!)
💡 Tips for Crystal Success
- Use a clean jar to avoid contamination.
- Don’t move the jar during the crystal-growing phase.
- Want larger crystals? Let it sit for up to 48 hours!
🧊 How to Store Your Crystals
Store in a dry place. You can hang them as decorations, display them on a shelf, or keep them in a labeled keepsake box. Avoid moisture—humidity can dissolve or dull the crystals over time.
🔍 General Info
Borax safety note: Borax is generally safe to use under supervision but should not be ingested or handled excessively by young children without adult oversight. Always wash hands after handling!
❓ FAQ
Q: Can I reuse the solution?
A: Not really. After the first use, the solution isn’t saturated enough to form more crystals.
Q: Can I use sugar or salt instead of borax?
A: They can make crystals, but the process is slower and the result less dramatic.
Q: How long do the crystals last?
A: Indefinitely, as long as they’re kept dry!
❤️ Why You’ll Keep Coming Back to This Project
It’s fast, affordable, educational, and absolutely mesmerizing. Whether you’re homeschooling, hosting a playdate, or just craving a bit of magic—this is your go-to.
🍑 Craving More Crafts?
Love this one? Check out more of my favorite DIY projects:
- Epsom Salt Snowflakes
- Paper Towel Tie-Dye Art
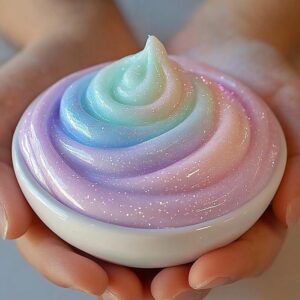
- Homemade Slime (with a sparkly twist!)
📸 Let’s Stay Creative Together!
Made your own borax crystal masterpiece? I’d love to see it!
📌 Tag your photos on Pinterest or drop a comment below. You inspire me more than you know 💕
🧾 Nutritional Information
(Just kidding—don’t eat this one! But isn’t it pretty enough to snack on?)
Let me know if you’d like a printable version of this project or want it as part of a downloadable science activity bundle!