

Introduction
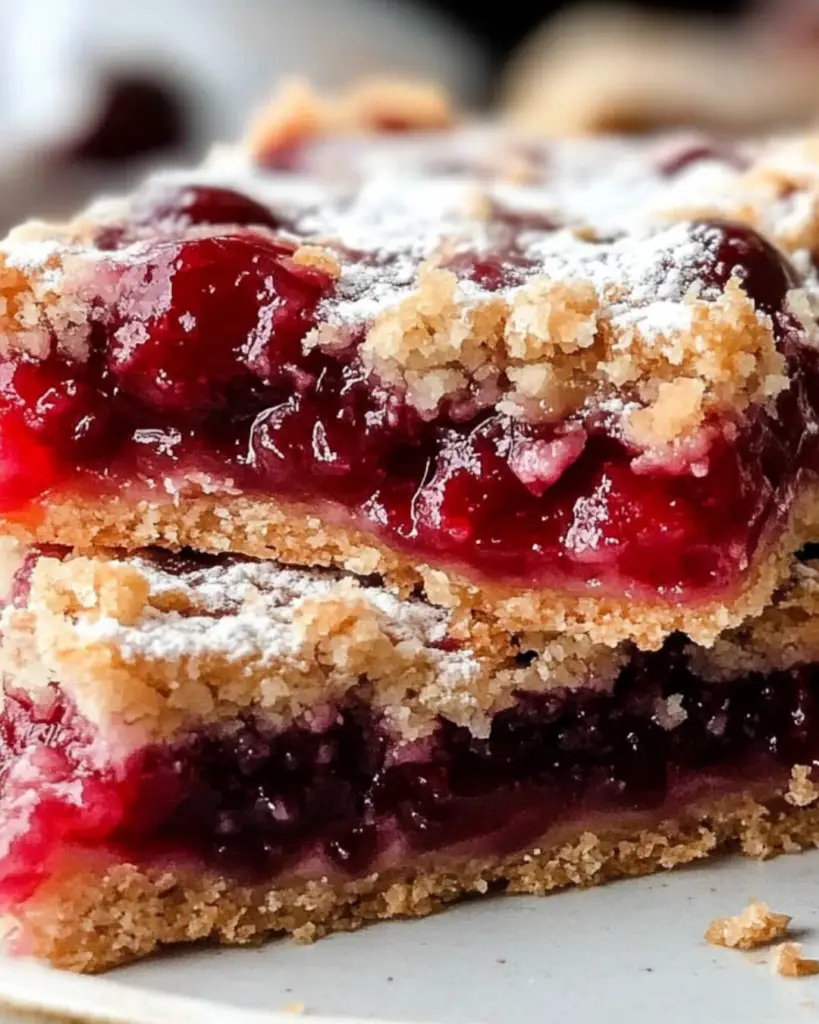
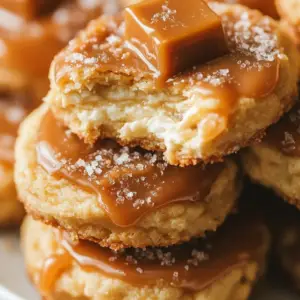
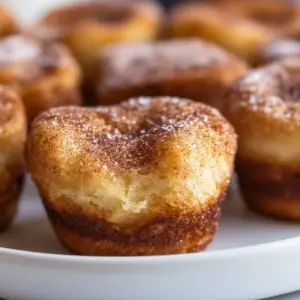
As summer gracefully bows out and autumn takes center stage, we’re reminded of the timeless treats that bridge the gap between the seasons. Among these, the Summertime Cherry Pie Bars stand out, offering the perfect blend of summer’s sweet fruitiness with autumn’s comforting warmth. These bars encapsulate everything we love about cherry pie but are even more convenient and shareable, perfect for gatherings or quiet evenings by the fireplace. Dive into the delightful merger of flavors and ease of preparation with this cherished recipe.
Detailed Ingredients
The success of these Cherry Pie Bars hinges on quality ingredients and a touch of love. Understanding each component will guide you to a flawless bake.
1. Unsalted Butter: This is the base of our bars, providing richness and moisture. Ensure it’s softened for easy mixing.
2. Granulated Sugar: Sweetens the bars and complements the tanginess of the cherries. Using white sugar keeps the flavor profile pure.
3. Eggs: Eggs play a crucial role in binding the batter, giving structure and a tender crumb to the finished product.
4. Vanilla and Almond Extracts: Vanilla adds warmth, while a hint of almond extract enhances the cherry flavor, creating a more complex taste.
5. All-Purpose Flour: This provides the necessary structure. Make sure to measure accurately to avoid dense bars.
6. Salt: Just a pinch intensifies the sweetness and makes the other flavors pop.
7. Cherry Pie Filling: Opt for quality canned filling, or if you’re adventurous, prepare your own for an extra homemade touch.
Prep Time, Cook Time, Total Time, Yield
Crafting Cherry Pie Bars is a joy of its own, requiring minimal time but offering maximum flavor.
– Prep Time: 20 minutes
– Cook Time: 50 minutes
– Total Time: 1 hour 10 minutes
– Yield: 24 bars (plenty to share or enjoy throughout the week)
Detailed Directions and Instructions
Creating these delectable bars is as enjoyable as eating them. Follow these steps for perfection every time.
1. Start by preparing your oven and pan. Preheat your oven to 350°F (177°C). If you’re using parchment paper to line your 9×13 inch pan, ensure it extends beyond the edges for easy lifting of the bars later on.
2. In a spacious mixing bowl, combine the softened butter and sugar. Utilize either a hand mixer or stand mixer on medium speed to cream them together until the mixture appears light and fluffy—this should take about 3-5 minutes. This step is crucial for the bars’ texture.
3. Gradually add the eggs to your mixture, incorporating them one at a time, mixing well after each addition. This ensures even distribution and helps maintain the desired consistency. Following the eggs, add both the vanilla and almond extracts, blending until fully integrated.
4. Sift together the all-purpose flour and salt in a separate bowl. Slowly add this dry mixture to the wet ingredients, mixing on low speed to prevent overdeveloping the gluten, which could result in tough bars. Stir until just combined to maintain tenderness.
5. Take 3/4 of your batter and spread it evenly across the bottom of your prepared baking pan. This layer forms the base of your bars and should be smooth and level.
6. Evenly spread the cherry pie filling over the batter base. Take care not to make the layer too thick or uneven.
7. With the remaining batter, drop small spoonfuls over the cherry filling. It’s fine if these dollops don’t cover the entire surface; they will spread during baking and create a lovely marbled appearance.
8. Place the pan in your preheated oven and bake for 45-50 minutes. You’ll know it’s done when the top achieves a lightly golden hue and a toothpick inserted in the center emerges mostly clean with only a few moist crumbs.
9. Once baked, allow the bars to cool completely in the pan on a wire rack. This cooling period is essential for the bars to set properly and ease cutting.
Notes
For the best results, consider these additional tips:
– Ensure butter is softened, not melted. If pressed for time, cut it into small cubes to speed up the softening process.
– If you prefer a less sweet dessert, consider using a low-sugar cherry pie filling.
– These bars store well, so feel free to make them a day ahead. They can be stored in an airtight container at room temperature for up to three days.
Cook Techniques
Understanding a few key baking techniques can elevate your Cherry Pie Bars from good to exceptional. Creaming the butter and sugar is a foundational technique that incorporates air, contributing to the light texture. Be cautious not to overmix the batter once the dry ingredients are added, as overmixing can lead to denser bars due to gluten development. Also, using a light hand when distributing the cherry pie filling ensures a balanced flavor profile in every bite.
FAQ
1. Can I use fresh cherries instead of canned pie filling?
Yes, you can. If using fresh cherries, cook them down with some sugar and cornstarch until they thicken. This will mimic the consistency of canned pie filling.
2. What if I’m allergic to almond extract?
Simply omit it or replace it with additional vanilla extract. The bars will still be delicious with a pure vanilla flavor.
3. Can these bars be frozen?
Yes, they can be frozen in an airtight container for up to three months. Thaw them at room temperature or warm them slightly before serving.
Conclusion
Summertime Cherry Pie Bars are more than just a dessert; they’re a celebration of the changing seasons—a nostalgic nod to summer wrapped in fall’s embrace. Their straightforward preparation and irresistible flavor make them a must-try for any baking enthusiast or dessert lover. Share them with friends and family, and you’ll be sure to win hearts over with every bite.
More Recipes Suggestions and Combinations
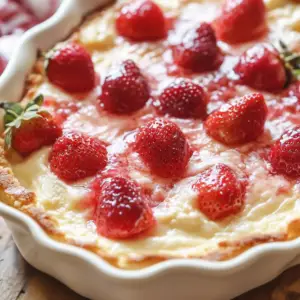
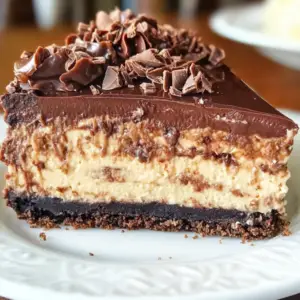
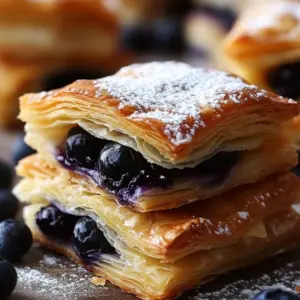
Once you’ve mastered these Cherry Pie Bars, consider exploring other fruit-inspired bars such as blueberry or apple pie bars. For a creative twist, experiment with different crust bases like oatmeal or shortbread. Combining these bars with homemade vanilla ice cream or a dollop of freshly whipped cream can also elevate the tasting experience. As you become more comfortable with the basics, don’t hesitate to innovate and find your own signature style within these delightful desserts.


DIY Aroma Stones: Naturally Scented, Beautifully Handmade
How to Make Tie-Dye Bouncy Balls at Home (Fun DIY for Kids & Crafty Adults!)
Salt Crystal Painting: A Magical Art Project That Mesmerizes
Bioplastic Suncatchers: A Bright, Earth-Friendly Craft You’ll Absolutely Love 🌞