Spooktacular Halloween Glove Treat Bags: A Sweet DIY Celebration
Halloween is all about embracing the spooky spirit and what better way to celebrate than with deliciously eerie treats? These delightful Halloween Glove Treat Bags will not only satisfy your sweet cravings, but also add a touch of whimsy to your festivities. Perfect as party favors or for classroom fun, these treats are sure to delight everyone!
### Why You’ll Love This Recipe
These glove treat bags are an absolute hit for so many reasons! First off, they’re incredibly easy to make—no baking required. It’s a fantastic activity that can engage the whole family, making your Halloween prep both fun and creative. The vibrant mix of candies ensures that everyone will find something they love. Plus, you can personalize each glove to cater to different tastes!
### Ingredients
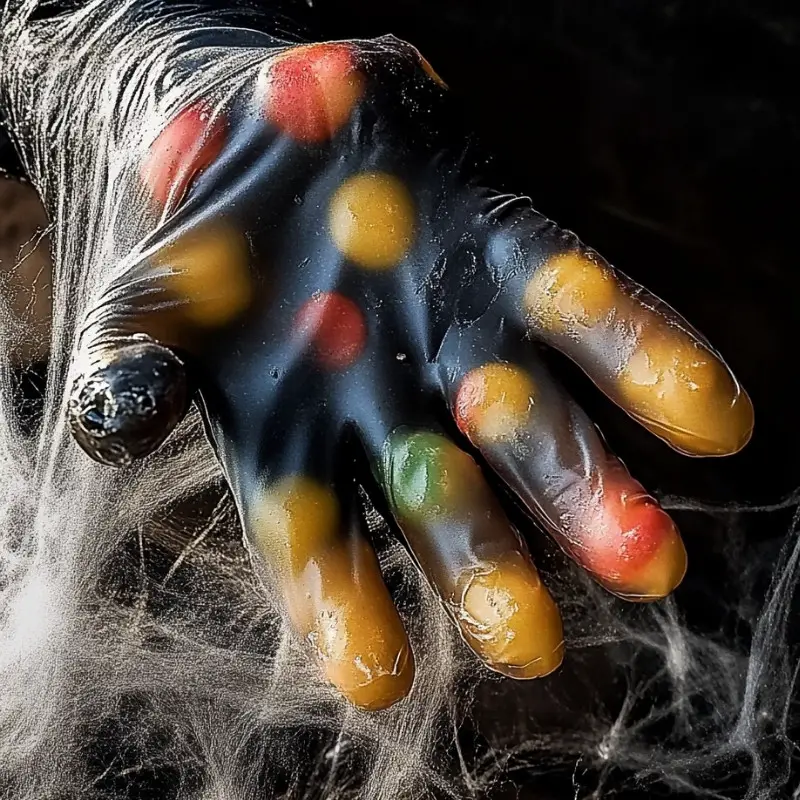
– Clear disposable plastic gloves
– Assorted small candies (like M&Ms, Skittles, candy corn)
– Individually wrapped candy pieces (like mini chocolates, lollipops)
– Twine or ribbon
– Halloween-themed stickers or labels
– Fake plastic spiders or Halloween rings (optional)
### Necessary Tools
– Clean and flat working surface
– Twine scissors
### Ingredient Swaps and Additions
Don’t hesitate to get creative with your glove fillings! Consider swapping in gummy worms for more spooky fun, or adding in small Halloween-themed trinkets like glow sticks or tattoos. You can also use different colored ribbons for a more personalized touch.
### Step-by-Step Instructions
1. Begin by laying the clear disposable glove flat on a clean surface, ensuring it’s intact with no tears.
2. Fill the fingers with small candies such as M&Ms or Skittles, creating a colorful and solid structure.
3. Add candies to the broader hand area, opting for candy corn or similar for that seasonal flair.
4. Include a few wrapped candies or mini chocolates for variety.
5. Gently shake the glove to settle the candies snugly, then twist the open end to close.
6. Secure the contents with twine or a festive ribbon, adding a decorative knot.
7. Embellish your creation with Halloween-themed stickers or labels for extra festivity.
8. If desired, attach a plastic spider or Halloween ring to the knot for a spooky surprise.
9. Display these treat bags in a basket or bowl, ready for your guests to enjoy!
### Serving Suggestions
These treat bags can be paired with other Halloween-themed snacks, like ghost-shaped cookies or pumpkin-flavored drinks, to create a spooky snack table that will wow your guests.
### Pro Tips for Success
To ensure success, make sure to fill the fingers of the glove first. This helps maintain the glove’s shape. Also, keep the theme consistent by choosing candies that match your Halloween decorations.
### Storing and Reheating
Store these treat bags at room temperature in a cool, dry place. They don’t require refrigeration, making them hassle-free long after Halloween night!
### FAQ Section
**Can I use a different type of glove?**
Yes! Just ensure they’re food-safe and have no powdered coating.
**What if someone has allergies?**
Customize glove contents to suit allergy needs; provide non-candy options if necessary.
### Conclusion
These Halloween Glove Treat Bags are as fun to make as they are to give! Their simplicity doesn’t overshadow the joy they bring, making them a must-have for your Halloween events. We’d love to see your creations! Share photos or tags on social media to spread your spooktacular success.
### Nutritional Information
Each glove treat bag is approximately 200-250 calories, varying based on candy selections.