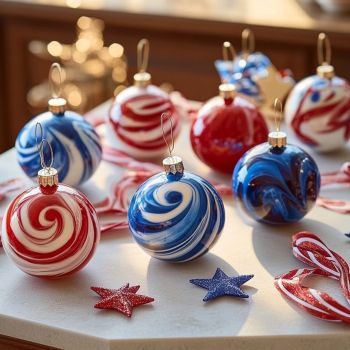
Thank you for being here! There’s just something magical about creating something with your hands, especially when it brings color, sparkle, and a little patriotic pride into your home. If you’re looking for a fun, kid-friendly project that feels like firecrackers in craft form—this 4th of July Ornament Water Marbling is exactly that!
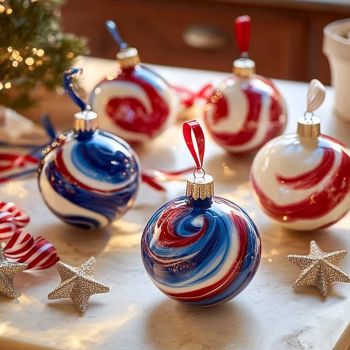
This is a project that’s as mesmerizing to do as it is to admire afterward. Swirling nail polish in red, white, blue, and silver creates stunning, one-of-a-kind marbled ornaments that capture the spirit of Independence Day. These little gems are perfect for decorating your porch, table centerpiece, or even as party favors!
💌 Want more DIY fun and festive ideas like this one? Be sure to subscribe for weekly creative inspiration delivered right to your inbox.
Why You’ll Love This Marbling Project
- Eye-catching and festive with red, white, and blue swirls
- Simple supplies you likely already have at home
- Kid-friendly (with a little grown-up help)
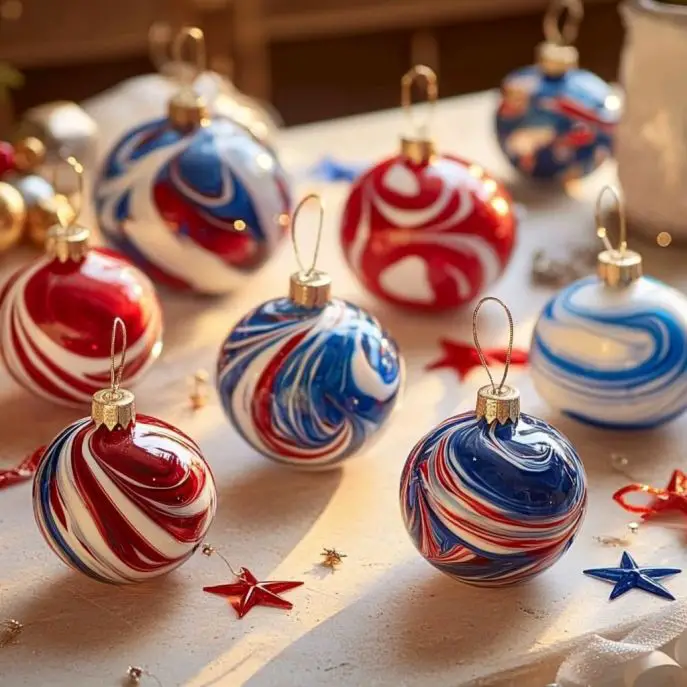
- Customizable—no two ornaments look the same
- Great decor or gift idea for your 4th of July celebration
What You’ll Need
Basic Supplies:
- Plain plastic or glass ornaments
- Disposable bowl or container (deep enough for dipping)
- Room-temperature water
- Nail polish in red, white, blue, and silver
- Wooden skewer or toothpick
- Gloves (trust me, you’ll want them!)
- Paper towels
- Newspaper or wax paper for drying
- String or ribbon
Optional:
- Glitter nail polish
- Clear sealant spray for extra durability
Step-by-Step: How to Make Water-Marble Ornaments
Step 1: Set Up Your Workspace
Lay down newspaper to protect your surfaces and fill a disposable bowl with room-temp water. Put on gloves—this can get delightfully messy!
Step 2: Add the Nail Polish
Drop a few drops of each nail polish color (red, white, blue, silver) onto the surface of the water. The polish should float and spread—this is when the magic starts!
Step 3: Swirl with Care
Use a skewer or toothpick to swirl the polish gently. Don’t overmix—you want that marbled, layered effect with visible swirls.
Step 4: Dip the Ornament
Hold your ornament by its top and dip it into the marbled polish. Gently rotate the ornament as you dip to coat it evenly. Lift it out slowly and let the excess water drip off.
Step 5: Let It Dry
Set the ornament upright on wax paper or in an egg carton. Let it dry for several hours (or overnight) to ensure the polish fully sets.
Step 6: Seal & Hang
Once dry, spray with a clear sealant for added protection (especially if displaying outside). Tie a ribbon or string through the top and hang your new creation!
Creative Tips & Variations
- 🎇 Add sparkle by using glitter nail polish during the drip or as a top layer before sealing.
- 🎨 Try different patterns by dripping one color at a time and swirling differently for each ornament.
- 🧒 Kid tip: Let kids pick their own color combinations (even add a bit of green or purple for extra flair!).
- 🌟 Use leftover polish from old bottles—it’s a great way to repurpose!
Display Ideas for Your 4th of July Ornaments
- Hang from tree branches outdoors or a decorative twig arrangement indoors
- String several on a garland as festive porch decor
- Use as name tags on place settings or party favors
- Hang them from your mailbox or garden hooks
Storage & Longevity
- Store carefully in tissue paper between seasons
- If sealed, your ornaments will last beautifully year after year
- Avoid prolonged sun exposure to prevent fading
Frequently Asked Questions (FAQ)
Can I use acrylic paint instead of nail polish?
No—nail polish works best for floating and swirling on water.
What if my polish sinks?
It may be too thick or the water is too cold. Try a different polish or warm the water slightly.
Do I need to seal them?
It’s optional but highly recommended if the ornaments will be exposed to moisture or handled frequently.
Final Thought: A Firecracker of a DIY!
These 4th of July Water-Marble Ornaments are colorful, creative, and downright fun to make. They add a handmade touch to your holiday decor and are a beautiful way to celebrate freedom, creativity, and summer magic.
You Might Also Love:
- DIY Firework Lantern Jars
- Red, White & Blue Layered Drinks
- 4th of July Confetti Slime
Show Off Your Sparkle!
Tried this project? I’d love to see your marbled masterpieces!
📸 Tag me on Pinterest or drop your pics in the comments. Let’s get crafty together!
Want a printable version of this craft with step-by-step visuals? Just say the word—I’d be thrilled to send it to you!