Let me just start with a warm thank you—whether you’re a parent, a teacher, or just someone looking for a beautiful way to spend a quiet afternoon, I’m thrilled you’re here! There’s something deeply joyful about combining creativity with simple ingredients, and this sweet little project? It’s everything I adore: colorful, sensory, and so much fun to share.
Whether you’re painting with little ones or looking to rediscover your own artistic spark, these Vibrant Sugar Water Paintings are a treat for the eyes and the soul. 🍭🎨
Oh, and if you’d love more imaginative crafts and recipes like this straight to your inbox, be sure to subscribe to our email list—I’ll make sure you’re always stocked with fun ideas!
Why You’ll Fall in Love with Sugar Water Paintings
These sugar water paintings are anything but boring!! I mean, how often do you get to mix your pantry with your paintbox? 😍 They’re ideal for kids, but honestly, I’ve caught myself spending way too much time on my own masterpiece. It’s just that satisfying.
What Makes Them Special:
- Gorgeous, vibrant color blending thanks to the sugar base
- Sensory and interactive—kids will love the sticky surface and magical color spread
- Budget-friendly and safe with ingredients already in your kitchen
- Customizable with glitter, salt, and even flower petals!
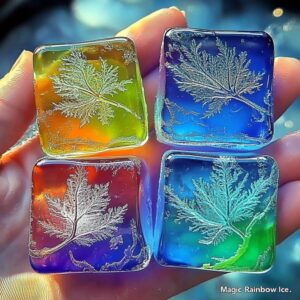
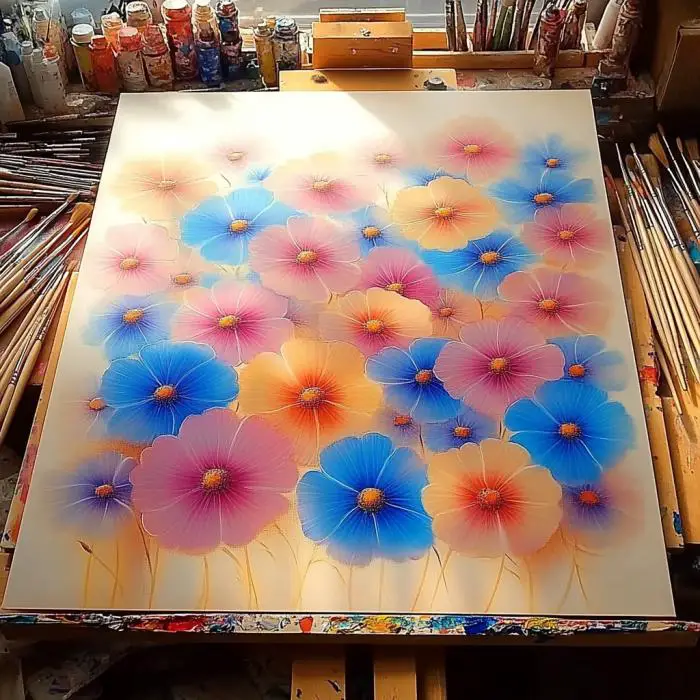
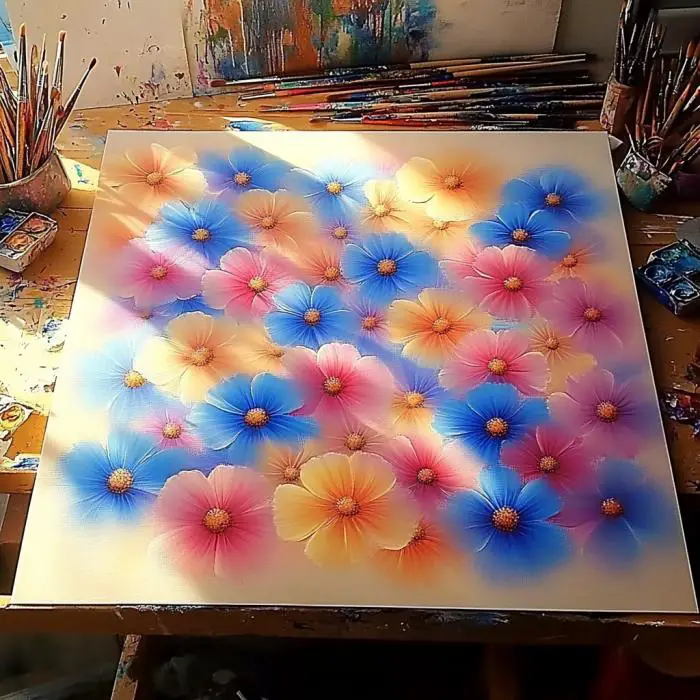
What Do Sugar Water Paintings Look and Feel Like?
Imagine a gentle shimmer over bold, blooming colors, where the hues swirl together like watercolor dreams. As it dries, the sugar begins to crystallize, leaving a magical sparkle that catches the light just right. Add a bit of glitter? You’ve got yourself a frame-worthy masterpiece. ✨
Benefits of This Craft
- Encourages creativity and fine motor skills
- A calming activity with a touch of mindfulness
- Eco-friendly and non-toxic
- Great for rainy days, parties, or art classes
Ingredients You’ll Need
- 1/4 cup sugar
- 1/4 cup warm water
- Watercolor paints or liquid food coloring
- Paintbrushes
- Watercolor paper or thick cardstock
- Small bowls or cups for mixing
Optional Add-ons:
- Table salt or sea salt
- Glitter
- Black outline marker
Tools You’ll Want Nearby
- Old tablecloth or newspaper (for easy cleanup!)
- Cups or bowls for mixing
- A few different paintbrushes for texture variety
- A drying rack or flat space where your art can dry undisturbed
Let’s Paint! Step-by-Step Instructions
1. Mix the Sugar Solution
Stir together 1/4 cup sugar with 1/4 cup warm water until fully dissolved. Let it cool slightly—it should feel just warm to the touch.
2. Prep Your Space
Lay down newspaper or a washable cloth to protect surfaces. Set out your paper and painting tools.
3. Apply the Sweet Base
With a clean brush, coat your paper in the sugar solution. Don’t be shy—get it nice and wet!
4. Add Color
Dip another brush into your paint or food coloring and lightly touch it to the sugar-covered paper. Watch the color bloom and move—it’s mesmerizing!
5. Get Creative
Layer on more colors, sprinkle with salt for texture, and try some glitter for sparkle. Let your imagination lead!
6. Let it Dry
Leave the painting to dry completely—this may take a few hours. Once dry, the sugar will crystallize into a gorgeous finish.
7. Add Finishing Touches
Use a black marker to outline or define elements once the paper is dry. This makes your art pop!
What to Serve With This Craft (Yes, Really!)
If you’re crafting with kids, pair it with a snack break:
- Fruit skewers
- DIY popcorn trail mix
- Strawberry lemonade
Art AND snack time? You’re winning. 🙌
Tips for Picture-Perfect Paintings
- Use thick paper to avoid warping
- Let each layer dry partially before adding more for better depth
- If using salt, sprinkle while the paper is still quite wet for the best crystal effect
- Don’t rush the drying process—it’s worth the wait!
How to Store Your Artwork
Once completely dry, your sugar water painting can be framed, laminated, or just pinned up for display. Store flat in a dry place to prevent stickiness from humidity.
General Info & Frequently Asked Questions
Can I use regular printer paper?
You can, but it might warp. Watercolor paper is best for holding the moisture and sugar.
Is it safe if my toddler licks it?
While it’s not meant to be eaten, the ingredients are food-safe. Always supervise small children!
How long do the paintings last?
As long as they’re kept dry and away from bugs, they can last for years! A light spray sealant can help.
What age is this best for?
Great for ages 3 and up—just adjust supervision and tools accordingly.
Wrapping Up: Art That Sparkles (Literally)
These sugar water paintings are more than just a fun craft—they’re a memory-making moment. Whether it’s giggling with your kids over spilled glitter or zoning out into a calm swirl of color yourself, this activity brings a bit of sweetness into your day.
If you try this at home, I’d love to see it! Share your photos on Pinterest and tag us—let’s build a rainbow gallery together!
Other Peachy-Crafty Favorites You’ll Love:
- DIY Citrus-Stamped Tote Bags
- No-Bake Peach Cheesecake Cups
- Summer Sunset Watercolor Tutorial (using food coloring!)
Nutritional Information
Not exactly edible… but if you’re counting the joy-per-minute rate? 100% delightful, zero calories. 😄
Got your brushes ready? Let’s make some sugar-sweet magic! 💖